How to Build Deck Stairs
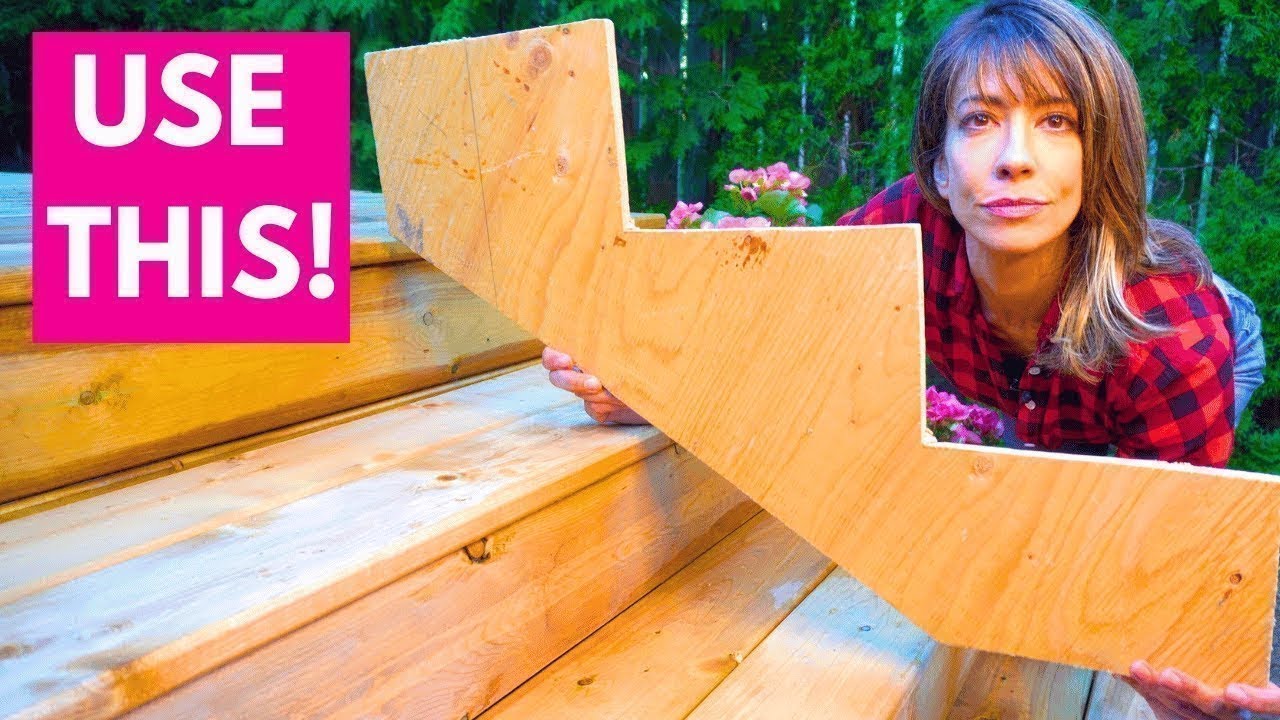
Build accurate deck stairs without complicated math. This method uses a full-size template, so you can check every rise and run before you cut your stringers.
Tools & Materials You’ll Need View complete list
Tools
- Stair gauges
- Simpson Strong-Tie LSC adjustable stair-stringer connector
- GRK FIN/Trim head screws (or standard deck screws)
- Simpson Strong-Drive SD connector screw, #9 × 1-1/2″
- G-Tape (acrylic joist tape)
- CAMO Marksman Pro-X1 + Edge screws (for main deck boards, hidden fastening)
- Angle brackets
- Framing square
- Level and laser level
- Circular saw
- Jigsaw
- Tape measure
- SDS hammer drill
- Crescent wrench
Materials
- 2×12 pressure-treated lumber (stringers)
- 2×4 pressure-treated lumber (base plate)
- Deck boards, 5/4″
- Masonry wedge anchors, 3/8″ × 4″
- End grain sealer and stain
Measure your total rise
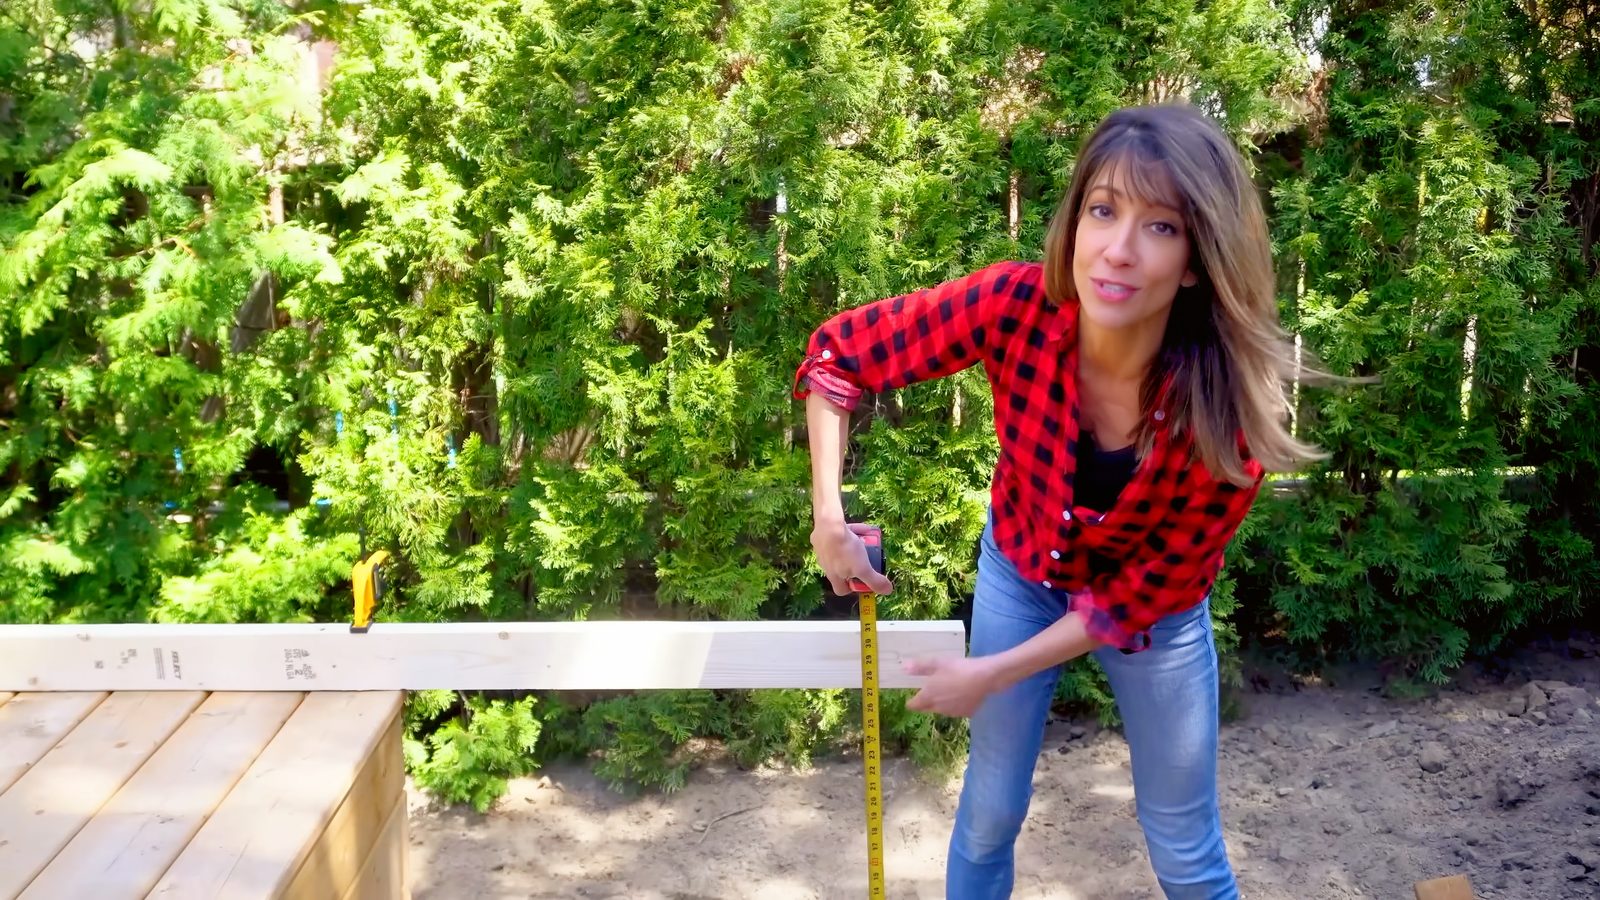
Clamp a straight, level 2×4 to the deck framing and run your tape measure down its face to the concrete pad below. That distance (top of deck to grade) is your total rise, and it’s the number everything else in the layout gets built from.
Template it first
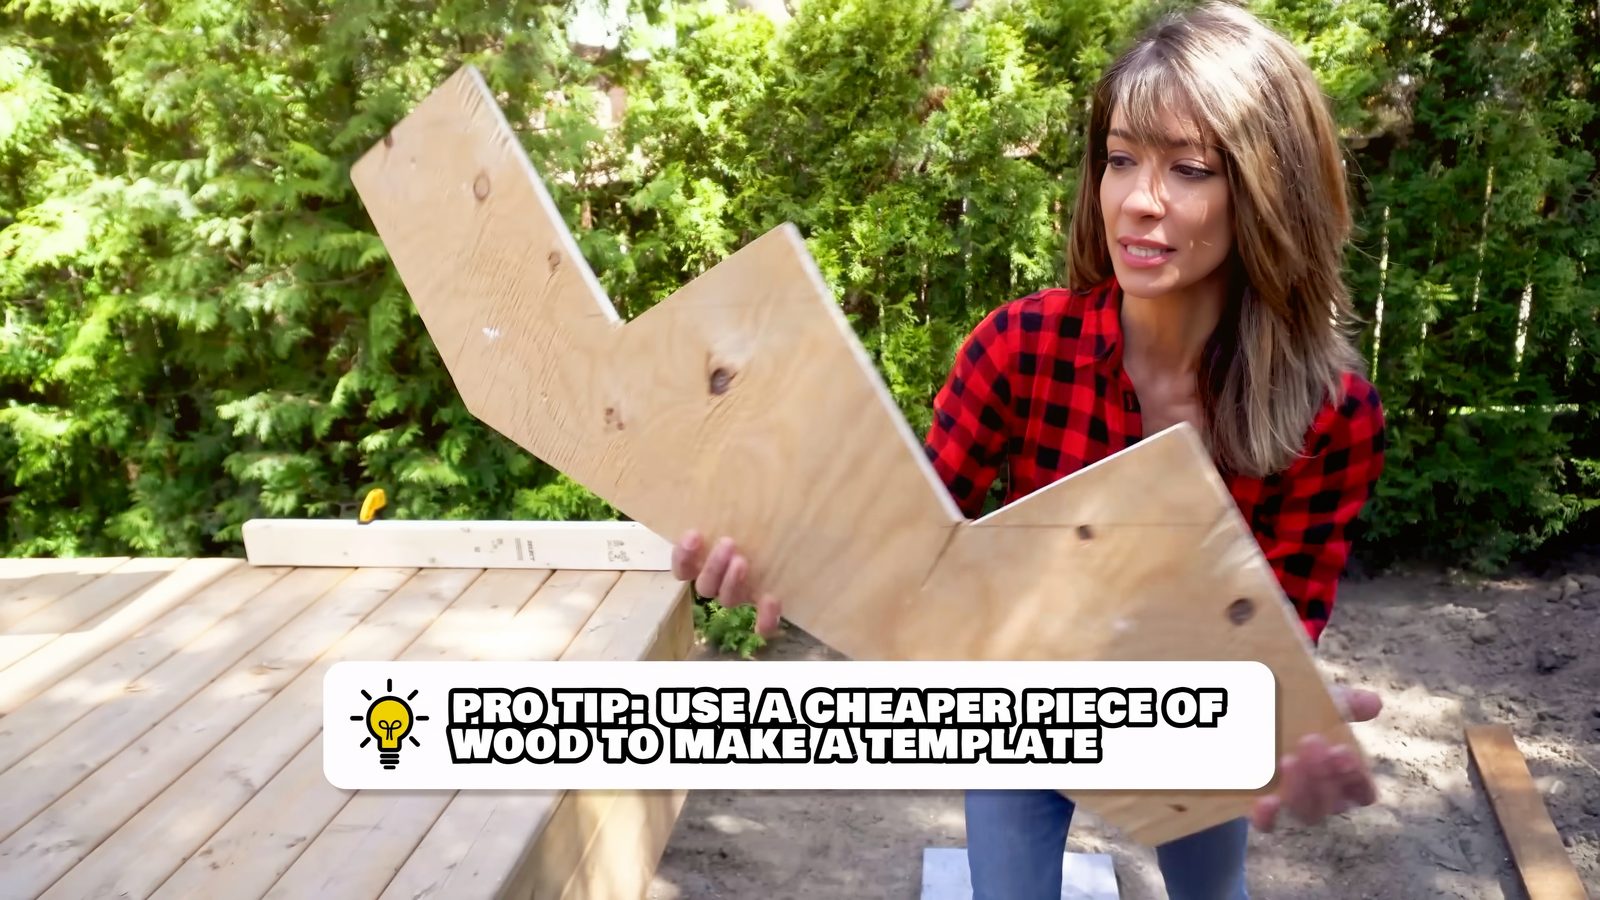
Before you touch your 2×12s, trace your layout onto a piece of OSB or scrap plywood first. It’s good insurance: you can catch any mistakes on your template instead of wasting your lumber, and you’ll have a physical template to test-fit against the deck before anything’s final.
Learn your rise and run
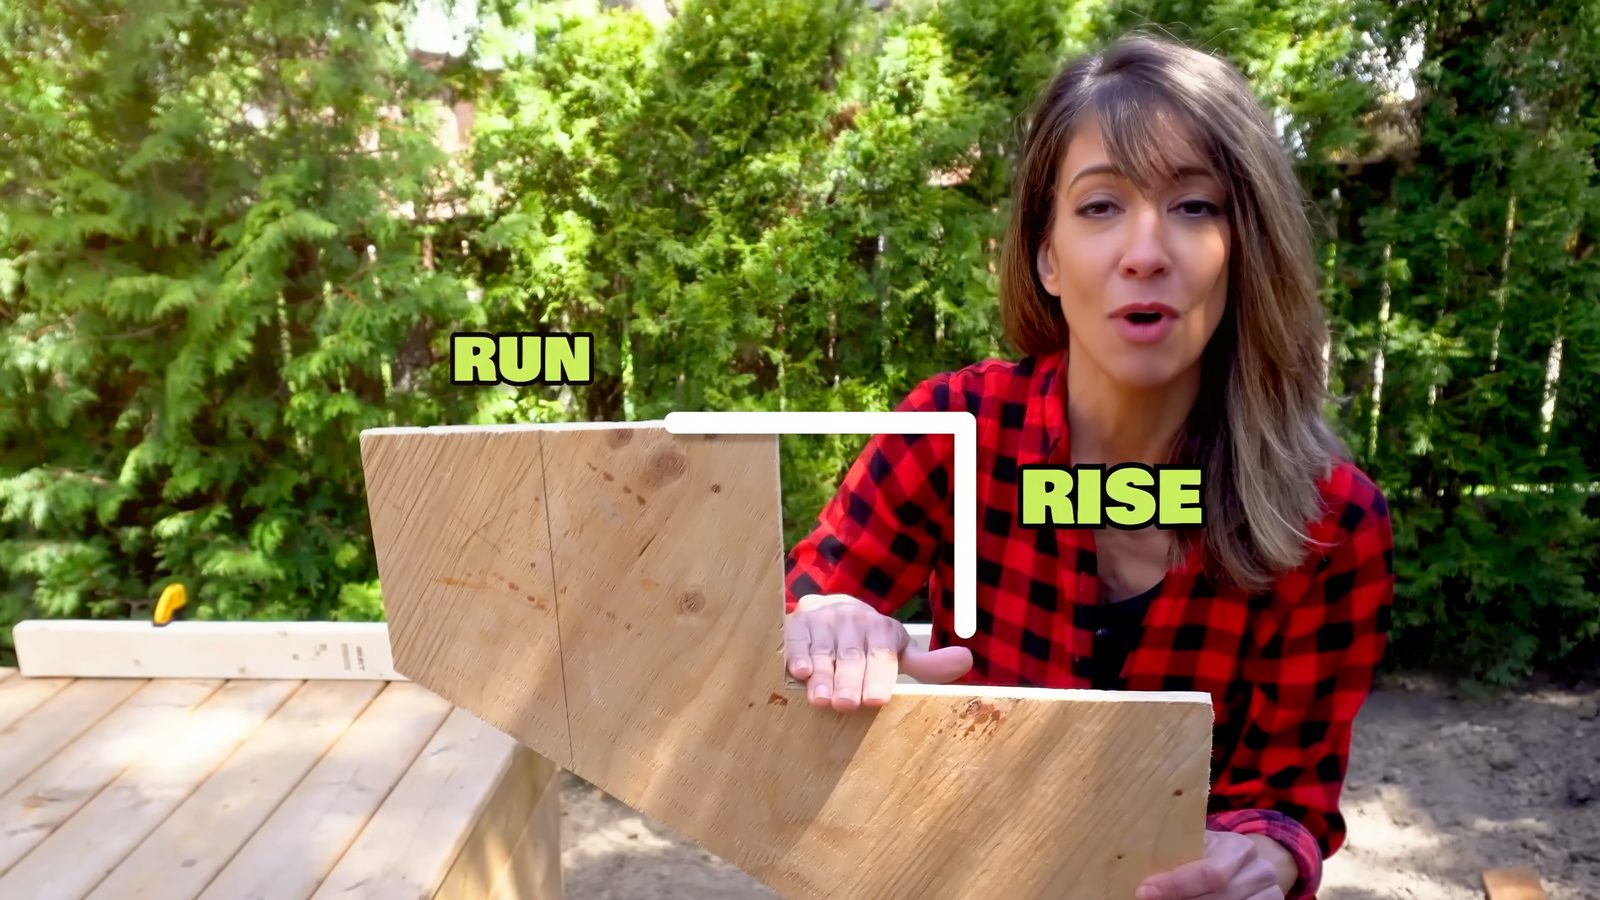
Rise is the vertical height of each step; run is the horizontal depth where the tread sits. Your stair measurements will be determined by your total rise and your local building code. The stair calculator is only as accurate as your total rise measurement, so measure carefully, then verify the finished layout meets your local building code before cutting your stringers.
Run the numbers through a deck stringer calculator
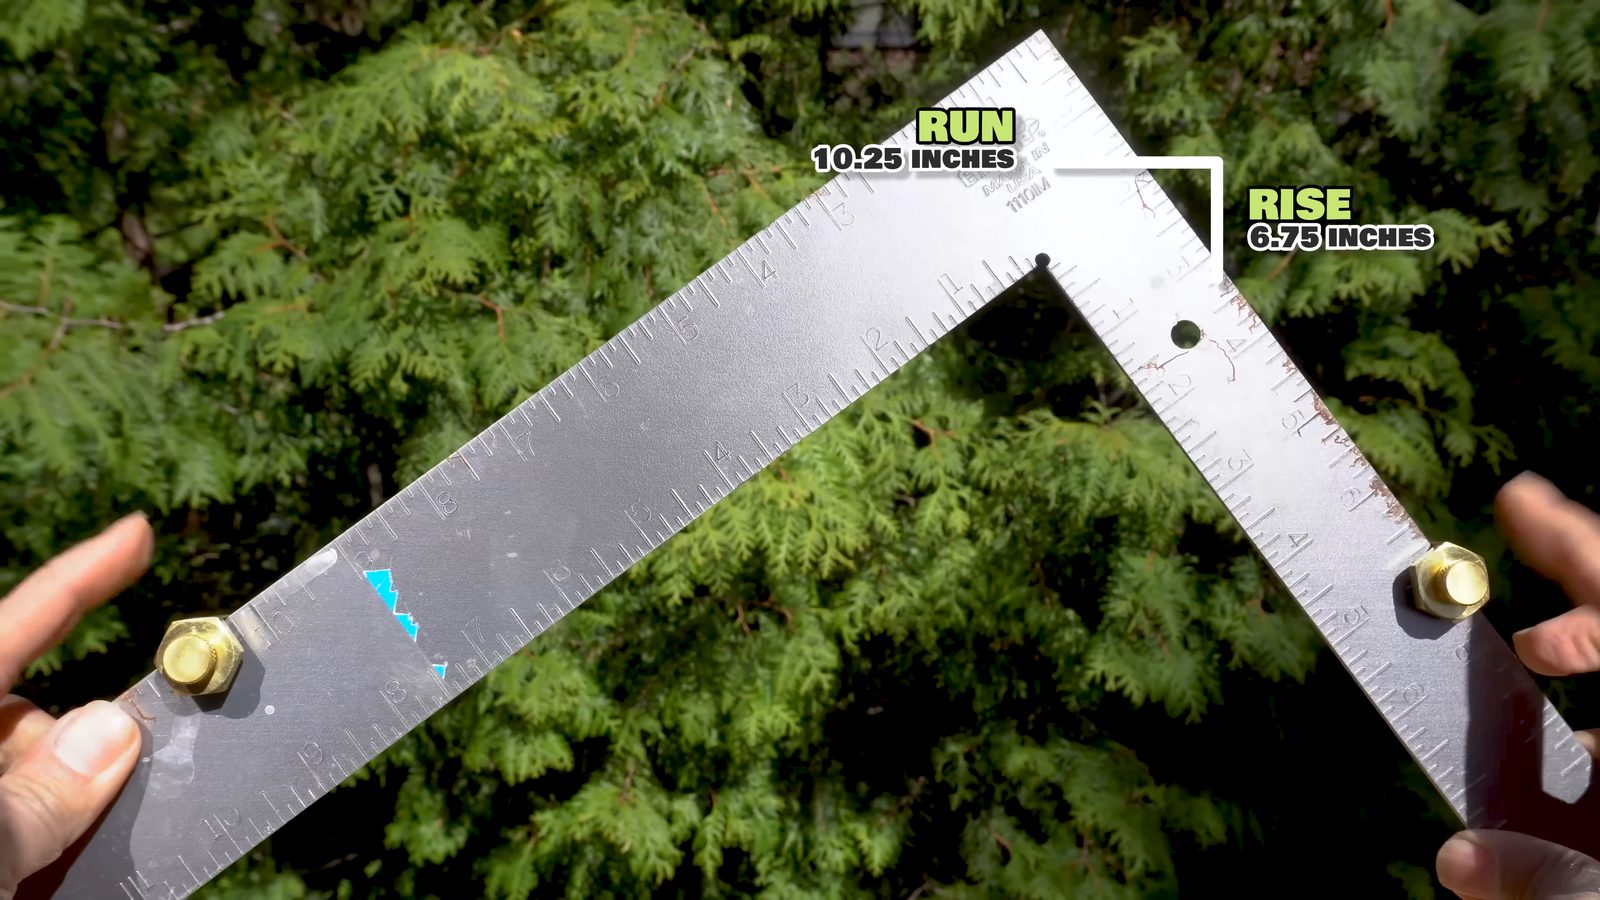
Input your total rise into an online deck stringer calculator. It will list your exact rise and run measurements, plus your exact tread count (how many steps you’ll need). Set those numbers on a framing square with stair gauges: rise on the tongue (the thin side), and run on the body (the thick side). That’s the square you’ll trace with next.
Lay out the stringer
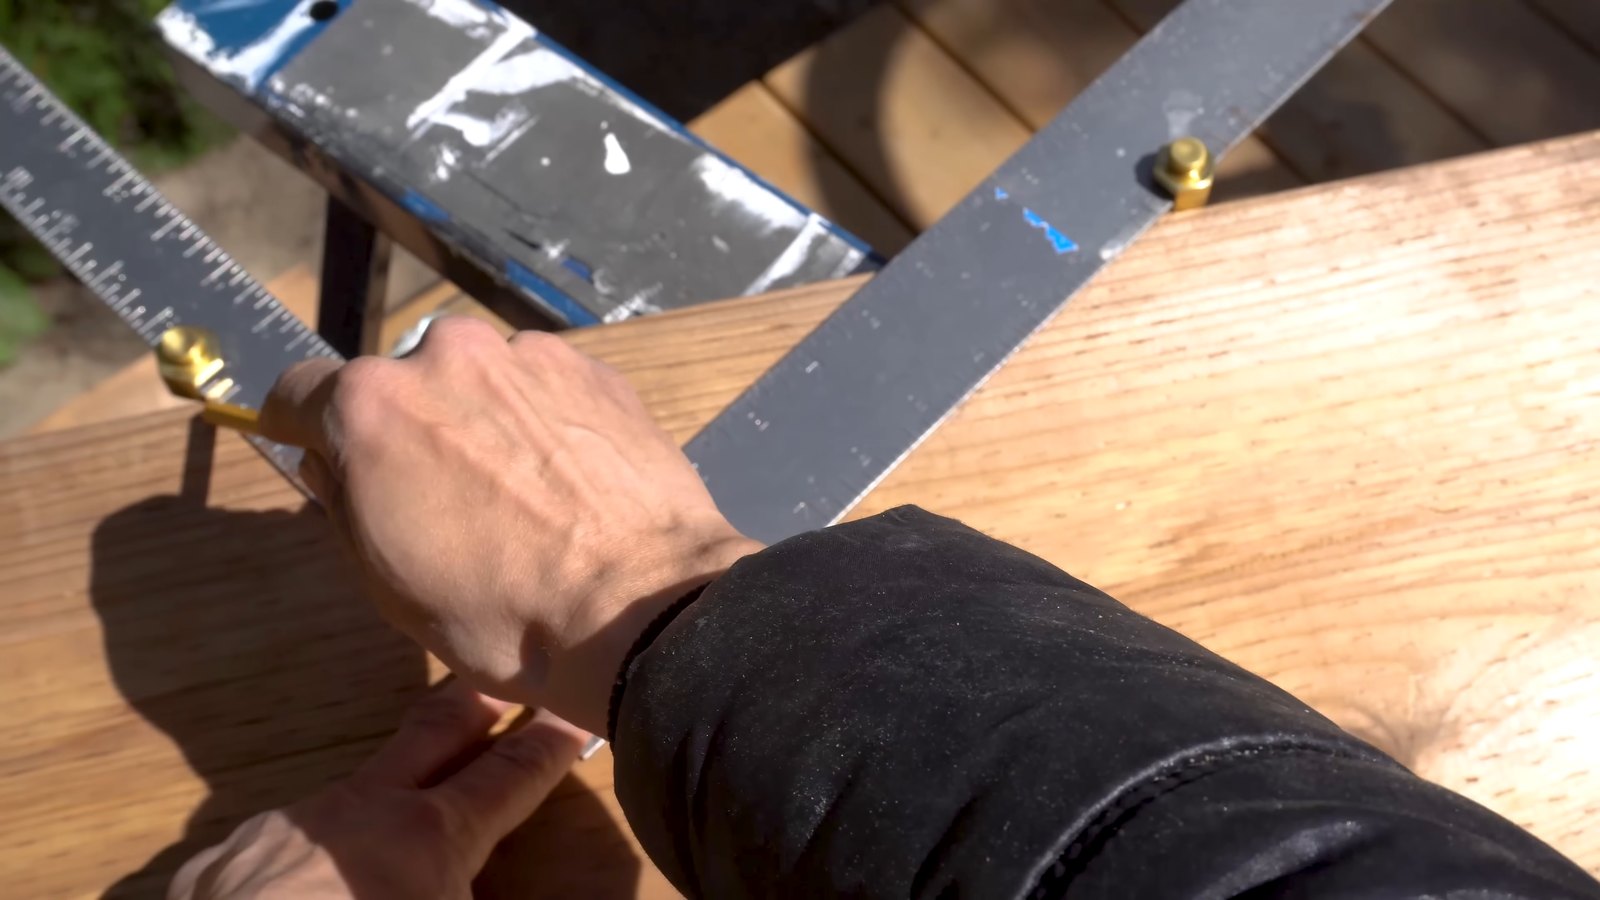
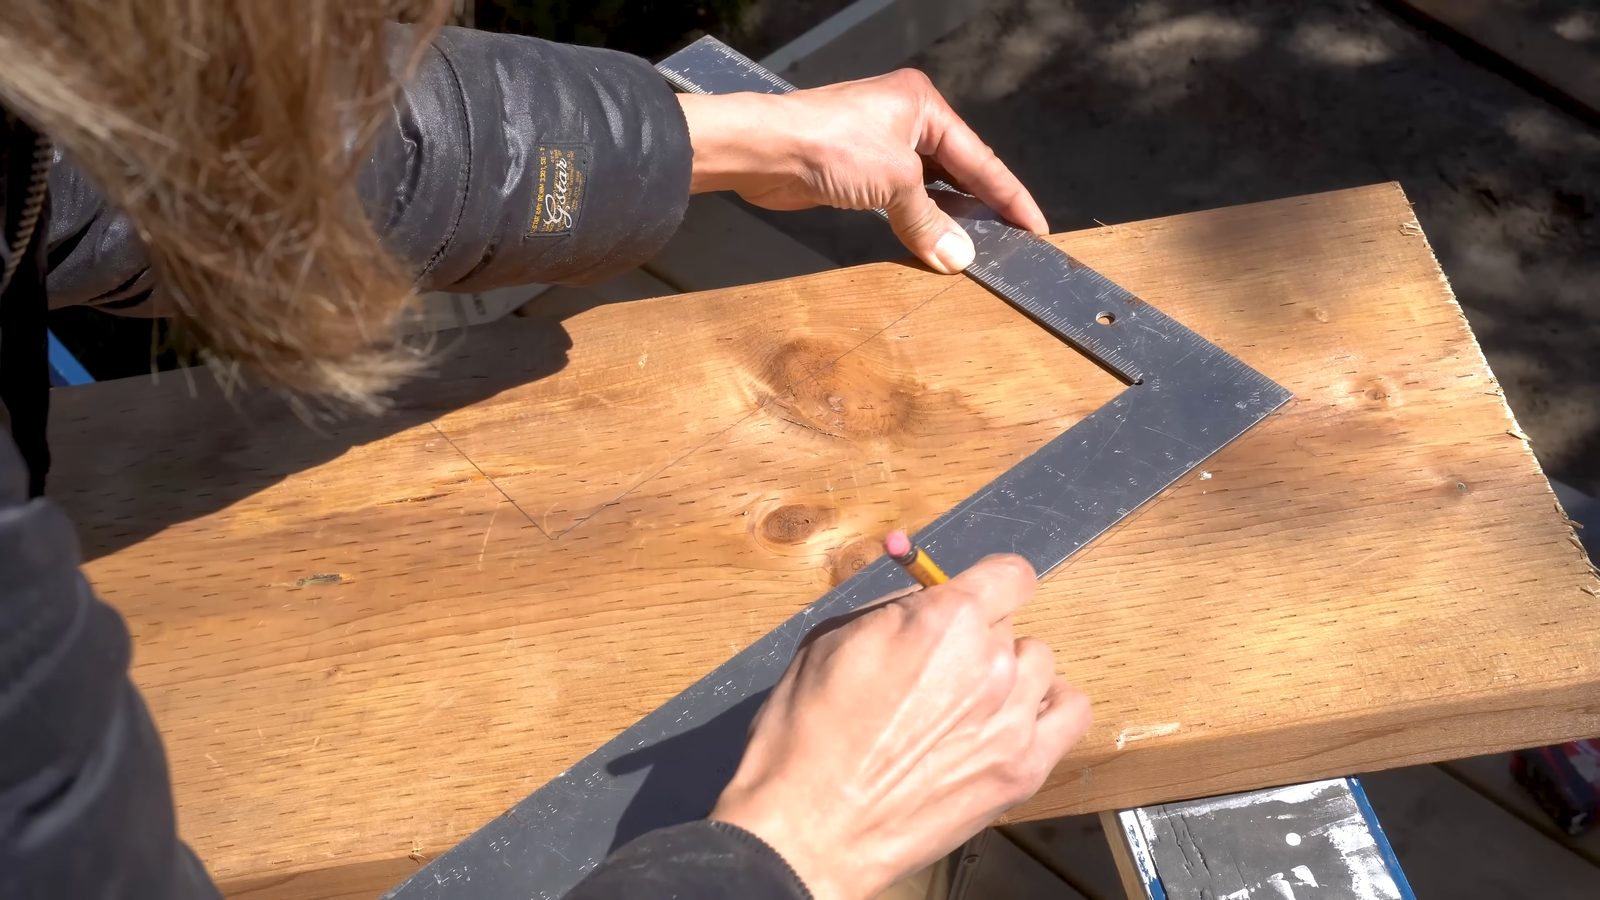
Once your template checks out, trace the same layout onto the 2×12: walk the rise-and-run pattern tread by tread along the outside edge.
Work down the full length of the board, keeping the square tight to the outside edge on every tread so the pattern stays consistent from top to bottom.
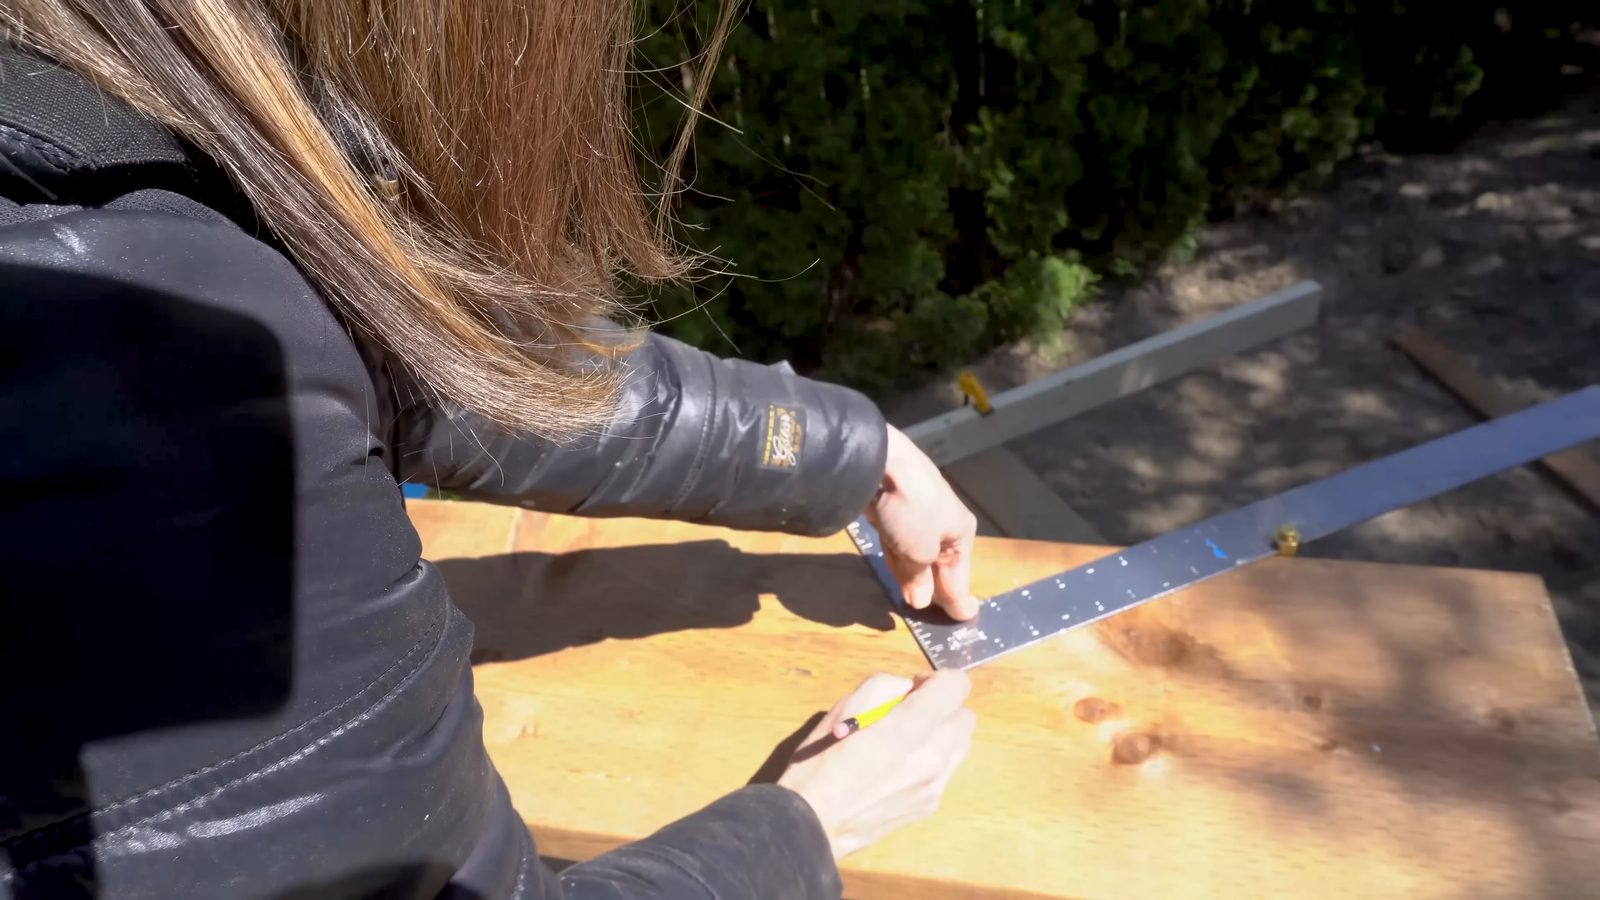
Measure each traced line before you cut, to confirm it matches your calculator numbers exactly; catching an error here costs you nothing, catching it after cutting costs you the board. And before you make a single cut, confirm the finished layout complies with your local building code.
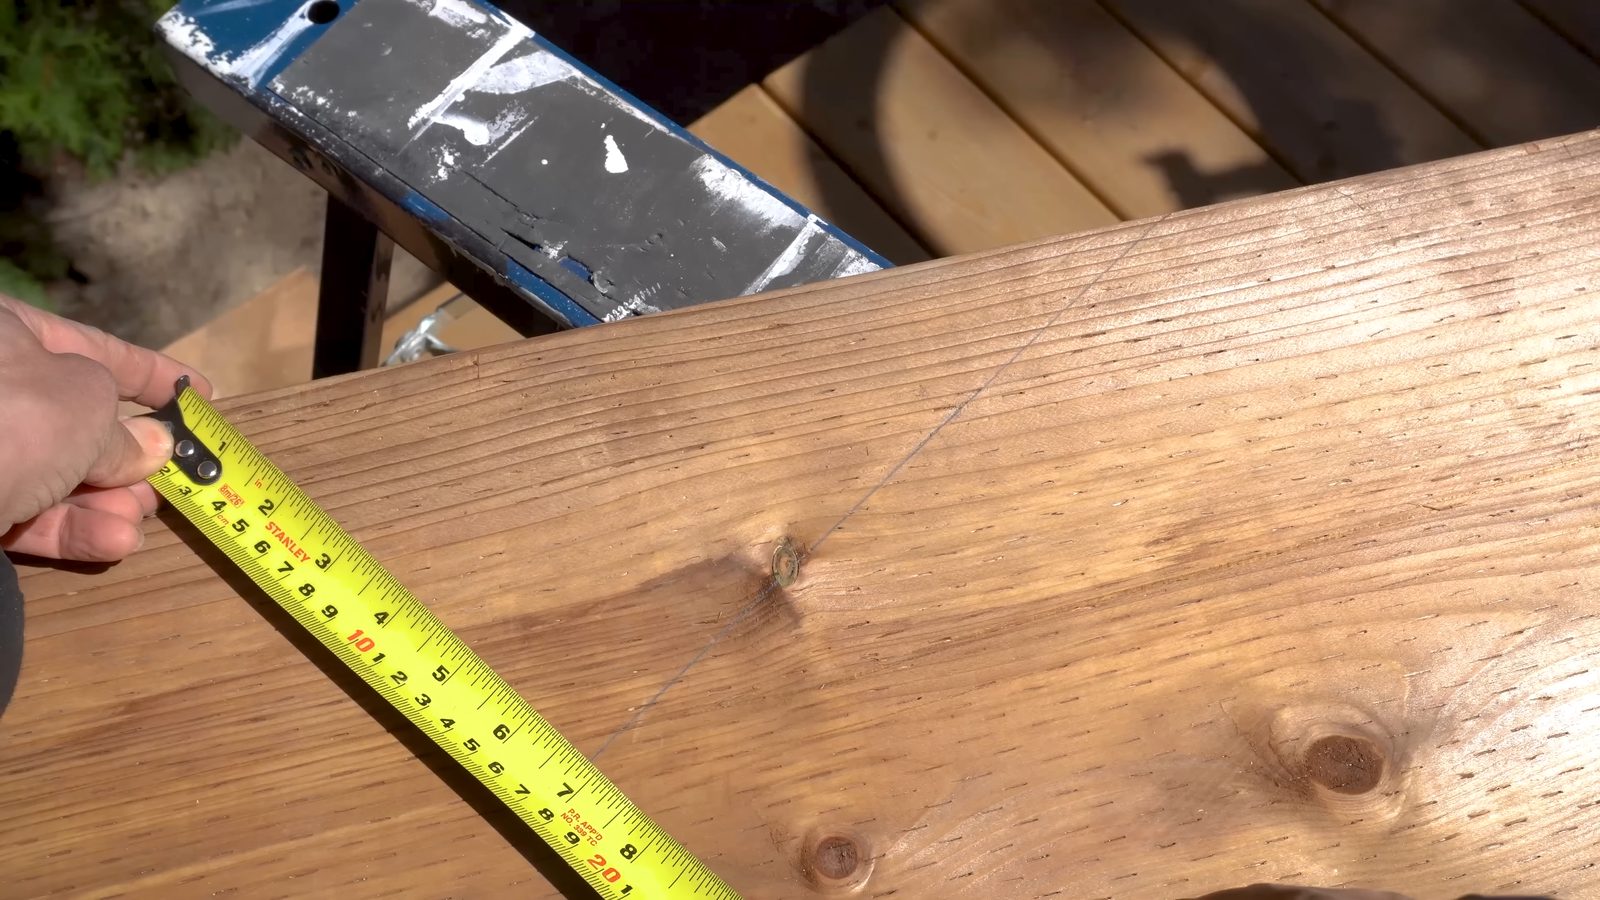
Flip your framing square over to square off the top of the stringer with a true 90° line. This will be the edge that butts against the deck’s rim board once the stringer is installed.
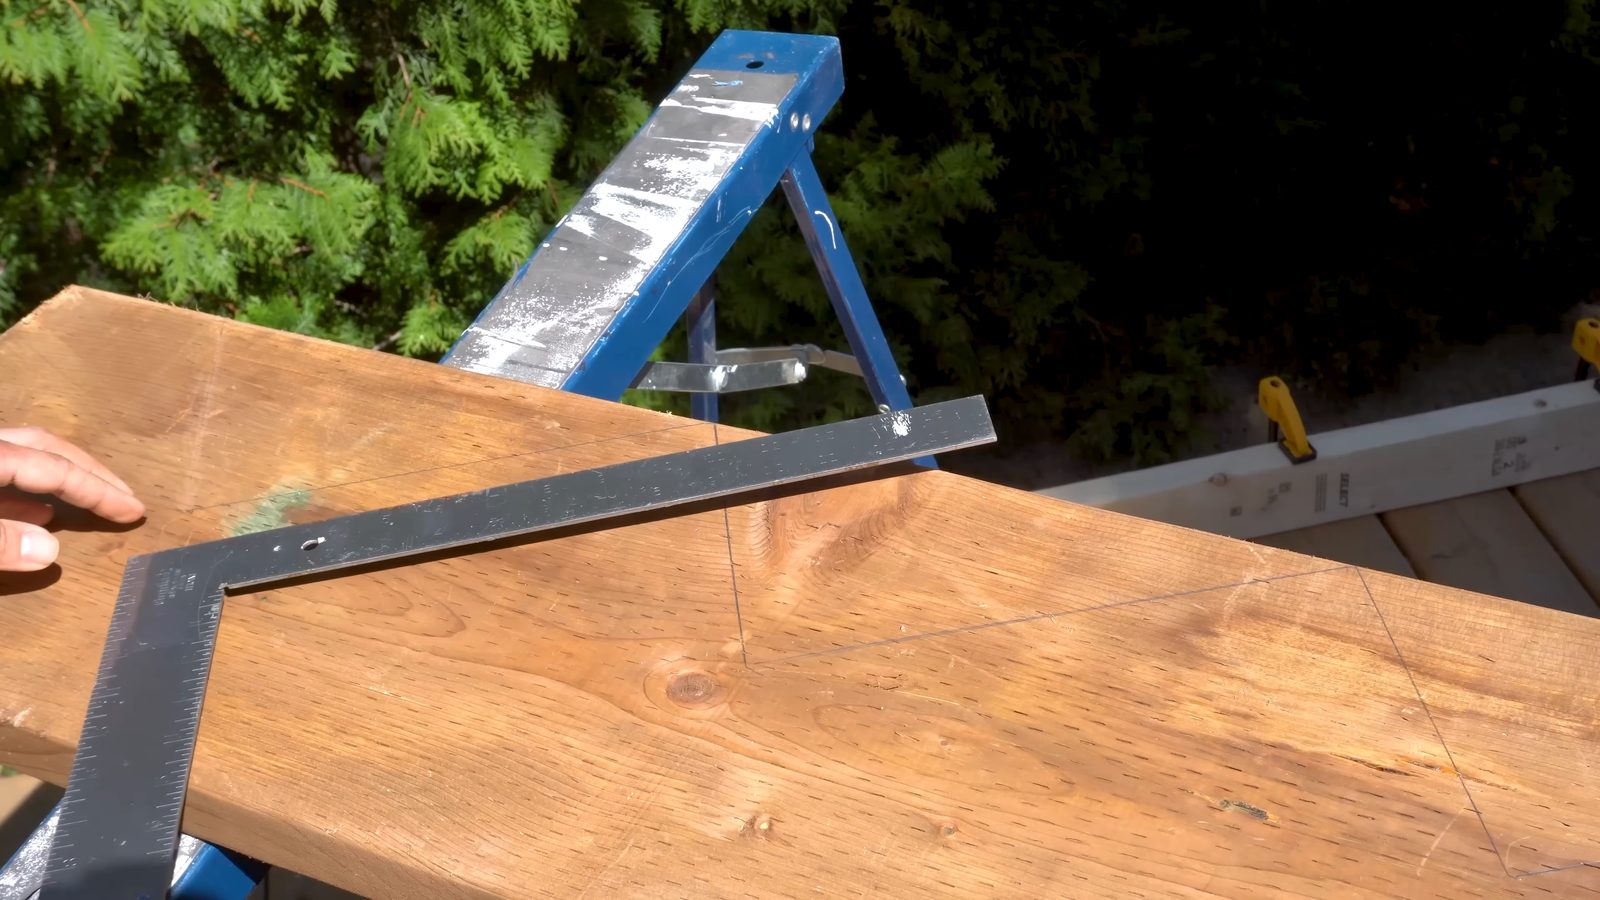
For the bottom riser, this step will be shorter than the rest by the exact thickness of your deck board. Once your tread sits on top of that final step, it lands at the same height as every other riser in the run.
Cut the stringer
Make your cuts with a circular saw, following the traced line closely for a clean, straight edge.
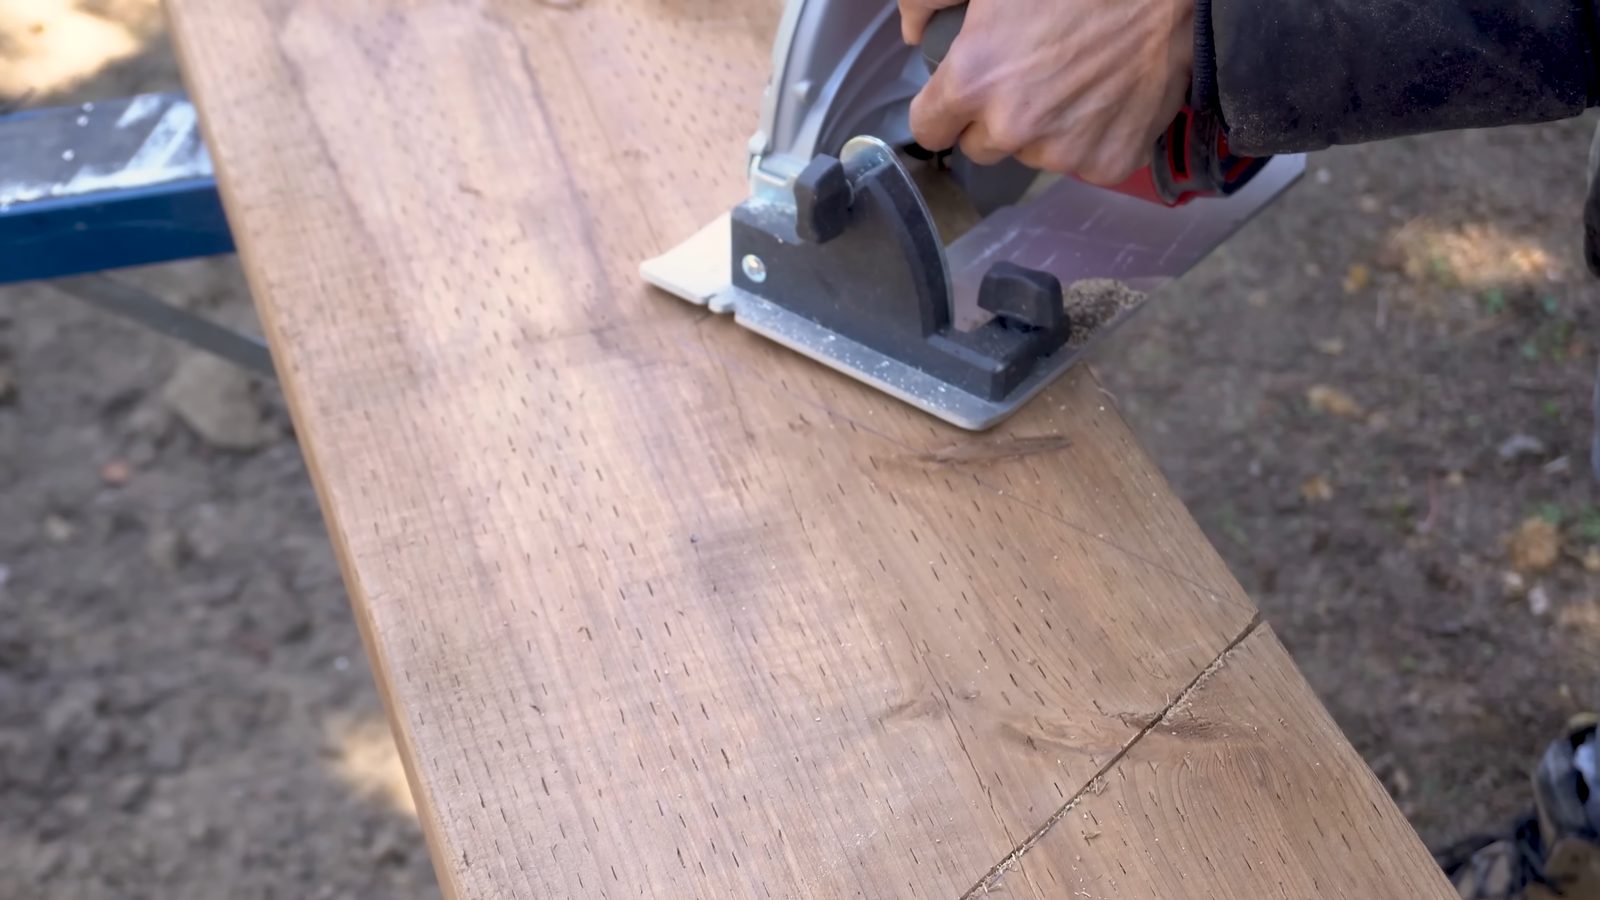
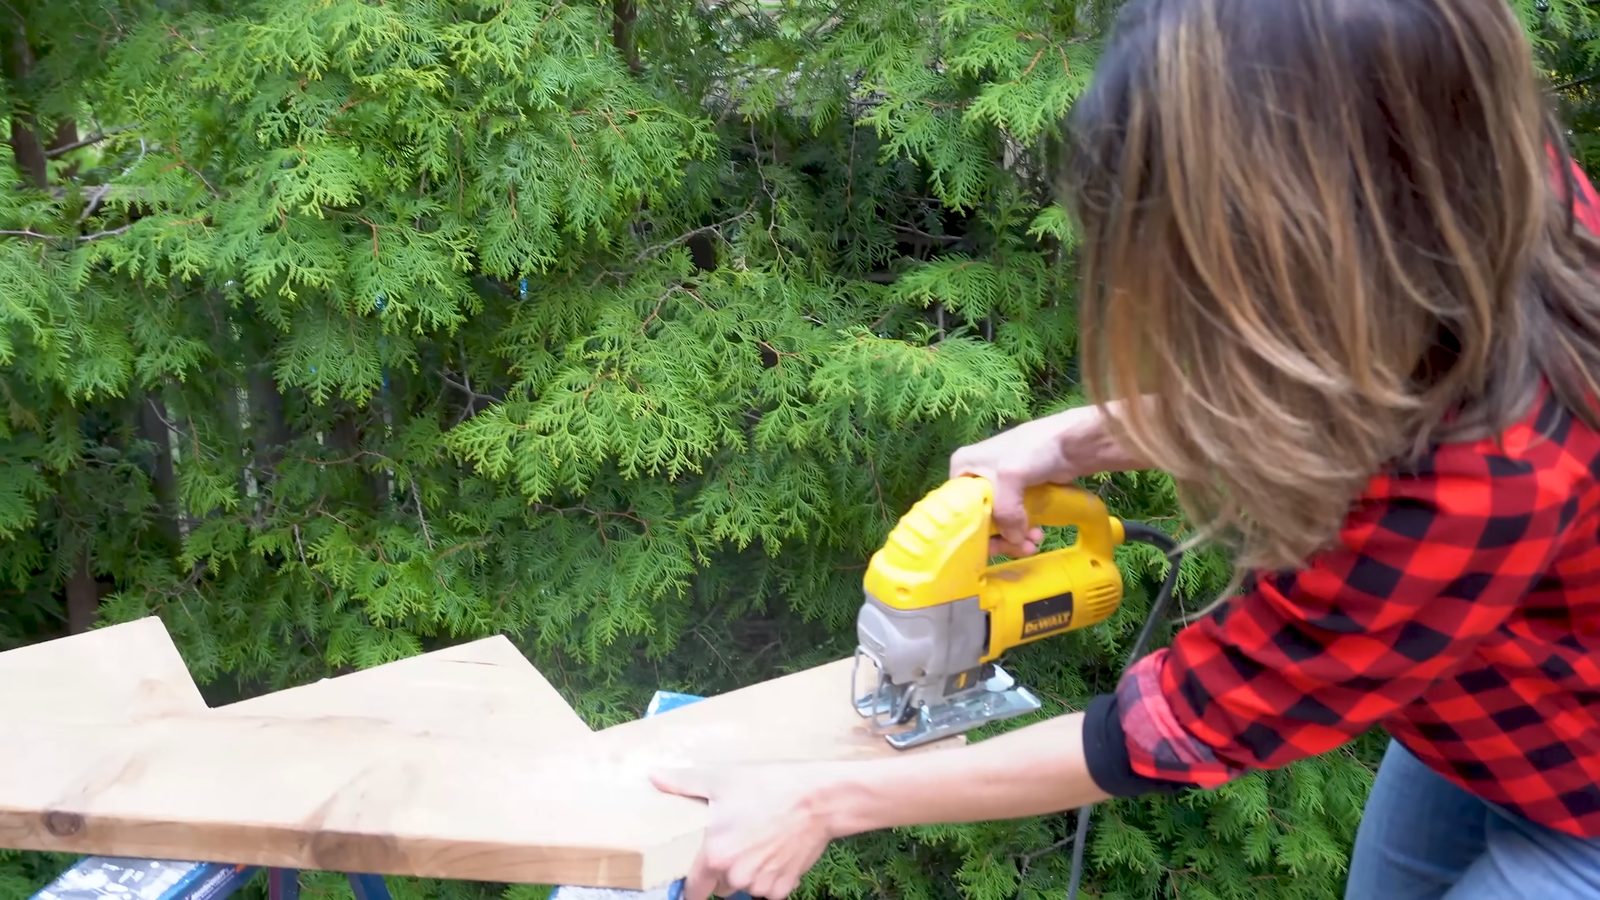
Switch to a jigsaw for the inside corners. A circular saw’s round blade can’t stop cleanly at an inside corner without overcutting past the line, and that becomes a weak point that can undermine the stringer’s strength.
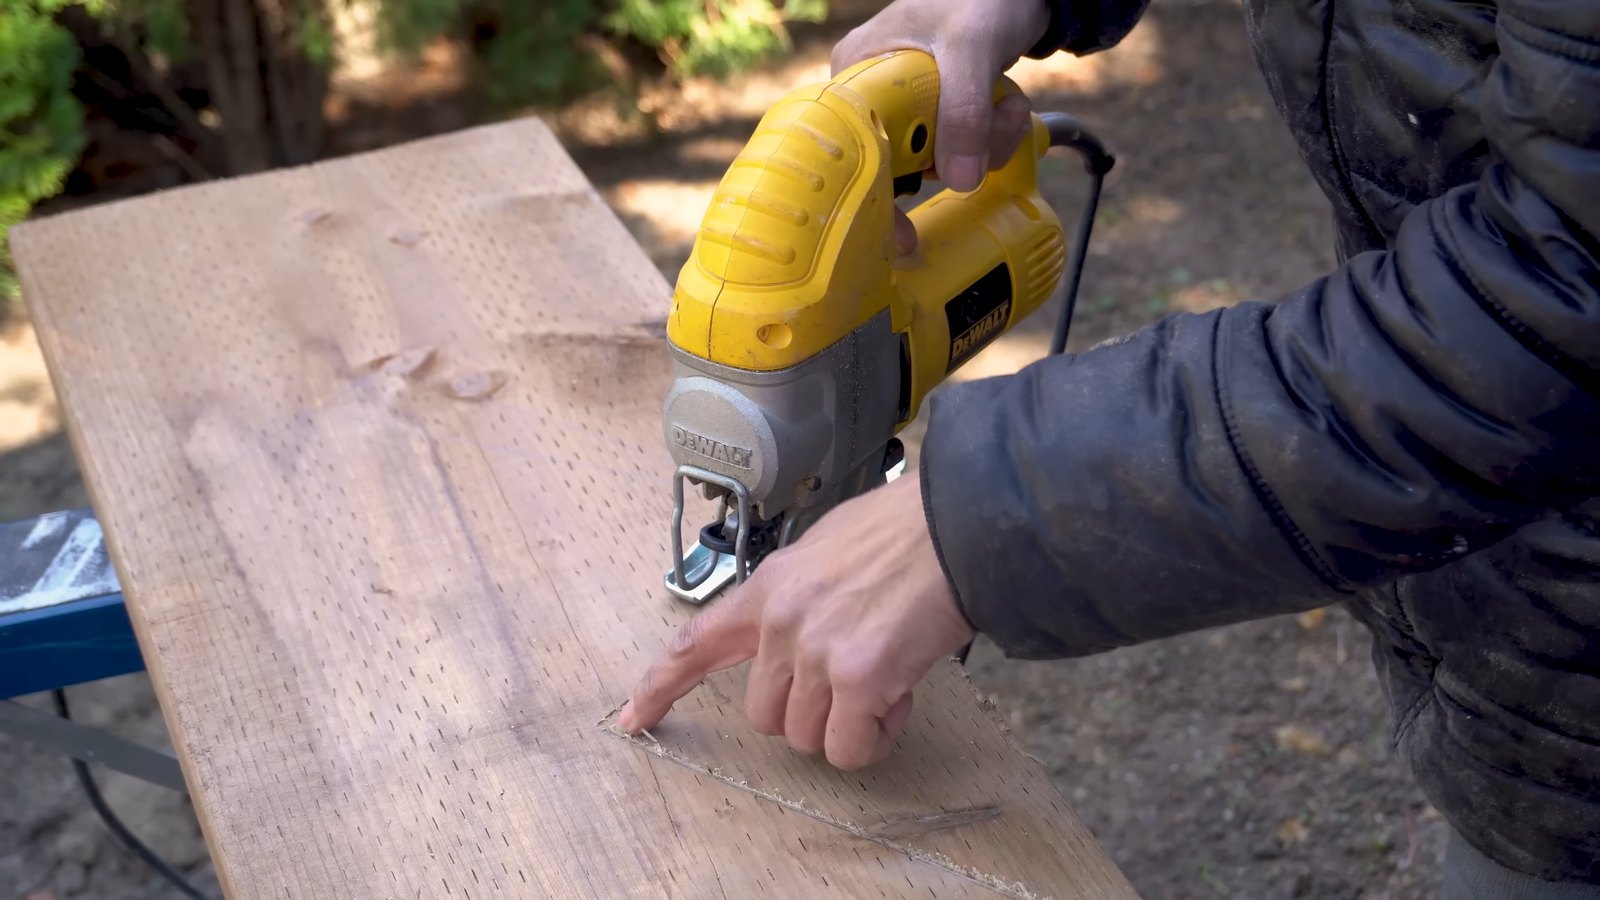
Notch the base of your stringer as well. A small rectangular cutout lets the stringer sit on top of the 2×4 on your concrete pad, so pencil the cutout where the two will meet.
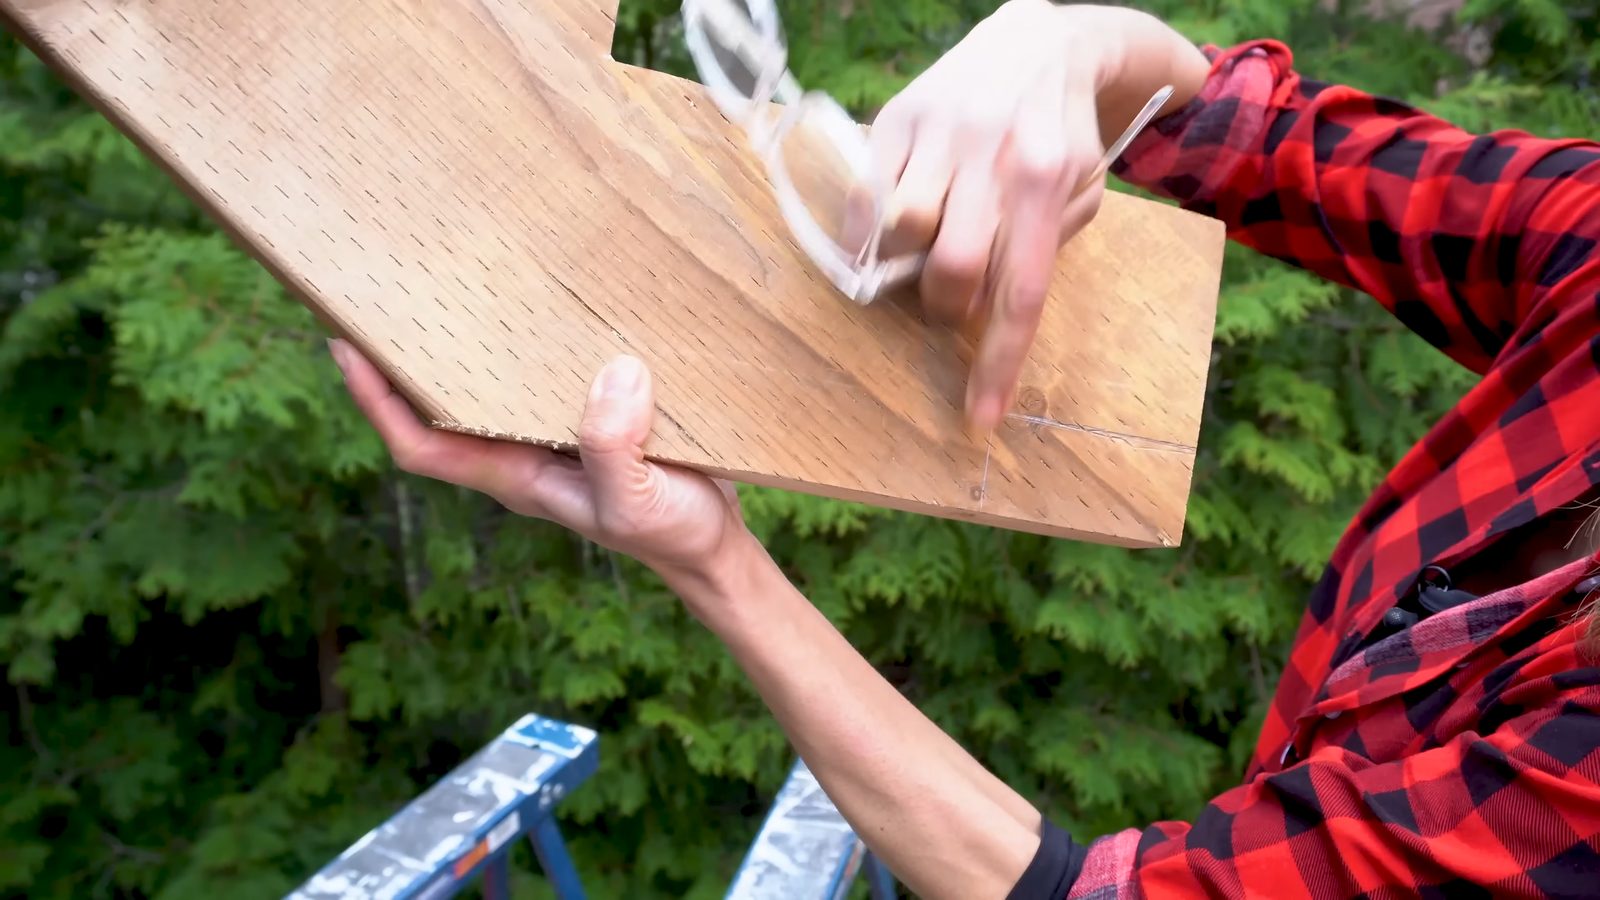
Cut the notch with the jigsaw, then seal every cut end with end grain sealer as soon as you’re done cutting. Exposed end grain is what lets moisture in fastest, so sealing it right away is what actually protects the board.
Waterproof and mark the layout
Run G-Tape along the top of each stringer. Press it down firmly with your fingers on each side of the tape as you go; that’s what gets solid adhesion instead of a strip that’s just resting on the surface.
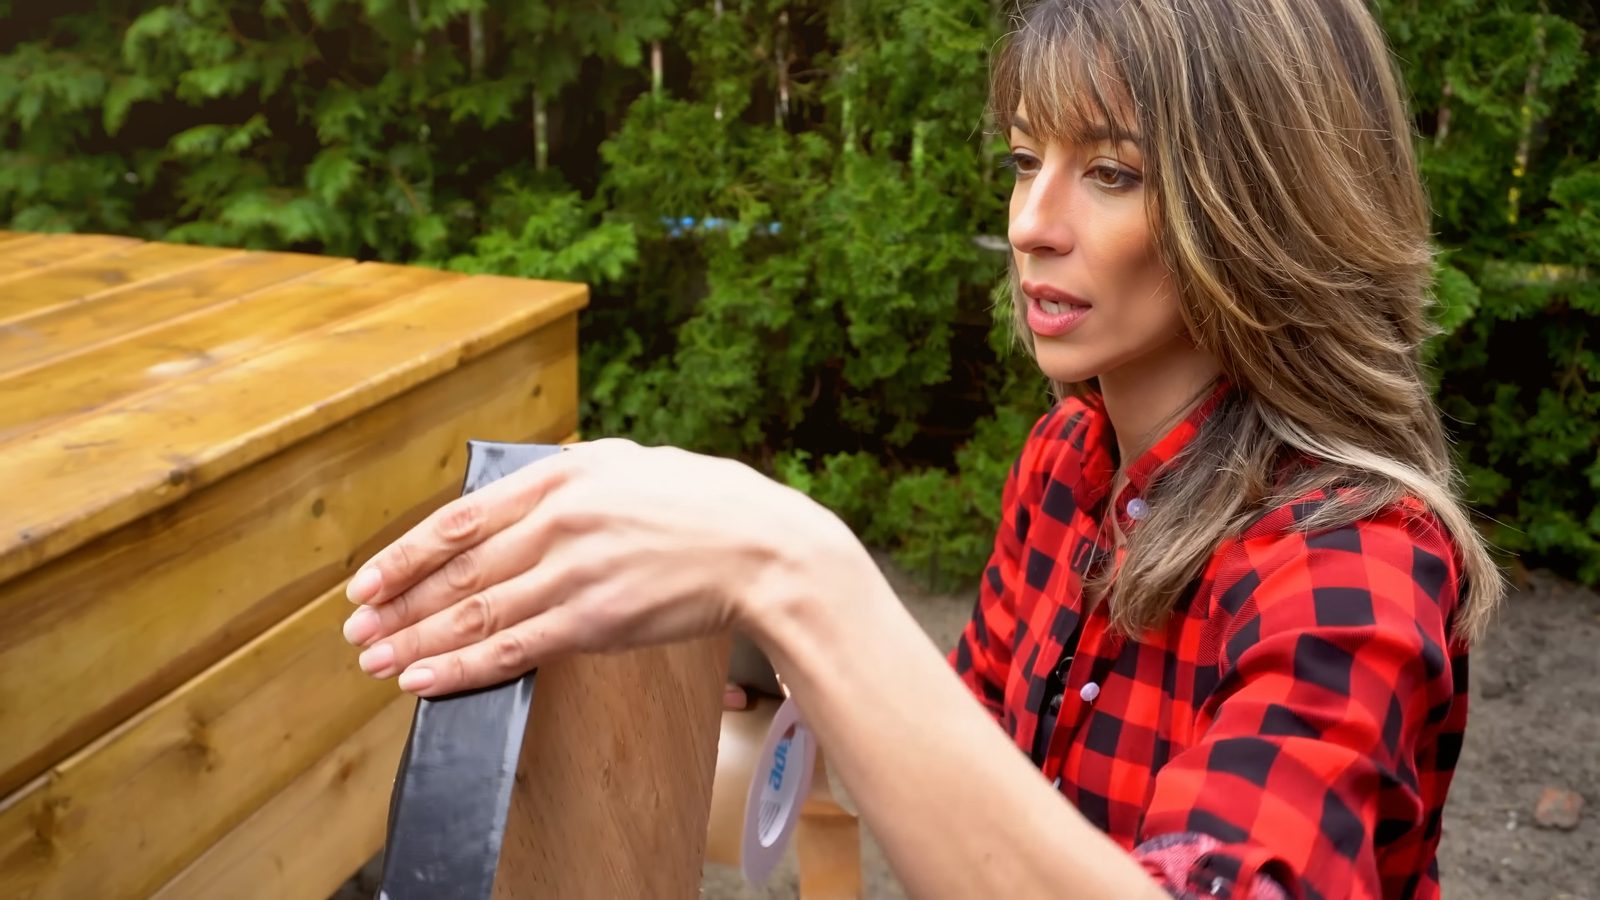
I prefer using this joist tape because it’s acrylic instead of butyl, so it stays flexible instead of cracking in cold weather, and it’s rated to hold up under years of UV exposure. When it meets a screw, the acrylic wraps tight around the screw shaft and seals it like a gasket, the same effect as a pencil pushed through plastic wrap.
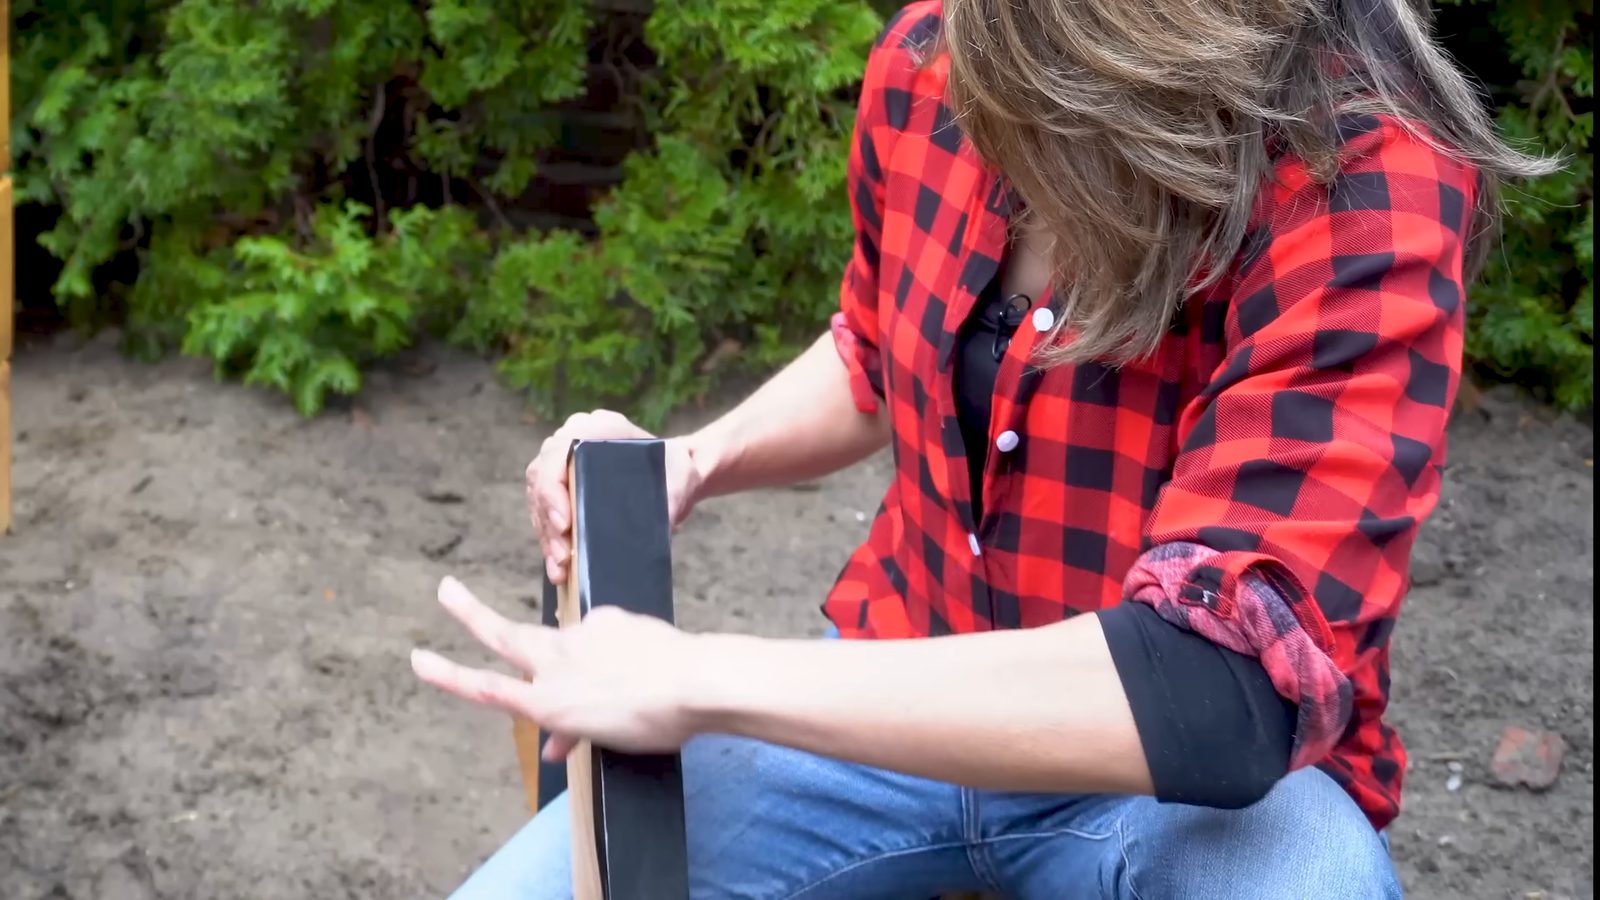
After waterproofing, mark the location of your stringers on the ledger or rim joist: 16″ on center for standard decking, tightened to 12″ if you’re using composite.
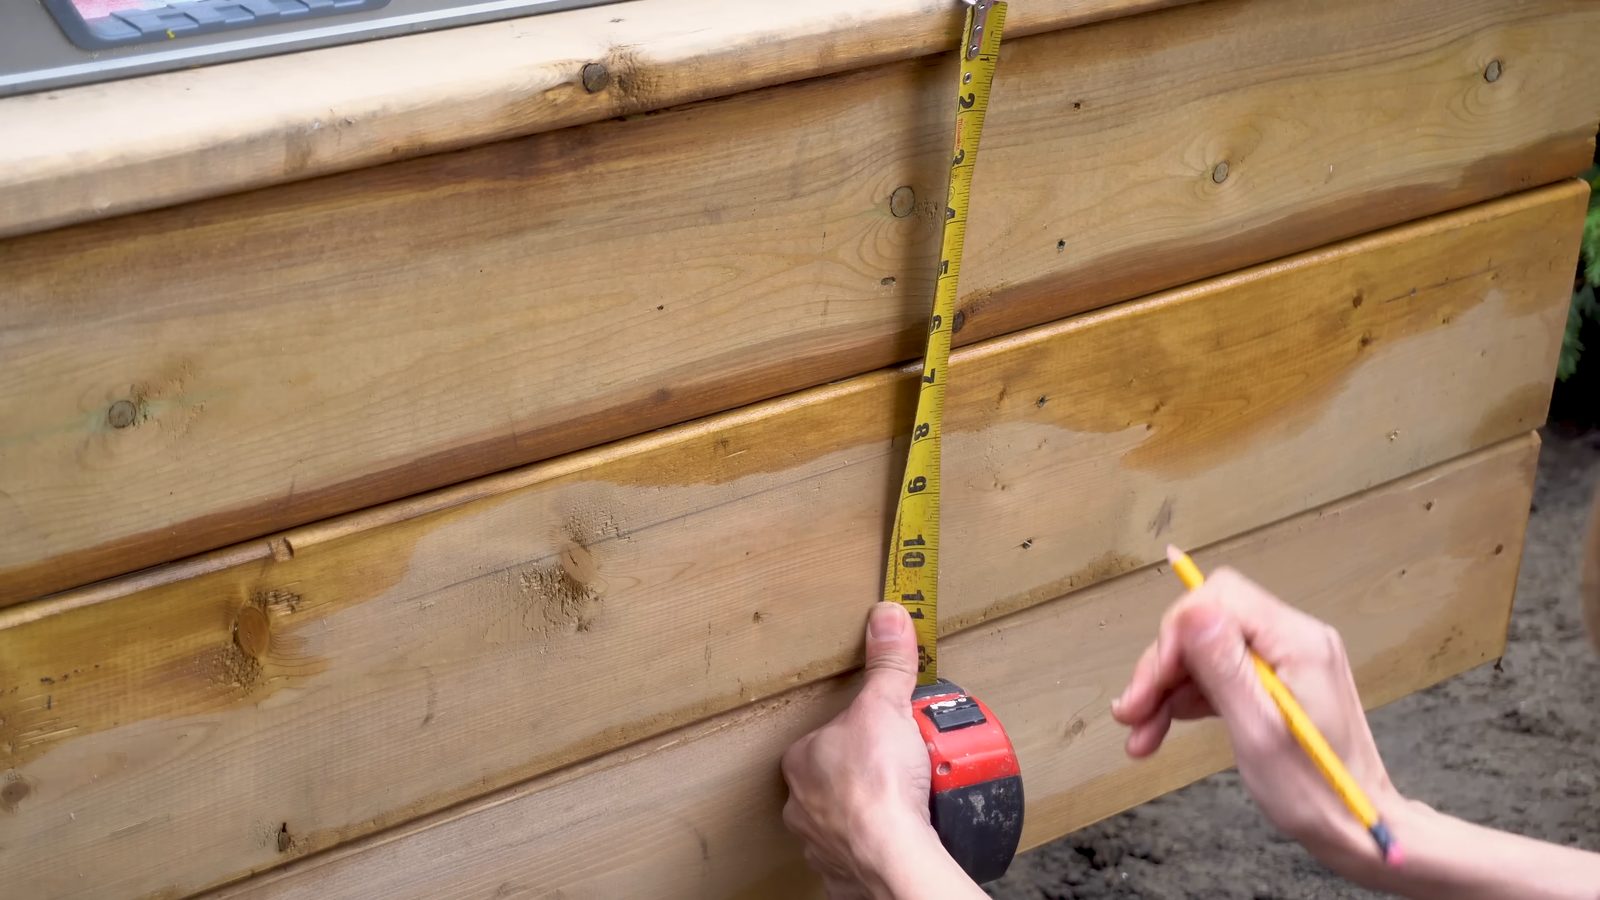
Hang and anchor the stringers
Bend the Simpson Strong-Tie LSC Adjustable Stair-Stringer Connector , LSCZ in galvanized, to match your stair’s slope before installing it. The connector is also reversible, so your screws can stay hidden for a cleaner look. Use the connector fasteners specified by Simpson, the Strong-Drive SD Connector screws, #9 × 1-1/2″ .
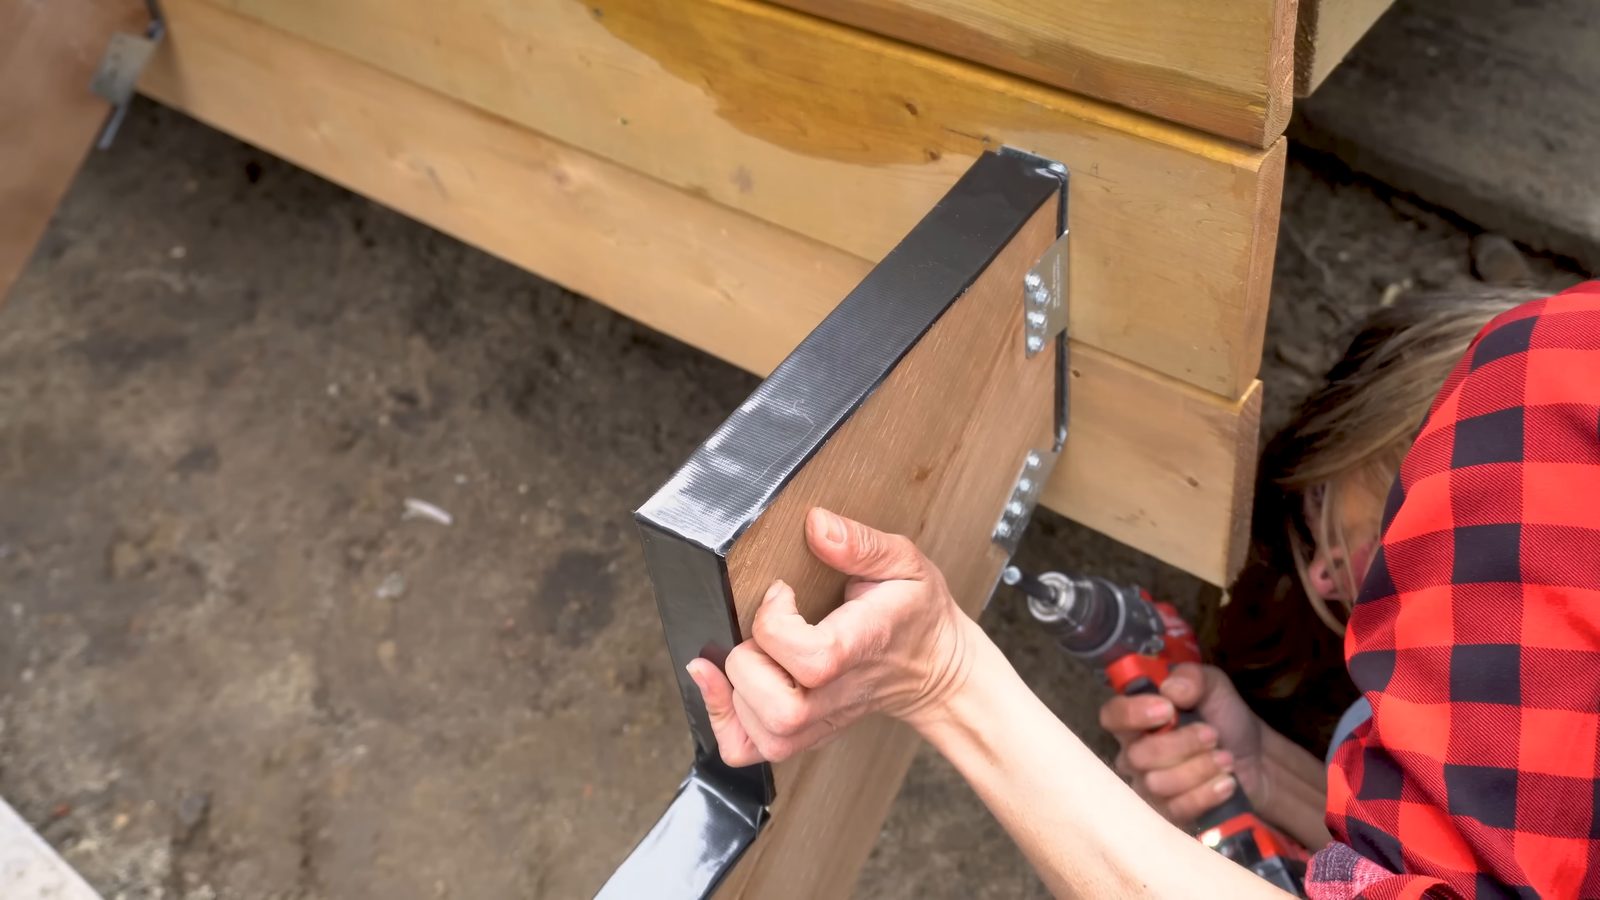
Once every stringer is hung, check it for plumb with a laser, then add angle brackets to secure each stringer to the pressure-treated 2×4 base plate underneath it. The 2×4 provides a solid connection point for securing the bottom of the stringers to the concrete landing.
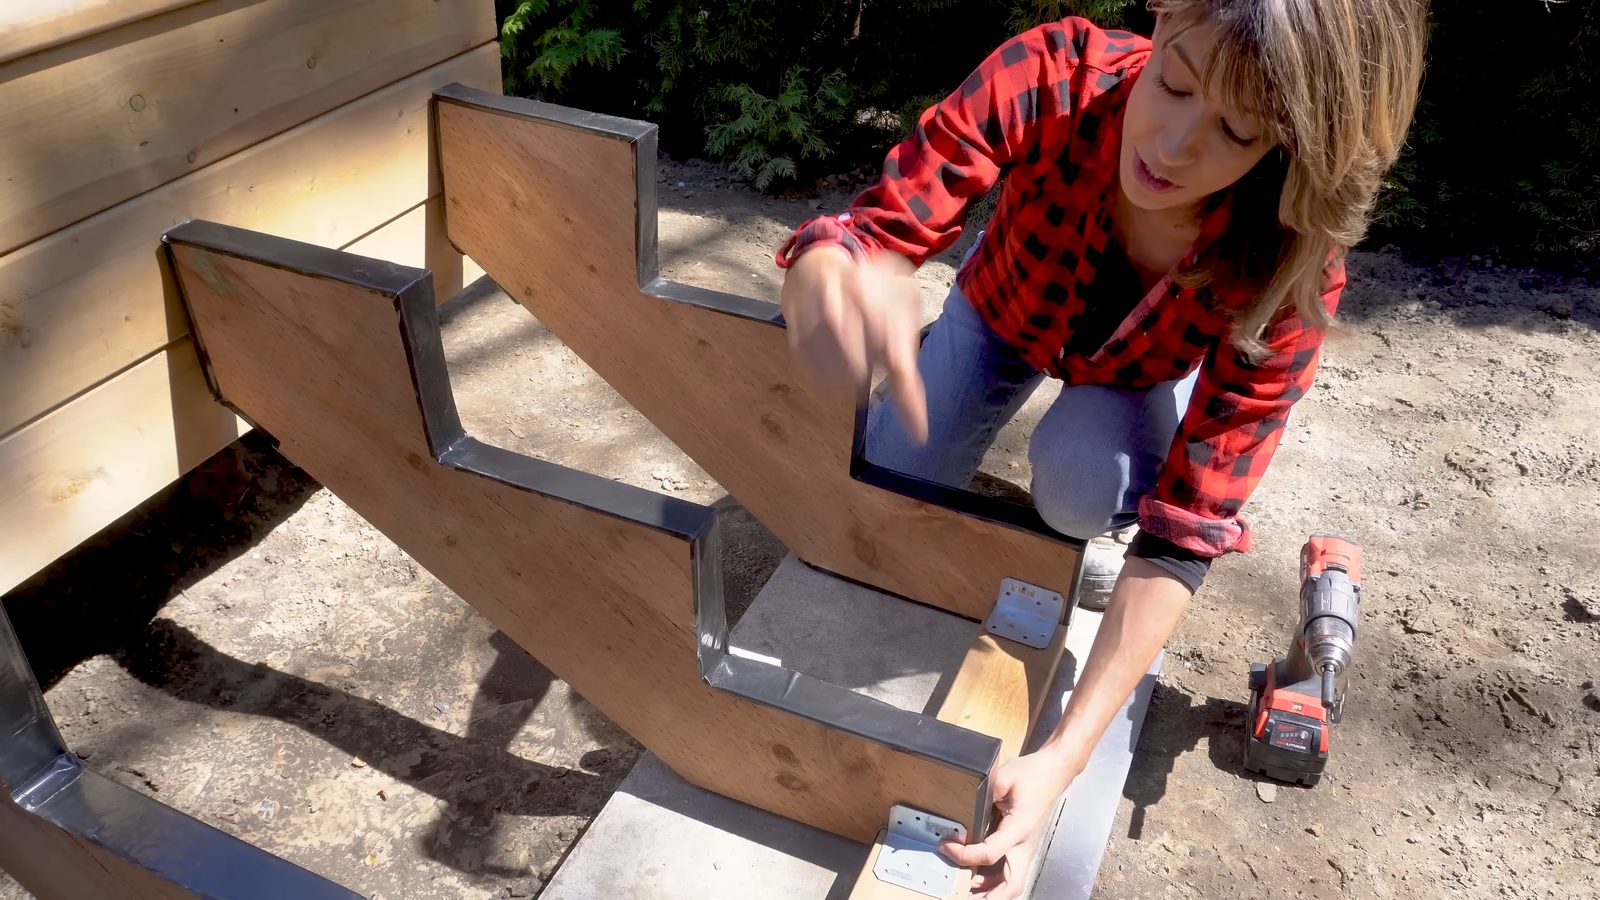
Finish by anchoring that base plate to the concrete pad with masonry wedge anchors. Using your hammer-drill, make a hole 1/4″ deeper than the anchor, clear the dust out with a shop vac, then hammer the anchor down into place.
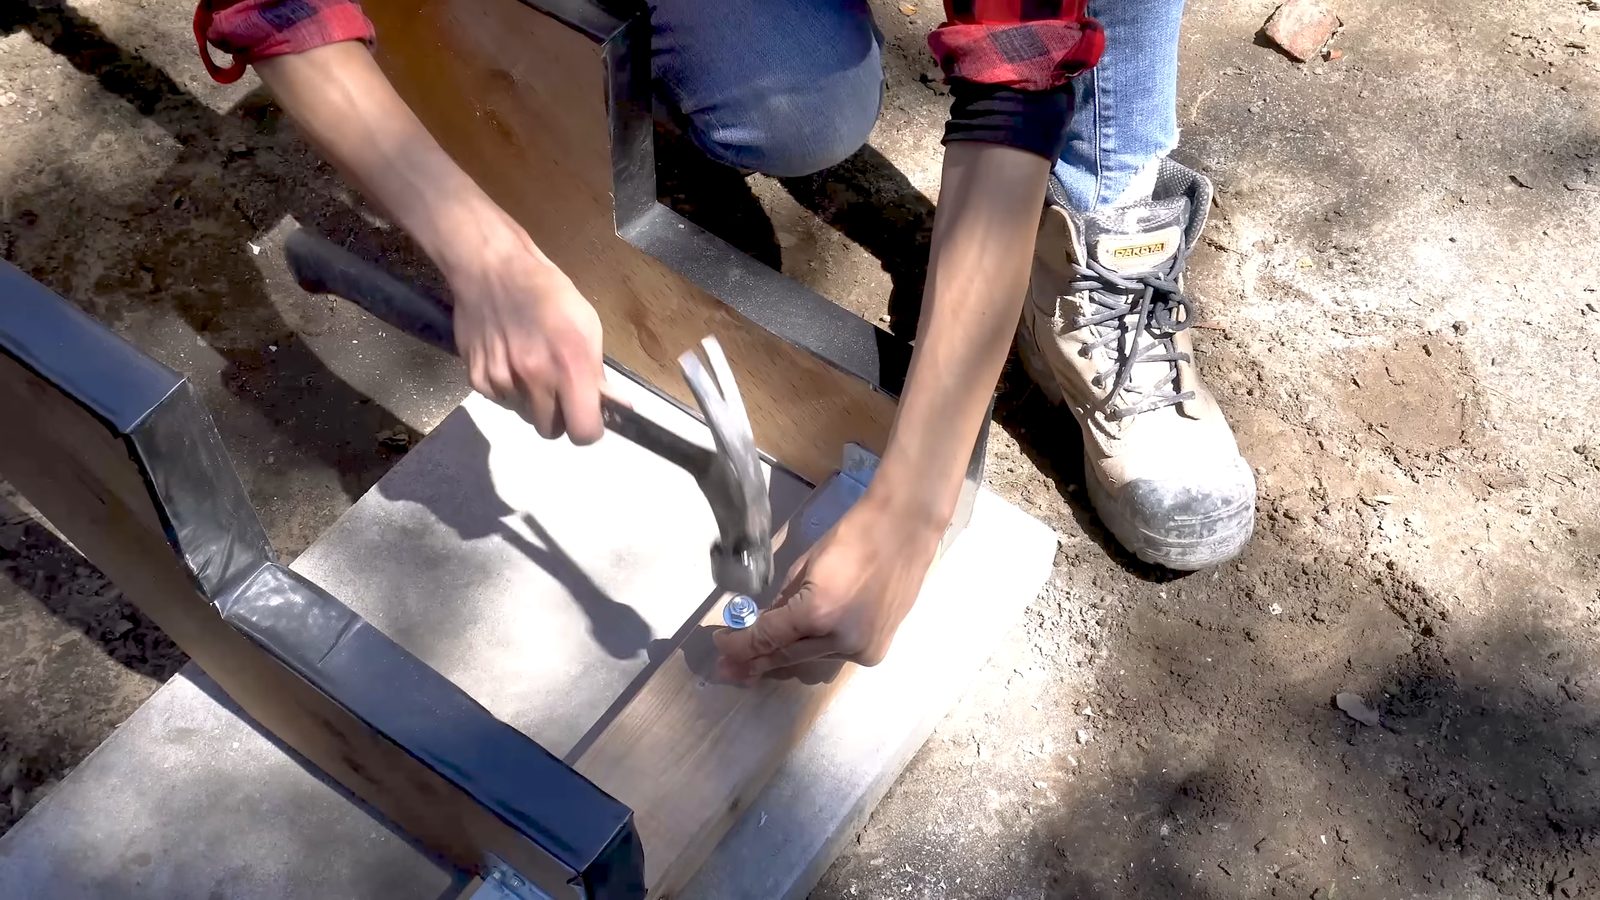
Drive the wedge anchor home and tighten it with a wrench until the base plate pulls tight to the concrete.
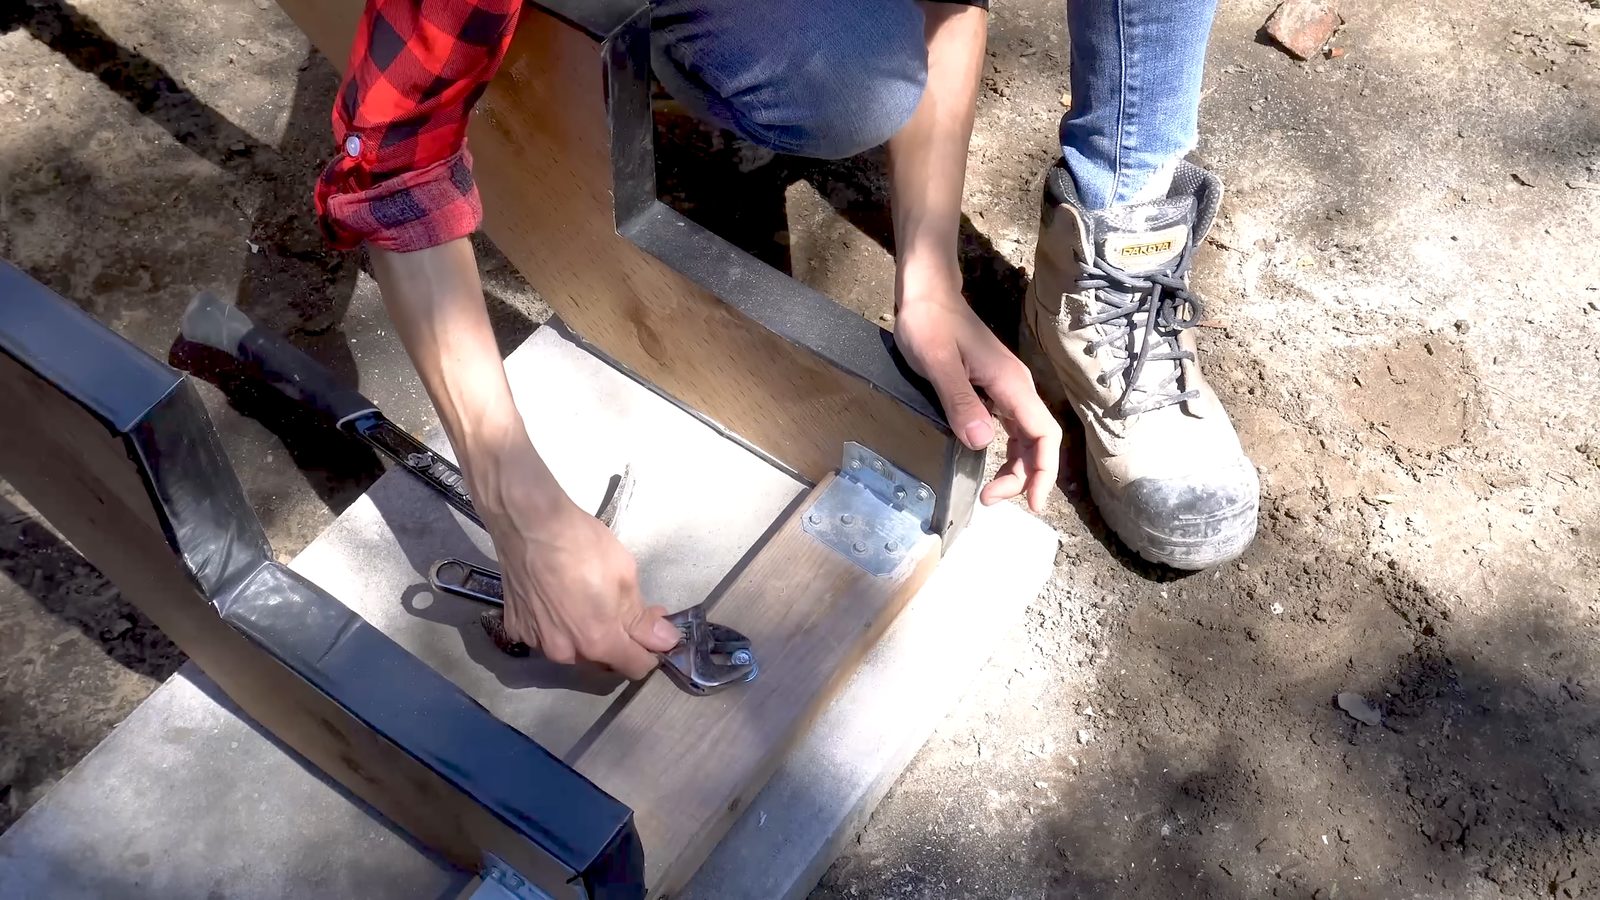
Install the treads and risers
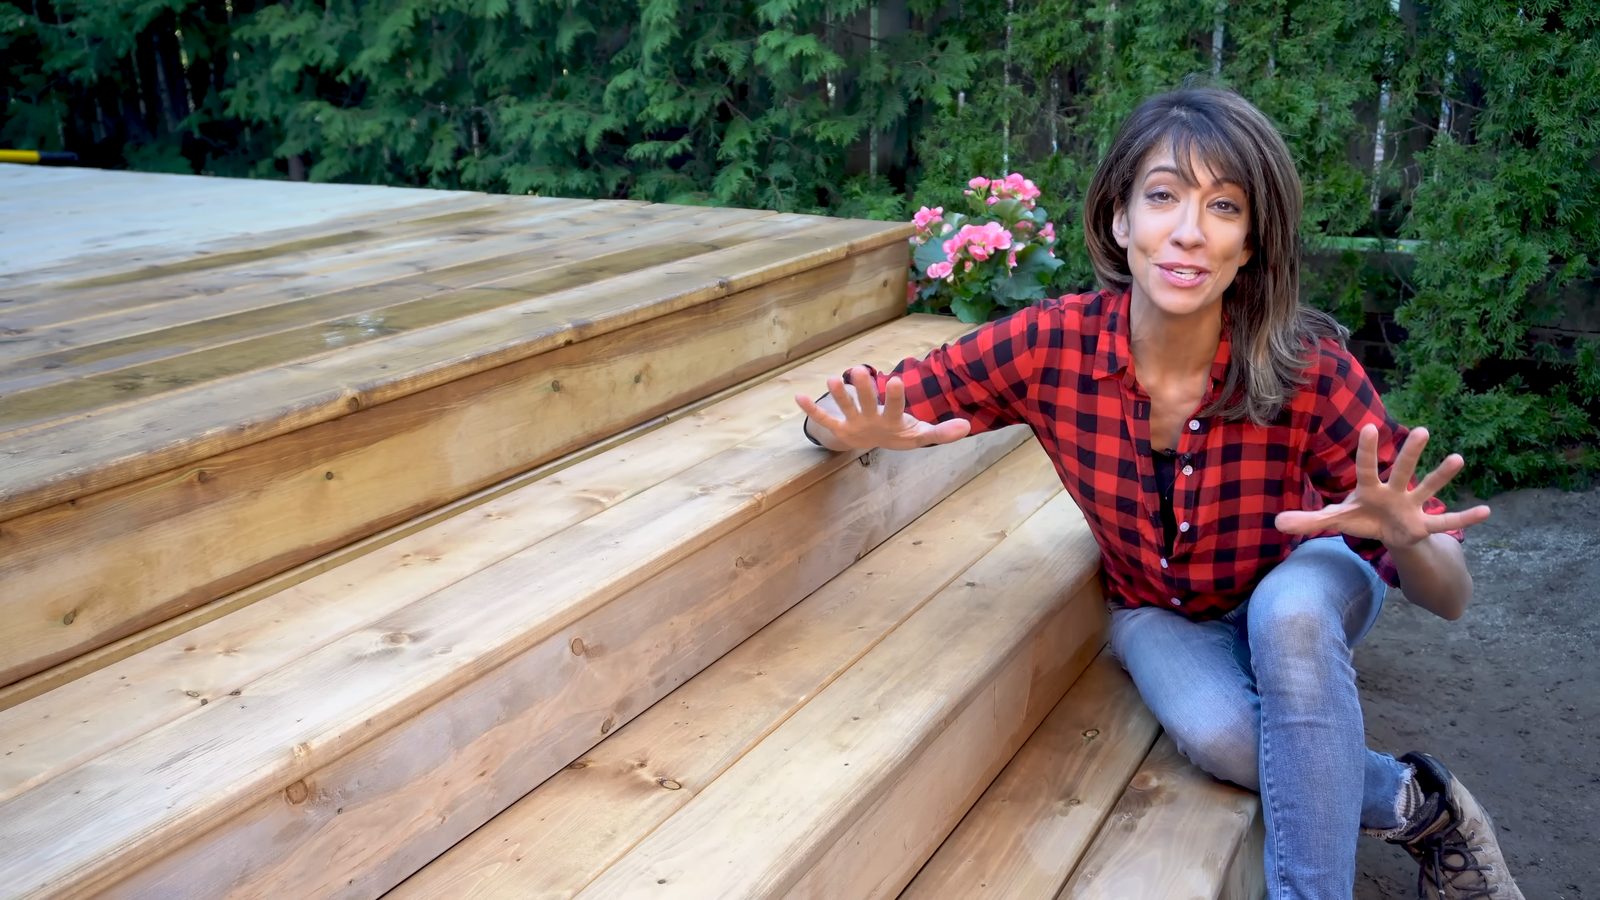
Install the stair treads and risers, keeping a consistent 3/4″ nosing overhang from step to step, checked with a speed square. I install treads first on this build; risers first is also common. For face fastening, I use GRK FIN/Trim screws . They have the smallest screw head on the market, so they virtually disappear into the decking for a clean, finished look. They’re exterior-rated and approved for pressure-treated lumber.
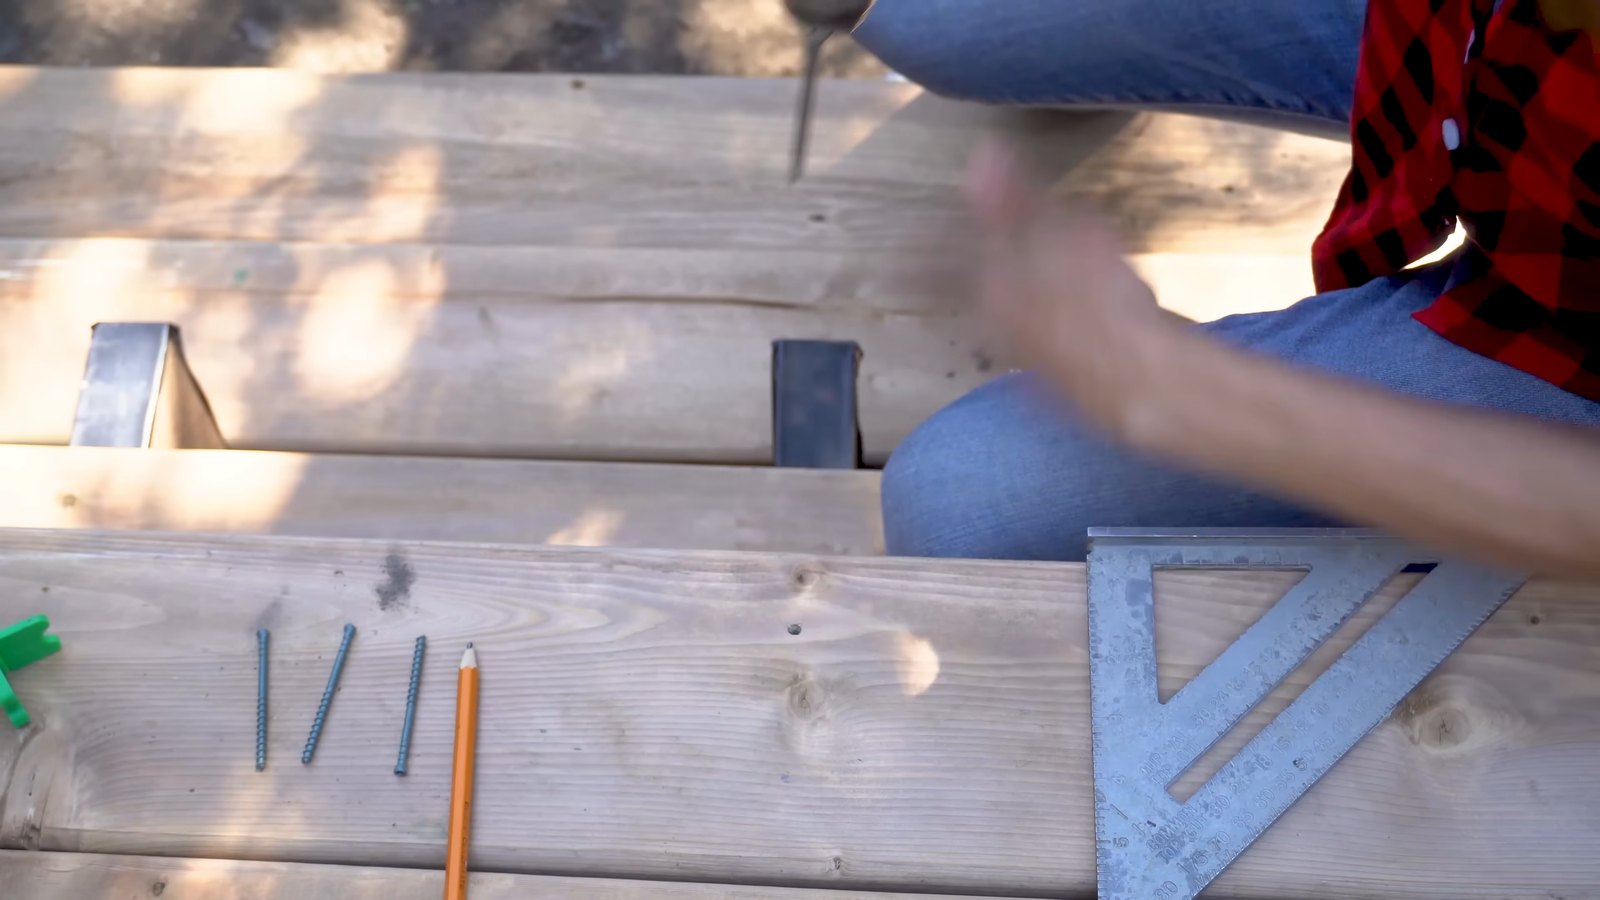
Work up the stairs one board at a time, setting each tread onto the stringers before fastening it.
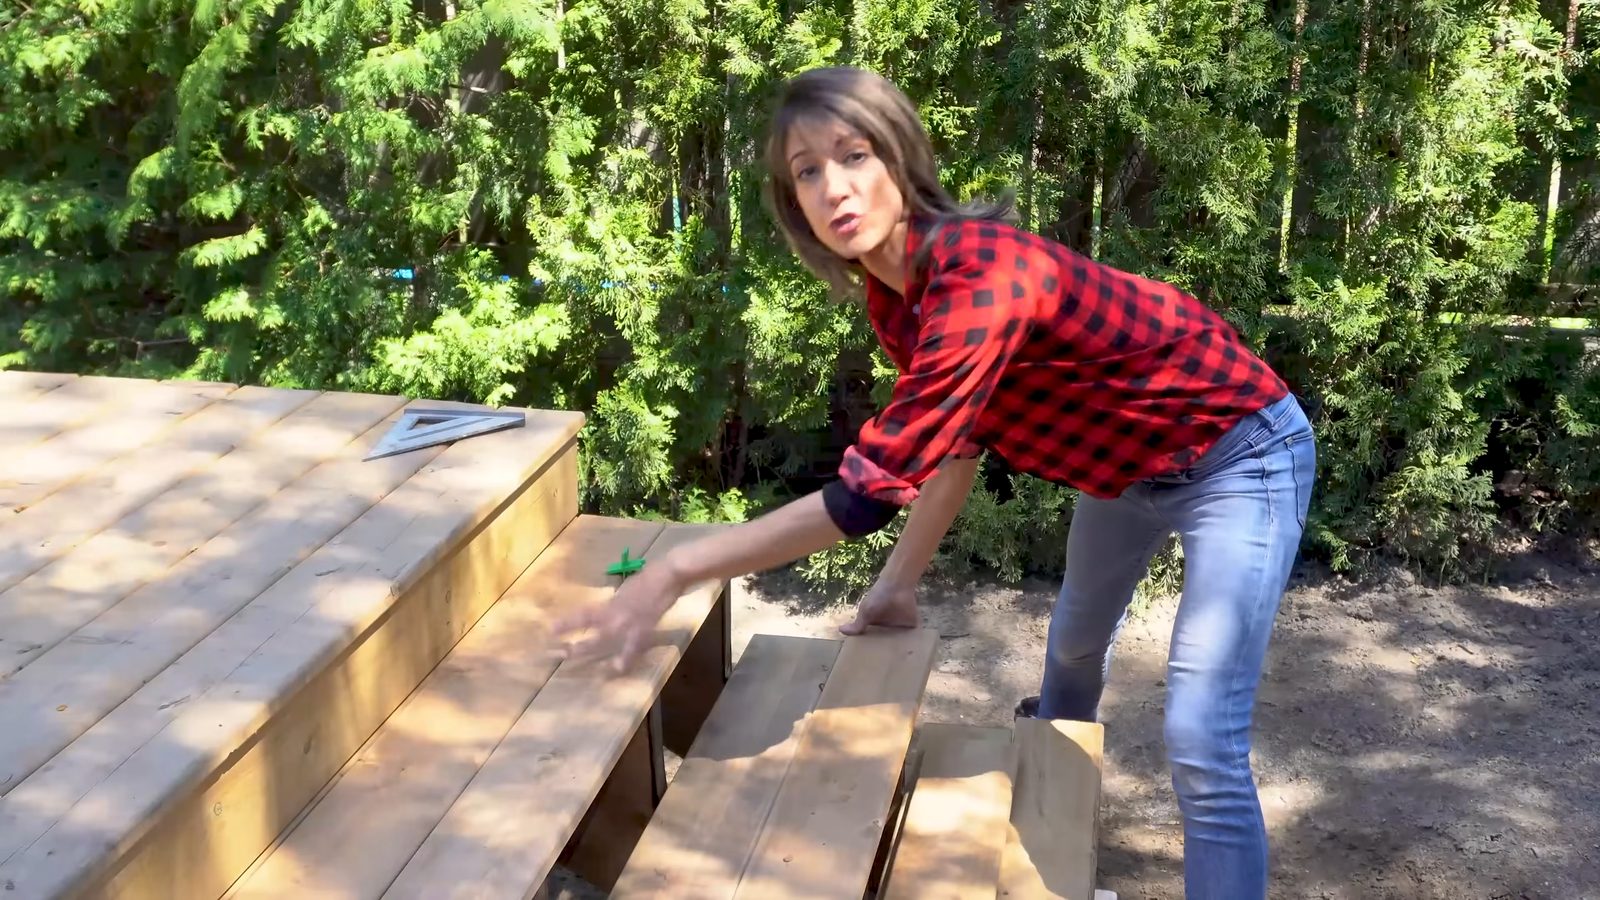
Install two screws per deck board into each stair stringer, evenly spaced using your speed square, for clean, professional-looking deck stairs. Finish with an environmentally safe UV-protective sealer/stain for a warm, natural look that never needs sanding.
A Quick Safety Note
- Wear gloves any time you’re handling pressure-treated lumber.
- Wear a mask and ear protection any time you’re cutting.
A real build by Daru Dhillon , licensed general contractor. Watch the complete build on YouTube .