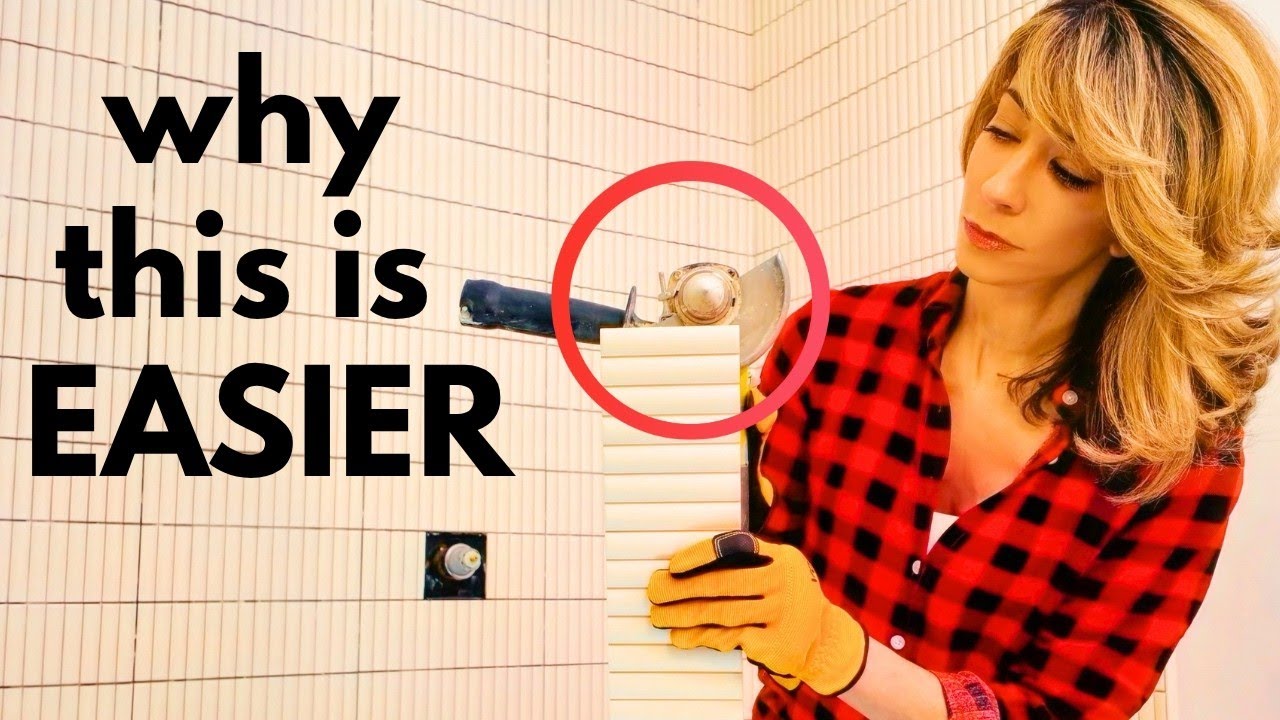
How to Install a Curbless Shower Base
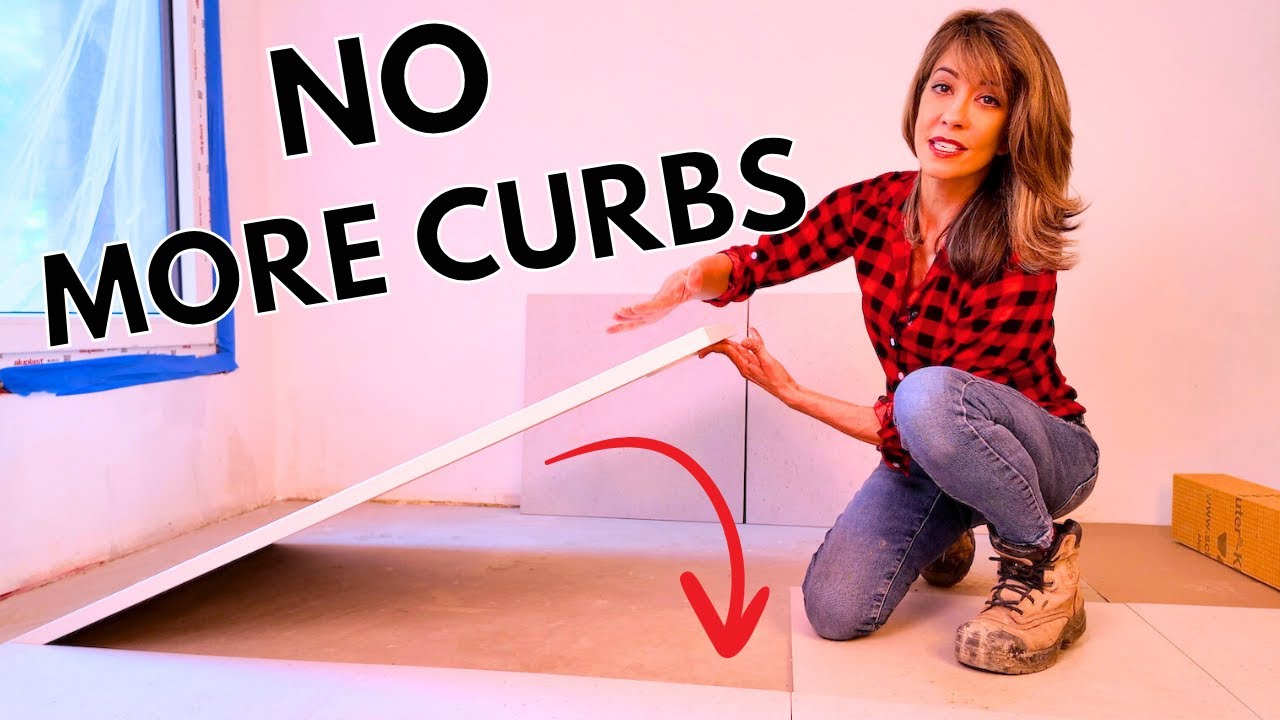
Project Overview
A curbless shower base gives you a clean, modern, barrier-free entry with a hidden drain. No thick curb to step over, no visual break in the floor, and a bathroom that instantly feels bigger. Here’s how to set and level a curbless shower base in about 90 minutes.
Tools & Materials You’ll Need View complete list
Tools
Materials
- LATICRETE LHT PLUS high-strength modified mortar (50 lb)
- 100% silicone sealant
- #8 × 3/4 in. self-tapping screws
- Composite shims
- RedGard waterproofing membrane
Curbless Shower Base Installation, Step by Step
Square the Shower Walls
A framing square is a must here. Check that every shower wall is square before you start. The base, the walls, and the finished tile all have to be square for a professional result.
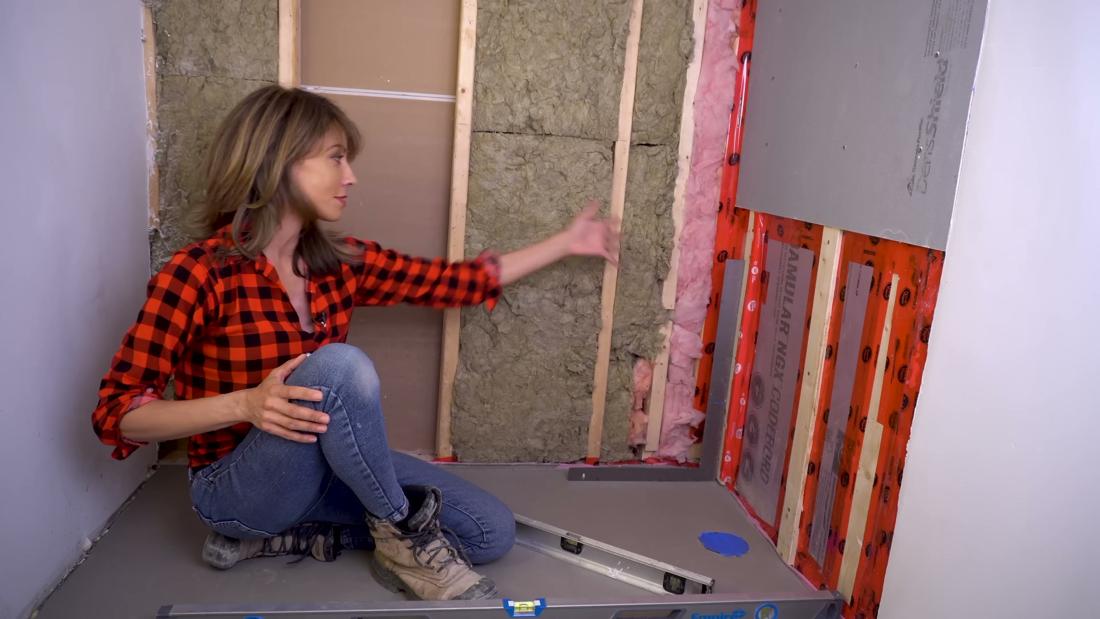
Set the square into the corner and confirm the two walls meet at a true 90°. A wall can read square on its own and still form an out-of-square corner, so check the corner itself. Before any mortar goes down, always dry-fit the base to confirm your walls are square.
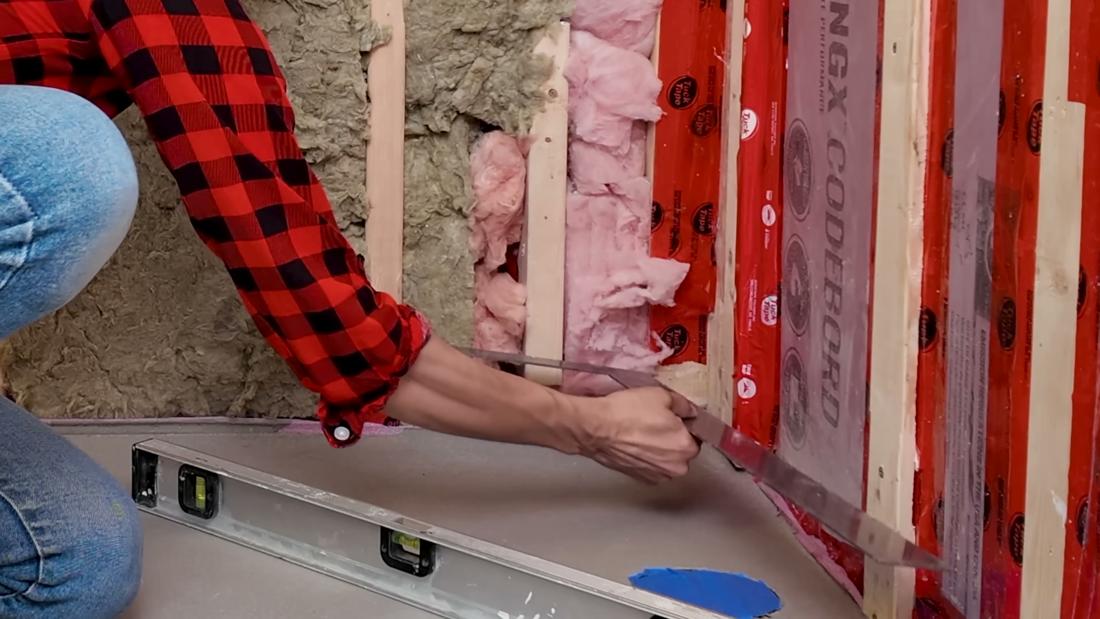
Install the Shower Drain
Always test-fit your drain before installing. This drain screws in, and it comes with two gaskets, a standard rubber gasket and a paper one. Do not throw out the paper gasket. Thread the drain body into the rough-in to confirm it seats and threads properly, so there are no surprises once the base is down.
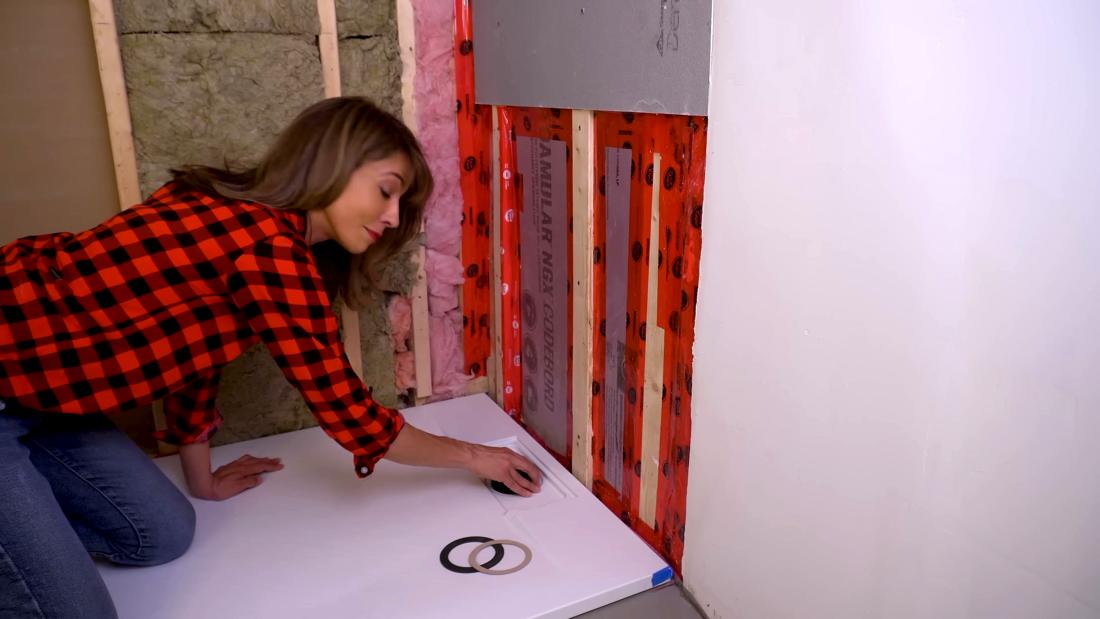
Tape off the floor drain opening while you work above it. And a licensed plumber can install your drain line. Remember, the rough-in needs to sit flush with the subfloor and be level, which makes your finished plumbing line up easily.
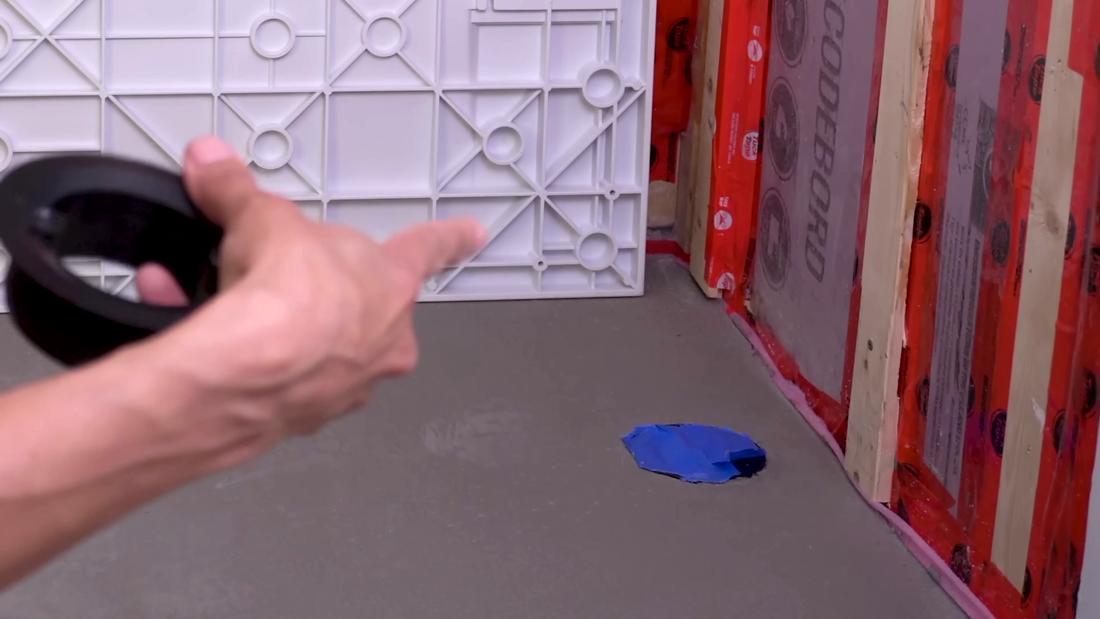
Seal the Shower Base Flange
The tile flange prevents water from leaking in behind your bathroom walls. Three tile flanges will come with the base, but I’m only using two for this installation. Run a bead of silicone where the flange meets the base, then set the flange into it and seal your corners.
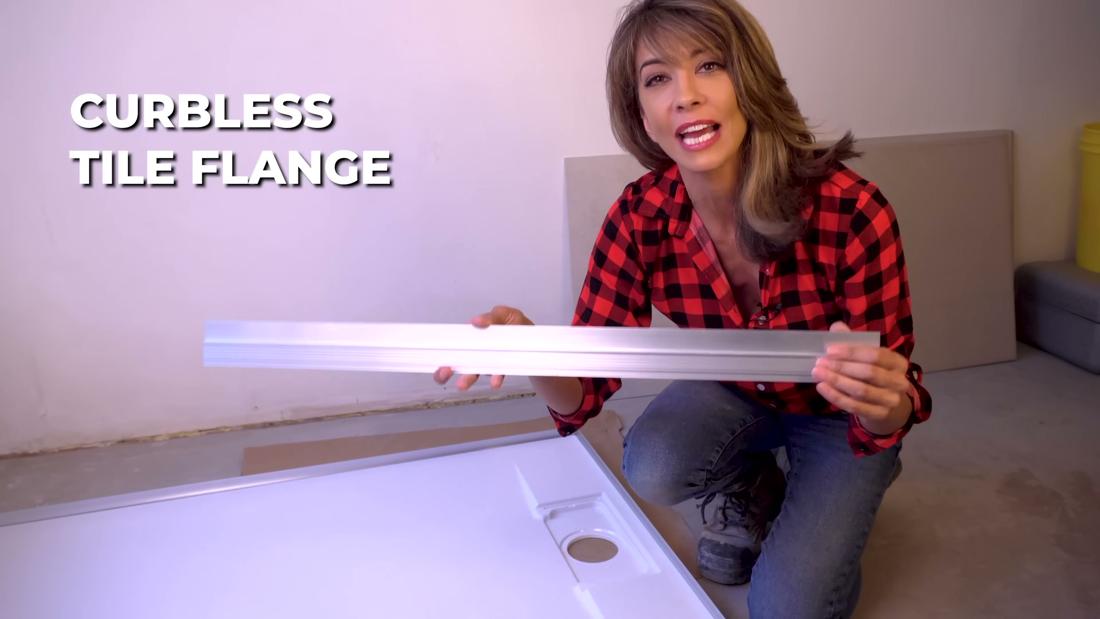
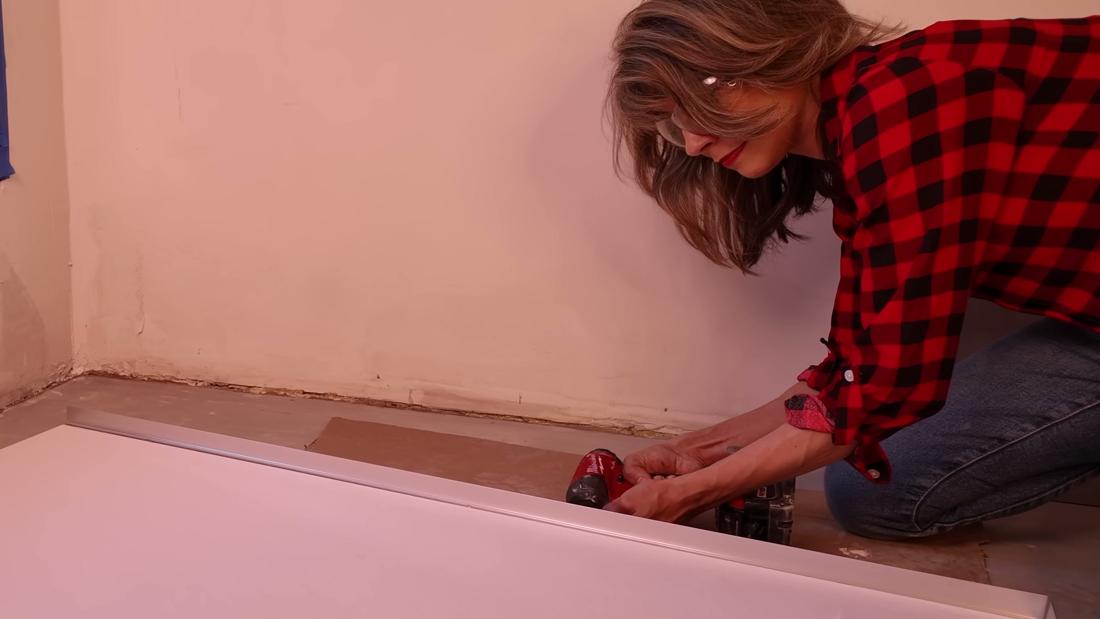
Fasten the flanges to the back and side with self-tapping screws, seated against your shower walls, so your wall board and tile lap over them.
Mix & Apply Thin-Set Mortar
This base requires a manufacturer-approved modified thin-set mortar. Always follow the mortar requirements for your specific shower base.
For this build I used LATICRETE LHT PLUS, a high-strength modified mortar.
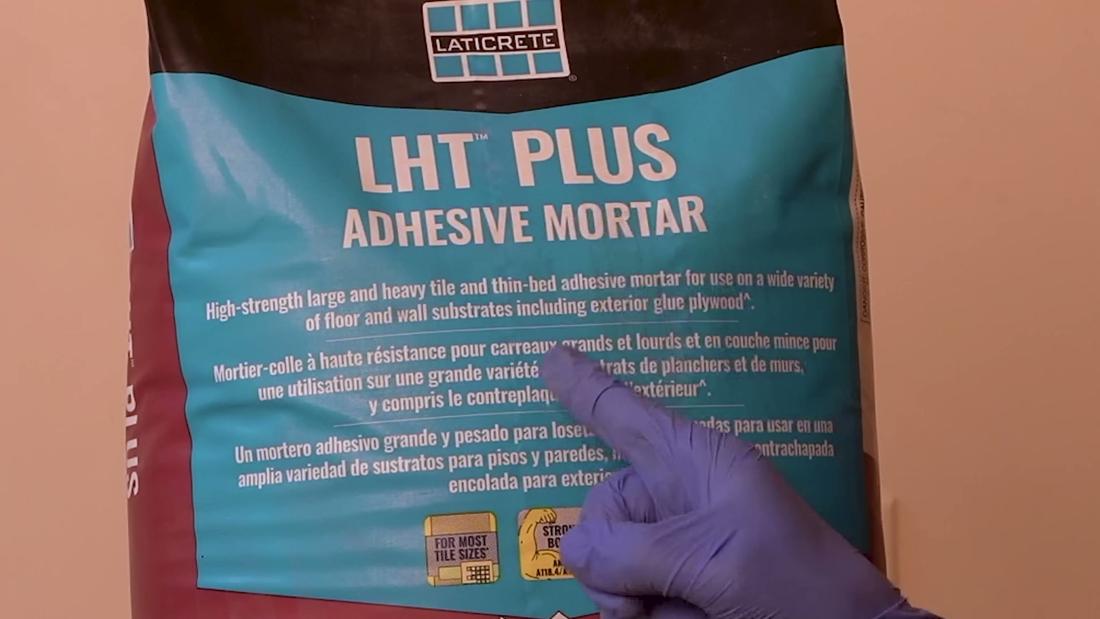
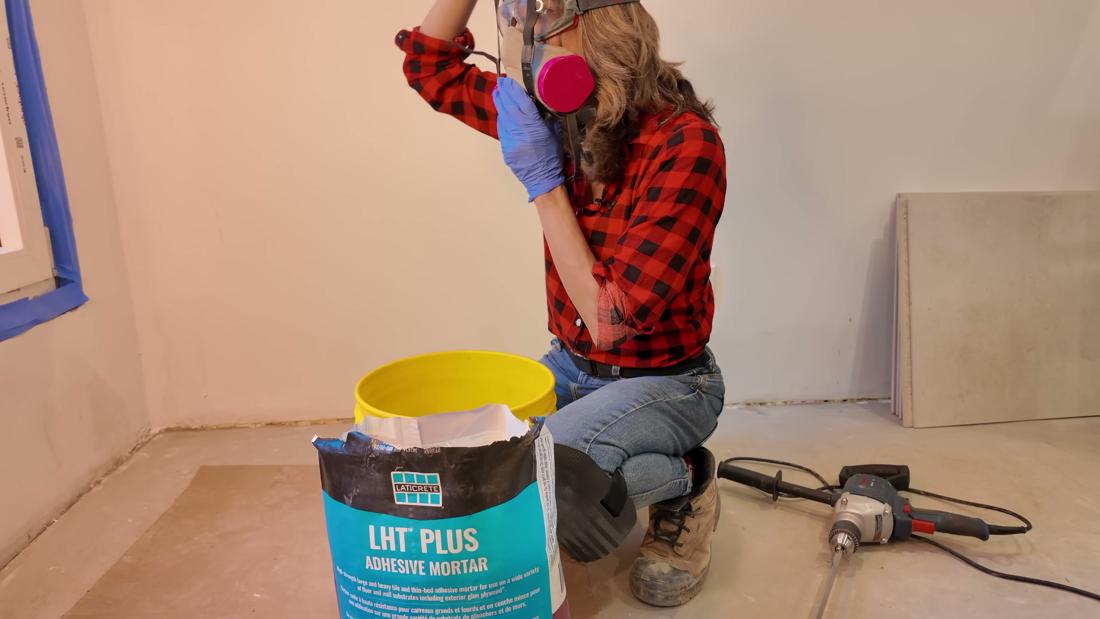
Follow the mixing directions exactly, wear PPE, and mix at low RPM so you don’t whip air into the mix.
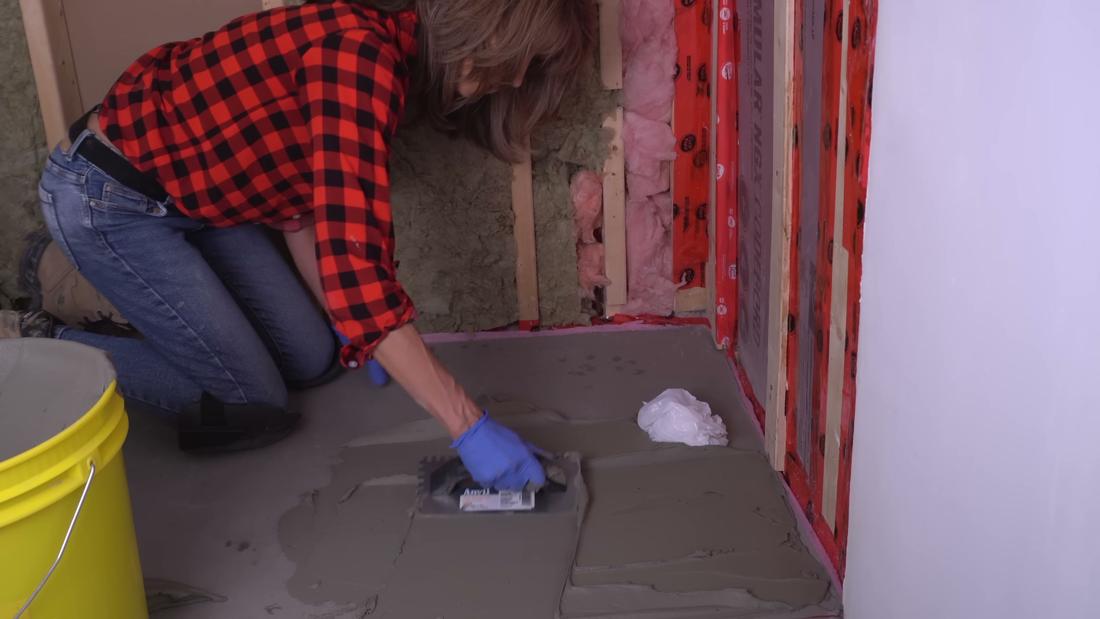
Spread the mortar with the flat side of your trowel first to key it into the subfloor, working right to left. Applying force ensures maximum adhesion and bond between the subfloor and the shower base.
Then change directions and key it in again north to south. Crossing directions drives the mortar into the subfloor from every angle and pushes out any air pockets, so you get full contact and a solid bond.
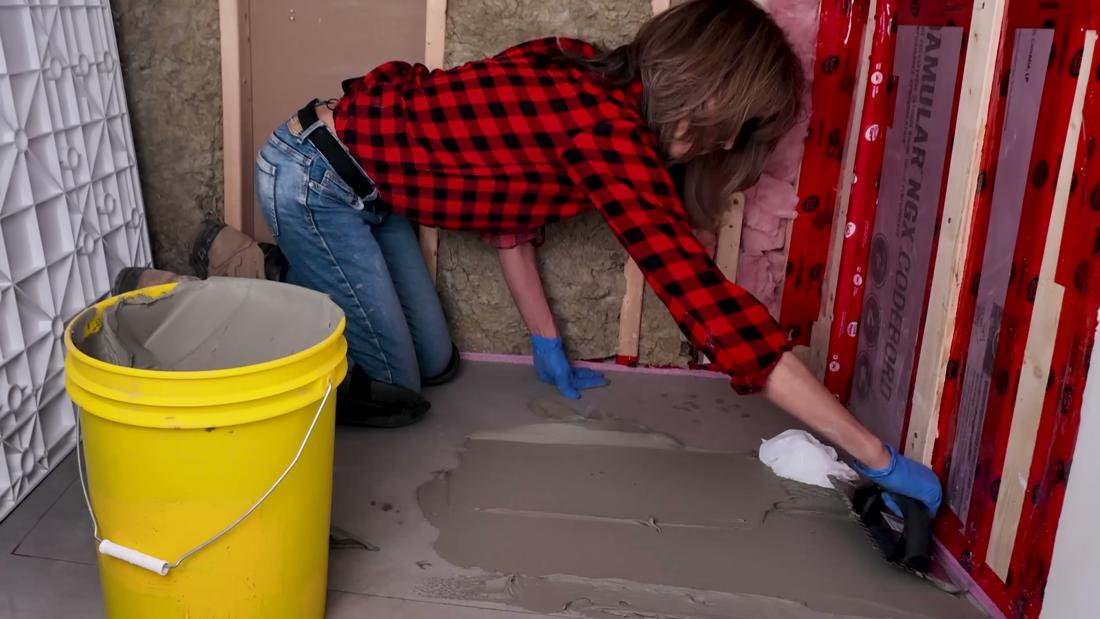
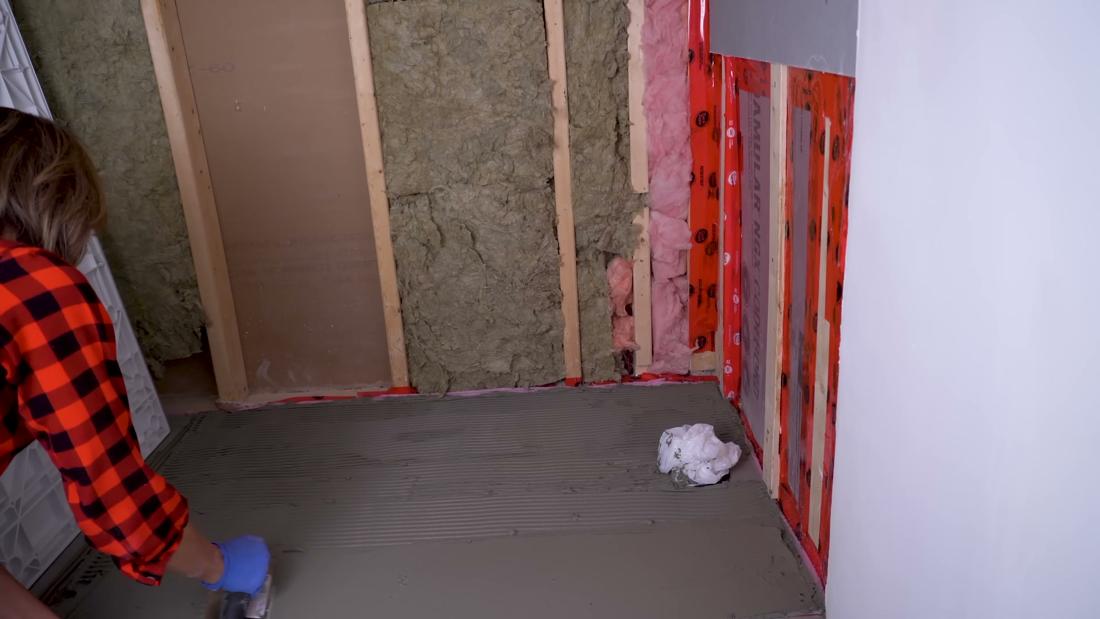
Smooth the mortar out evenly across the whole base.
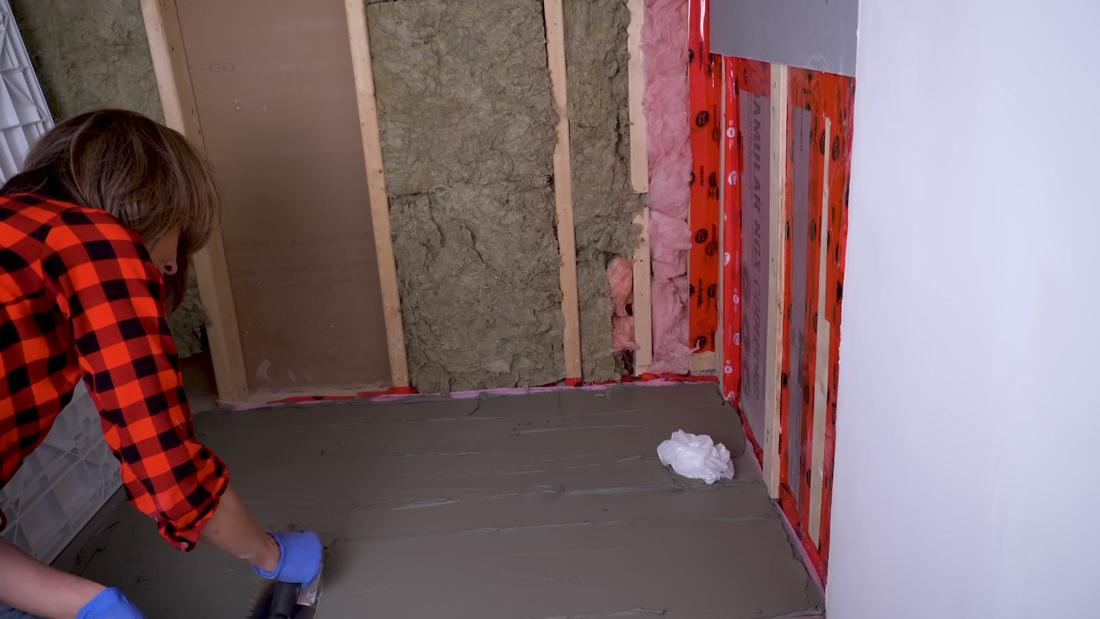
Once it’s smooth, then comb it with the 1/2 in. notched side, all ridges running in the same direction.
Set the Base
The gaskets go down before the base does. On the drain that is connected to your subfloor, set the paper gasket first, then the rubber gasket on top. Follow that order: paper, then rubber, then the base.
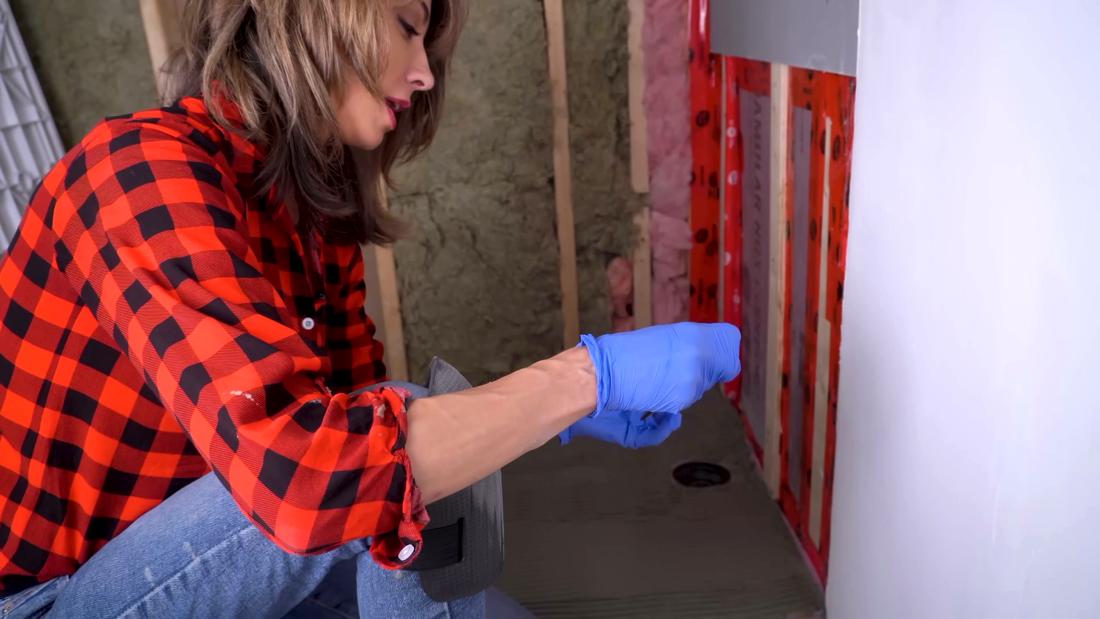
Now line the base up and lower it into the mortar bed over the drain. These solid-surface bases are heavier than vinyl ones (about 30 lb), but you can set it solo: get a good grip, lower it deliberately, and press it down.
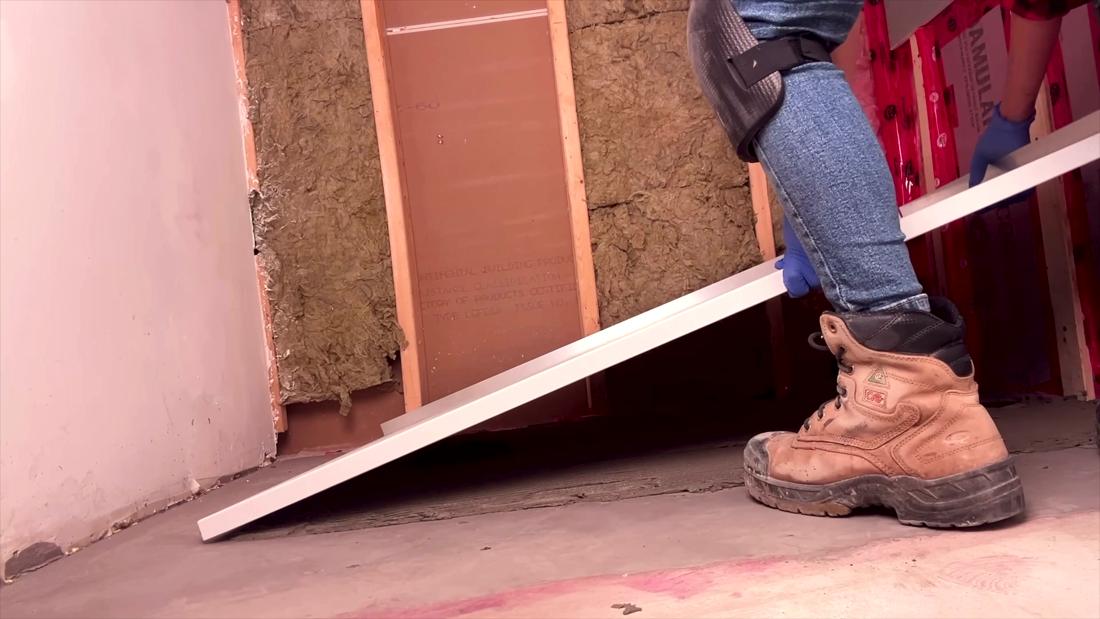
As you press down with your body weight, you will feel the mortar compress and the trowel ridges collapse. That is the base bedding in. Seeing those collapsed grooves squeeze out along the front and sides is your proof of a solid, void-free bond.
Level the Shower Base
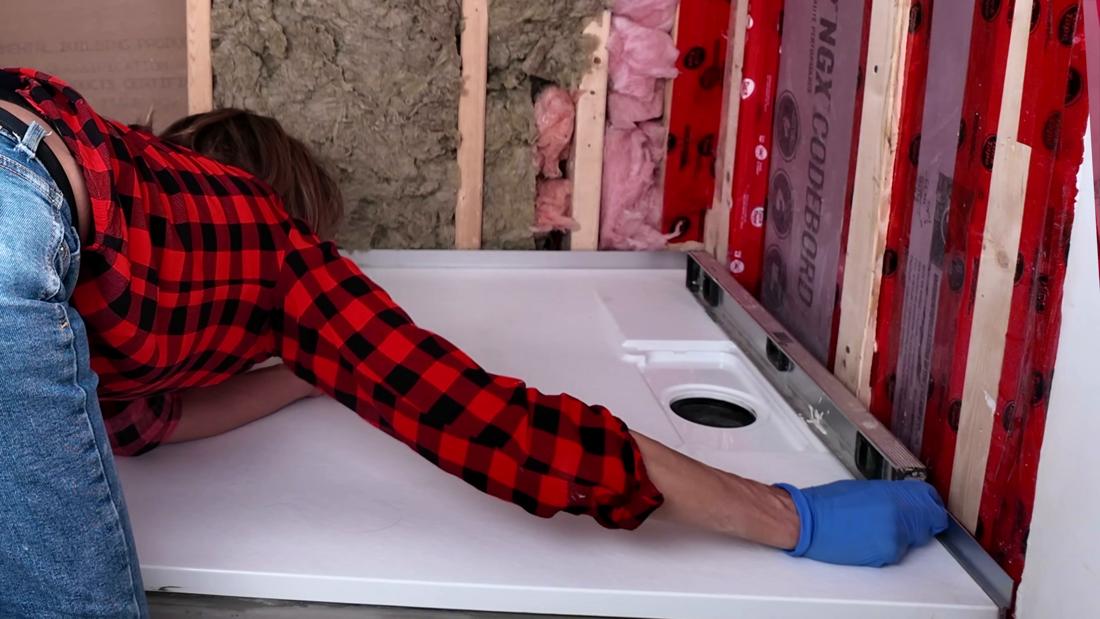
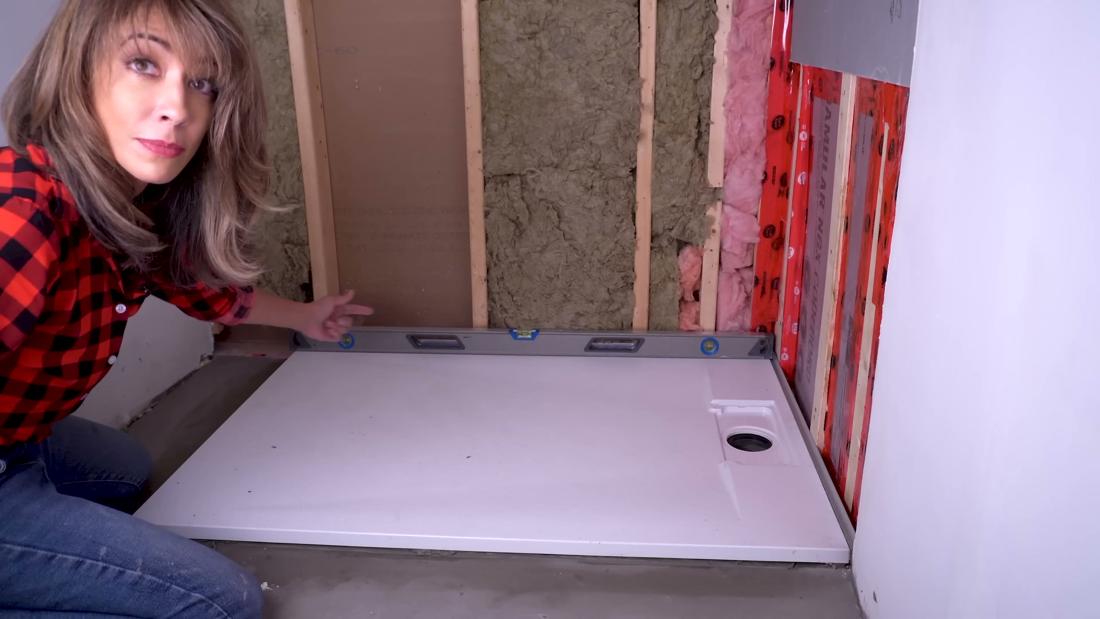
Once the base is set, check it for level in every direction: front, back, both side walls, and across the base in an X (both diagonals). Here is the key point most people miss: these bases come pre-sloped, so the slope to the drain is already built in. Your job is to install the base level and let the pre-slope do the draining. They drain beautifully, but only if the install is level.
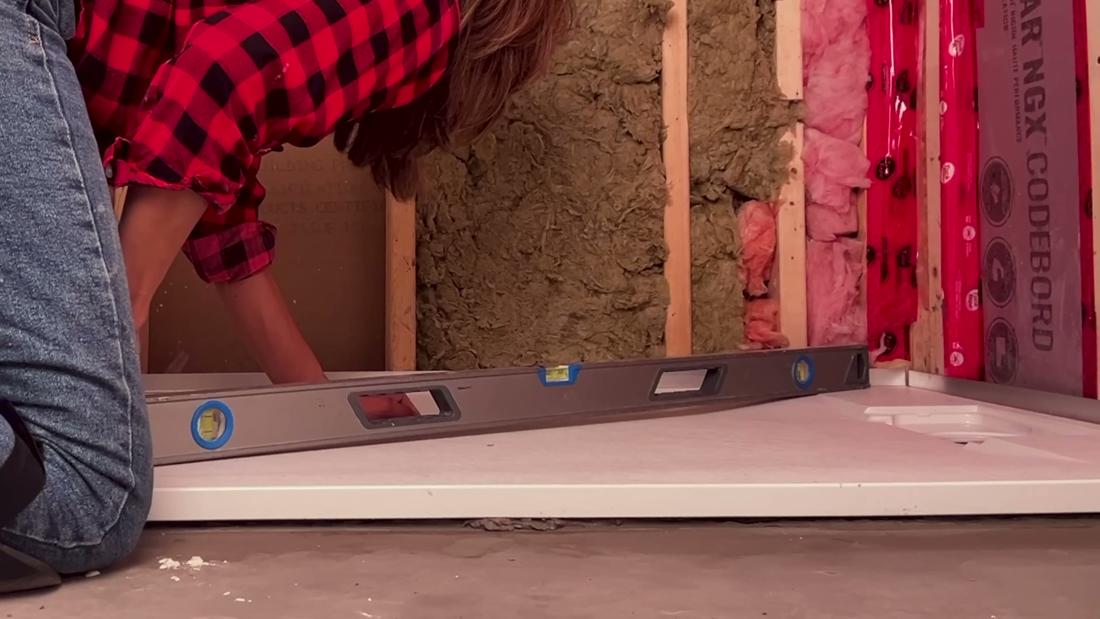
If a corner sits slightly low, slide a small composite shim underneath to bring it up and lock it level. Check the front and sides for adhesion too.
Connect the Shower Drain
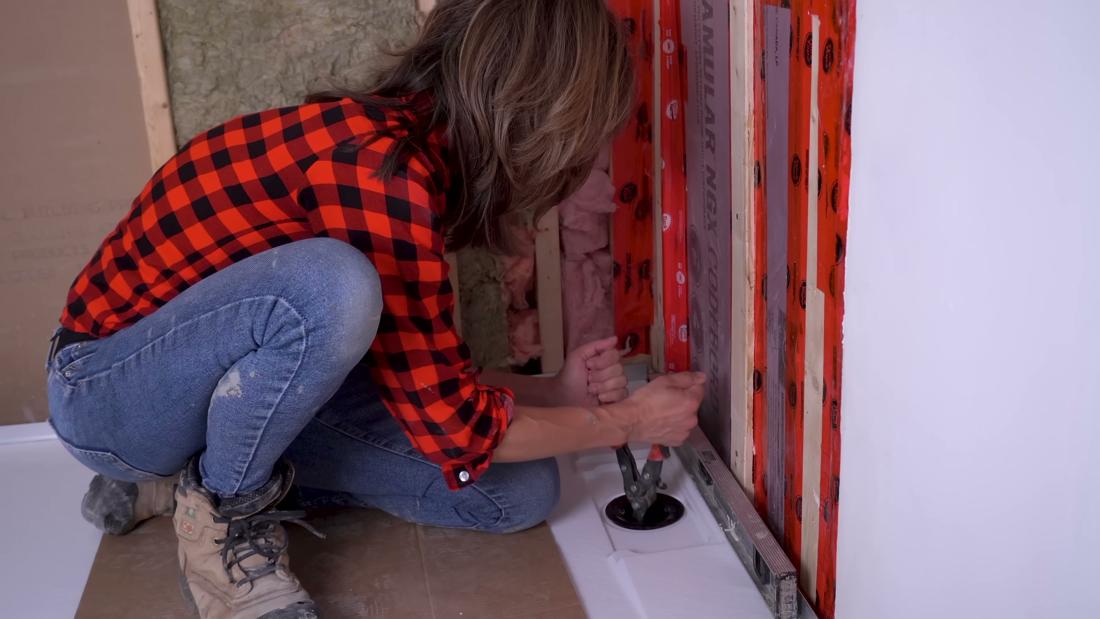
With the base set over the gaskets, connect the drain from the top. Apply a bead of 100% silicone to the underside of the drain body to create a watertight seal with the base. Thread the drain body into place and tighten until it seats securely.
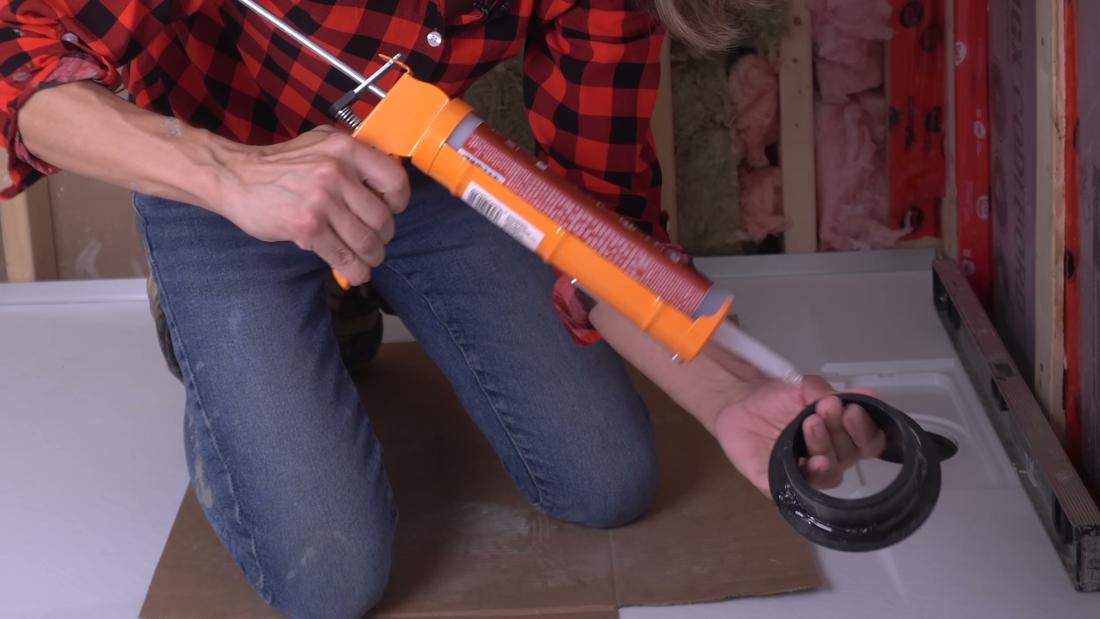
There is a dedicated tool for turning the drain, but you do not need to buy one. Use the tin snips hack below.
Low-Profile vs. Fully Curbless Installation
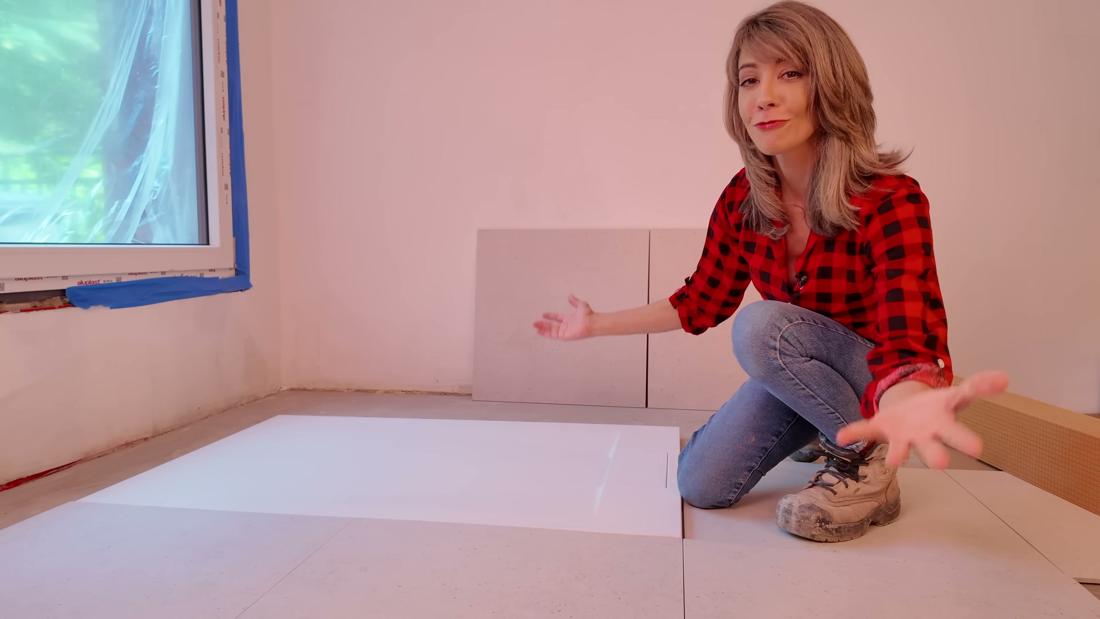
You can finish this base two ways. For a low-profile installation, the base sits about 1/2 in. above the finished floor. For a fully curbless installation, recess the base as required so the finished bathroom floor can transition flush into the shower.
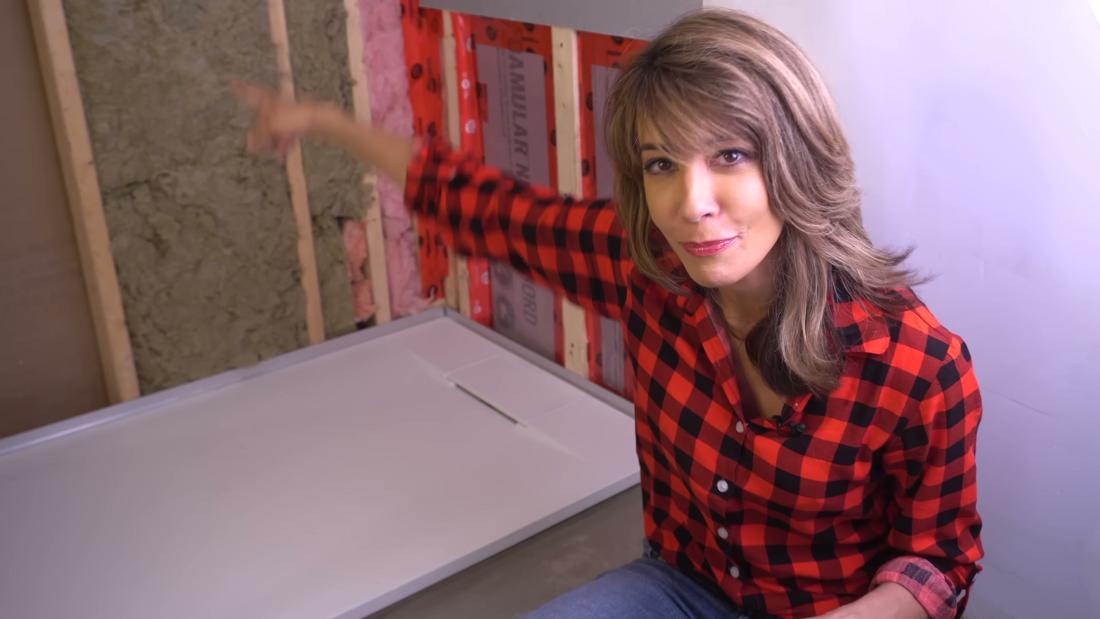
This base also has a reversible drain, so you can set it on the left or right to suit your layout. If you prefer a center drain, a separate center-drain base is available (linked in Tools & Materials).
Key Details
Success Notes
- Have your plumber set the rough-in drain level; it makes the finished plumbing far easier.
- Use thin-bed mortar (not medium-bed) so the thin base bonds correctly.
- Ensure full, void-free mortar coverage under the base so it is fully supported.
- Follow the base and drain manufacturer’s waterproofing instructions and local plumbing code.
Curbed vs. Curbless Shower: The Difference
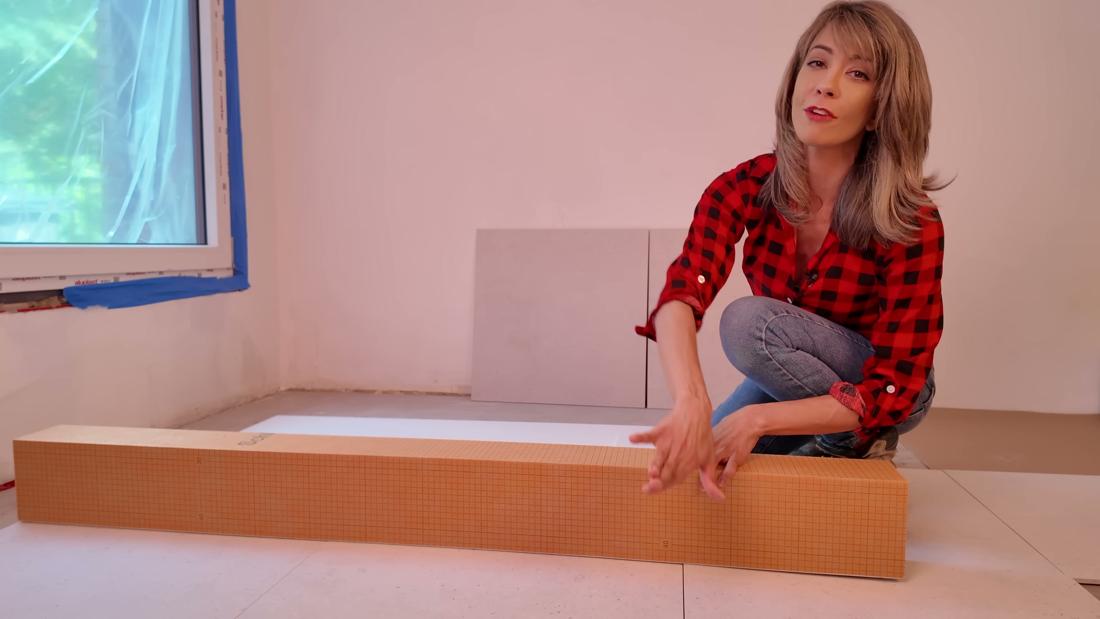
Here is the benefit. The curb is gone, the floor reads as one continuous surface, and the whole bathroom feels bigger and cleaner.
About This Guide
A real build by Daru Dhillon, licensed general contractor. Watch the complete build on YouTube.
Continue Your Building