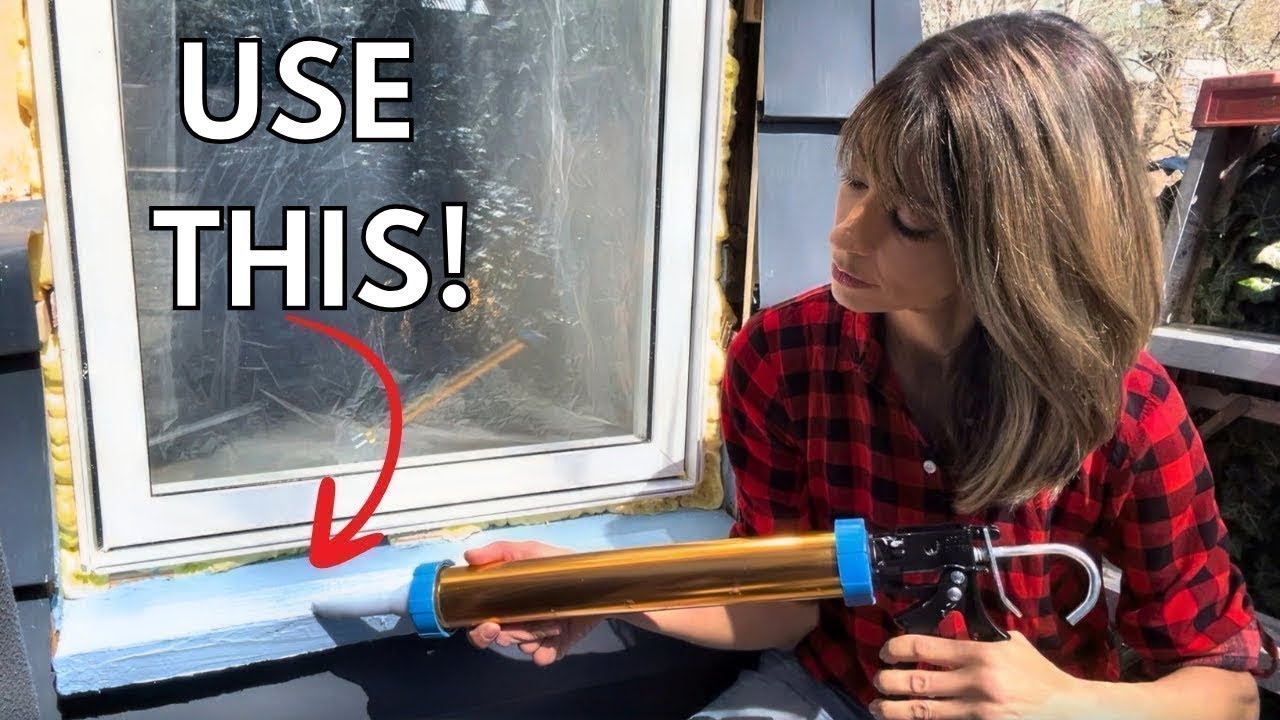
How to Install a Lintel & Enlarge a Window Opening

Tools & Materials You’ll Need View complete list
Tools
- SDS Hammer Drill
- Angle grinder
- Diamond / masonry blade
- Level
- Safety goggles
- Ear muffs
- Circular saw
- Hammer drill
- 25′ tape measure
- Masonry trowels
- Adjustable steel props + Strong Boys
Materials
- Sleeve anchors
- Type N mortar
- Reclaimed brick to match
- Waterproofing membrane
- Liquid flashing
- Low-expansion spray foam insulation
- Indiana Limestone sill (6″ full depth)
- Indiana Limestone header
Learn how to enlarge a window opening in a brick wall, temporarily support the masonry with needle beams and adjustable steel props, install steel lintels, and finish with an Indiana Limestone sill and header.
This guide documents the methods used on this project. Structural support, lintel sizing, bearing and code requirements vary by building and jurisdiction.
Tools and materials used in this project.
Shop on AmazonLay Out & Cut a Straight, Plumb Opening

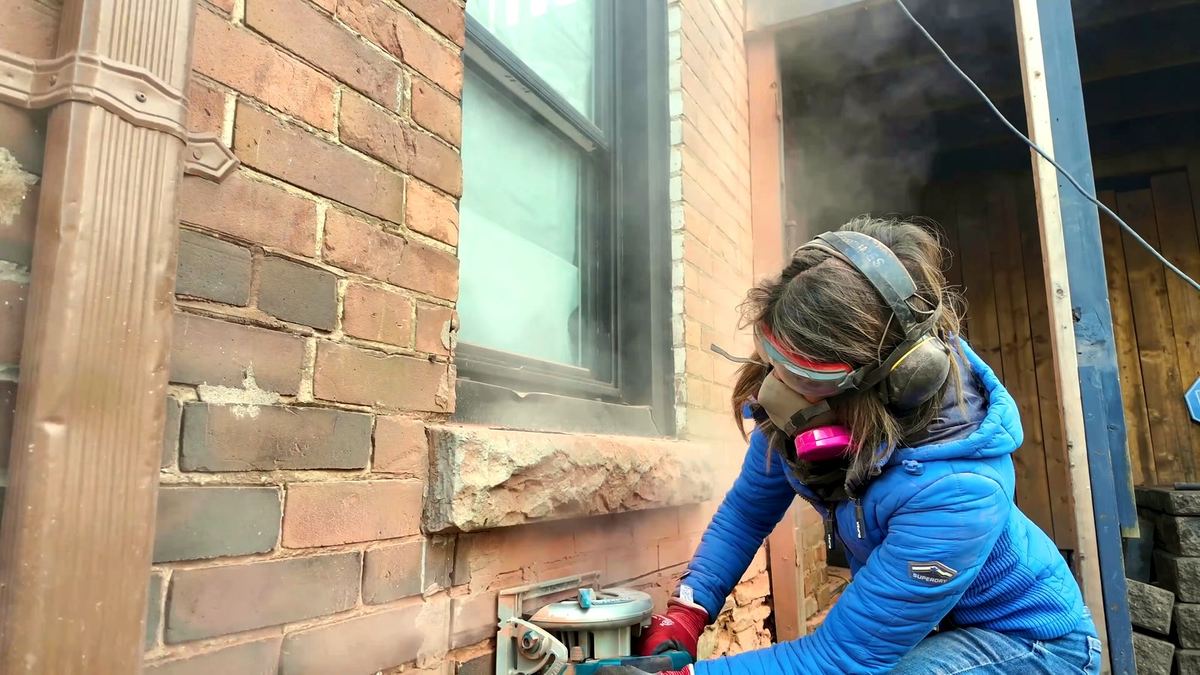
Start with a straight piece of lumber, a fence board works, and anchor it to the brick as a saw guide. That board is what guarantees a clean, straight cut.
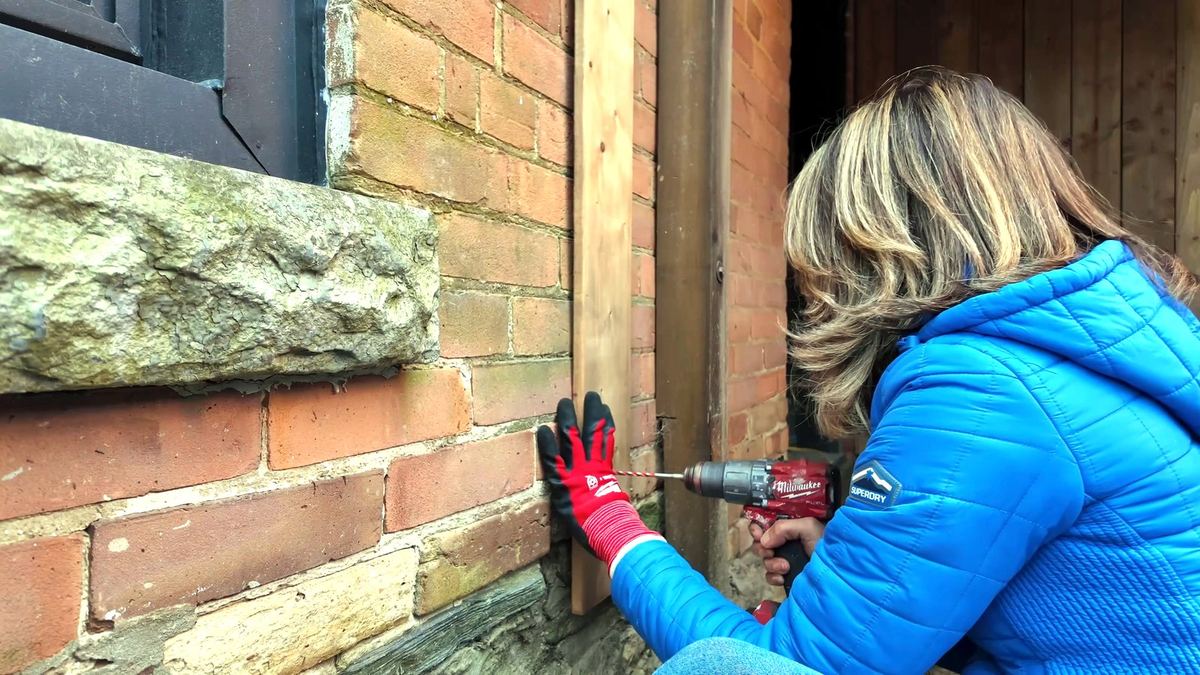
This brick is over 100 years old, so I used a sleeve anchor instead of a masonry nail. Old brick chips and crumbles; a sleeve anchor holds. Get the board plumb before you cut, and reference the outside edge for your line.
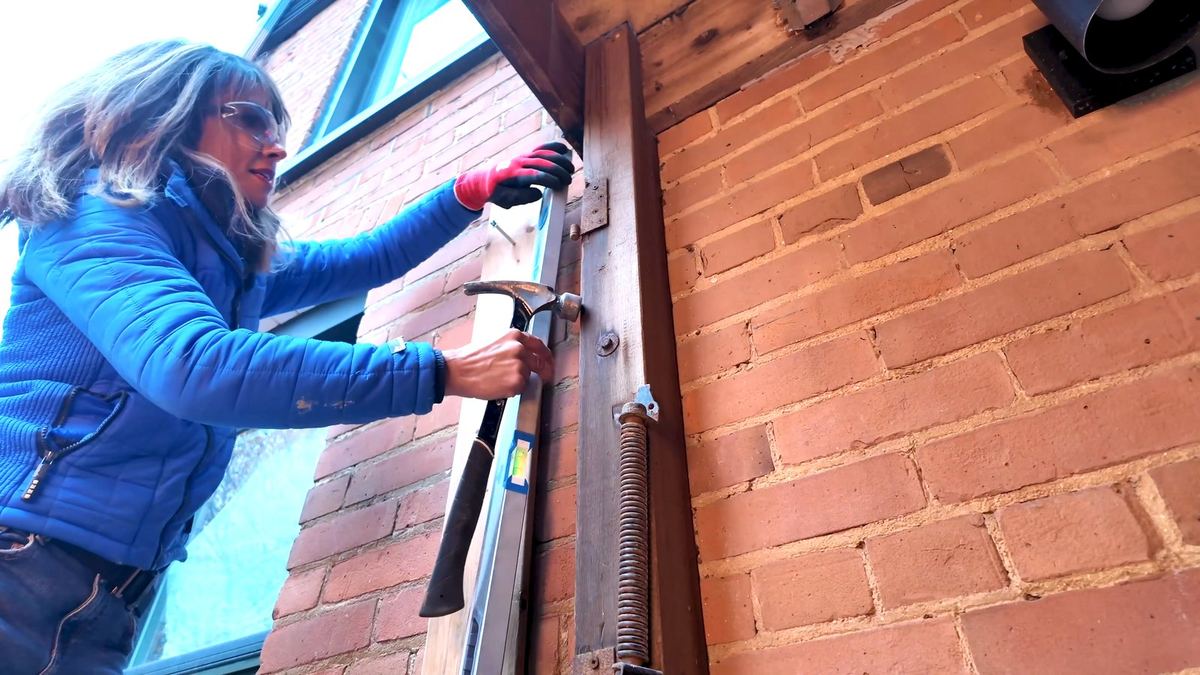
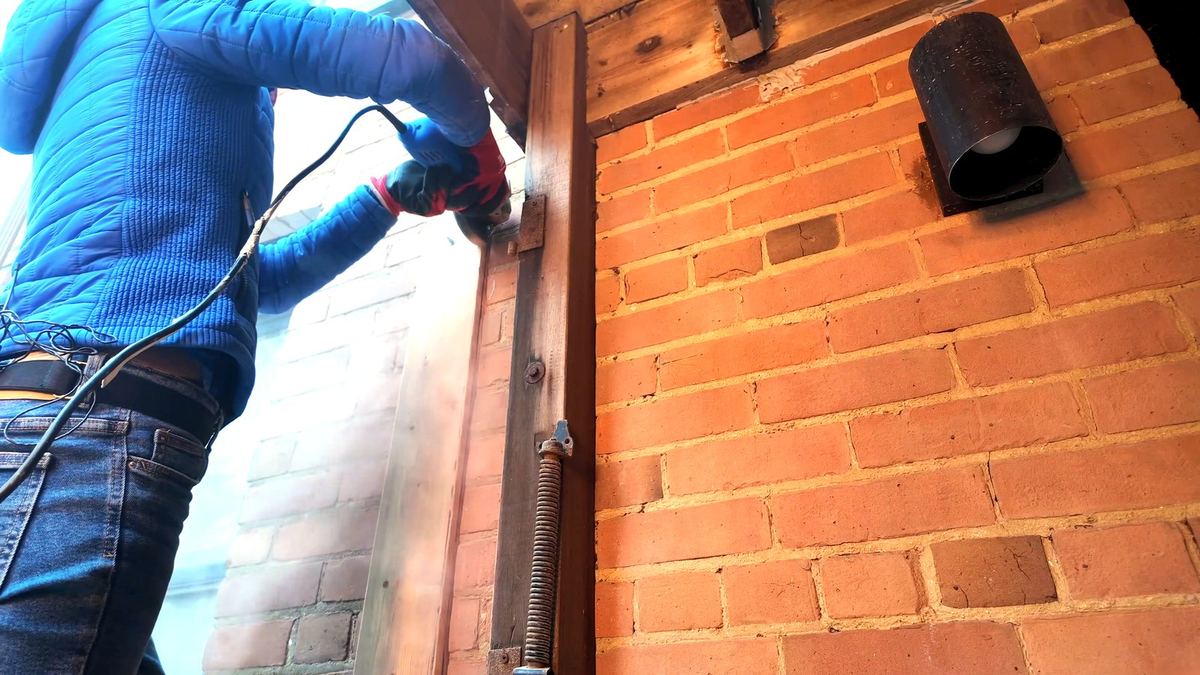
Cut in two passes. Run a kerf with the grinder first, it is safer and leaves a clean valley, then drop the circular saw into that kerf to finish. Down low where the old masonry was a mess, I freehanded it; that section gets restored anyway.
Remove the Window & the Old Brick
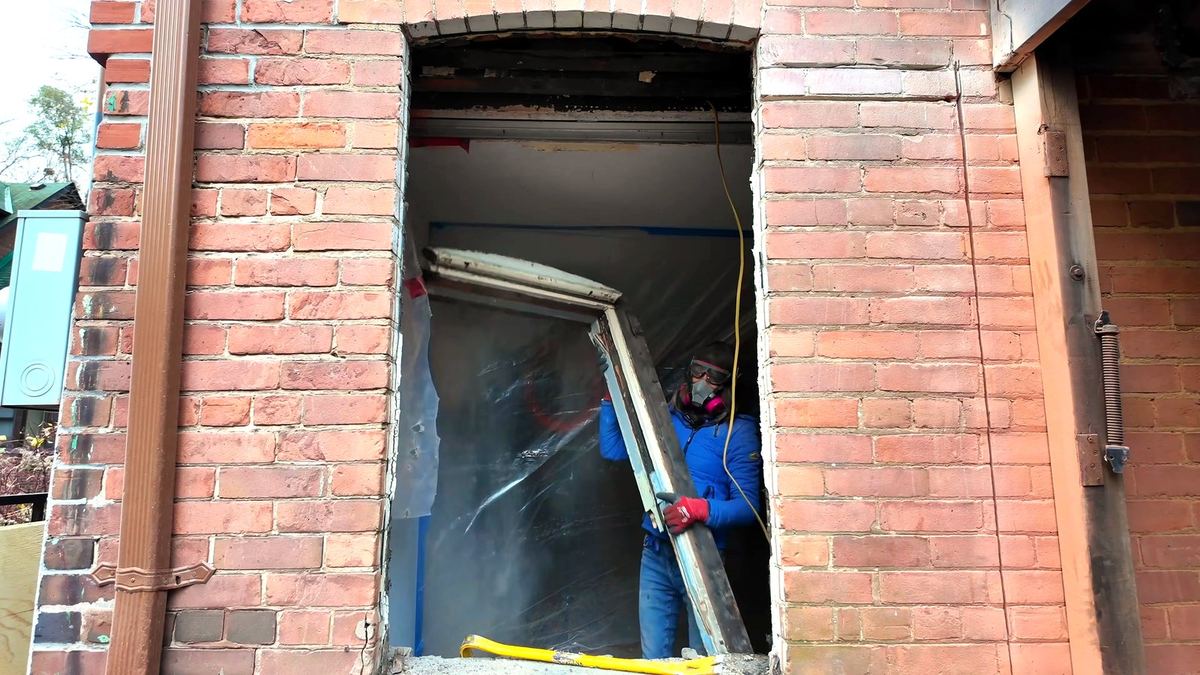
With the cuts made, remove the old window from the opening.
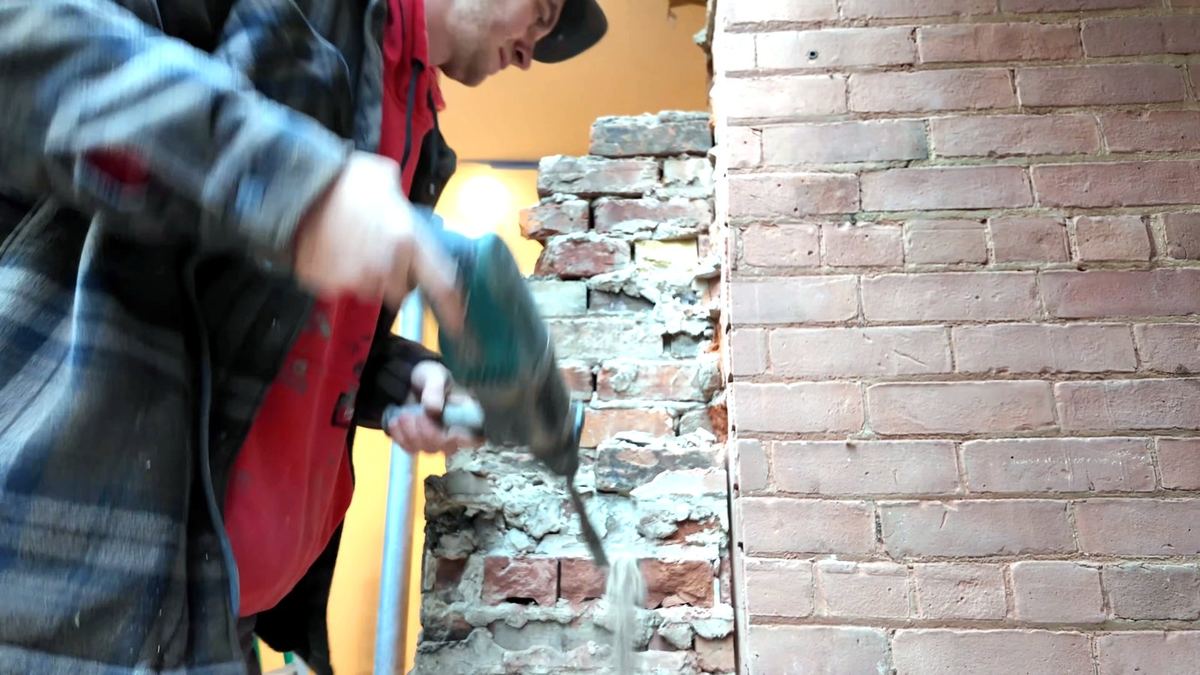
Then switch to an SDS Hammer Drill to knock out the brick that is left. Poly off the inside first, this is dusty work and you want to keep it out of the house.
Support the Load Before You Touch a Lintel
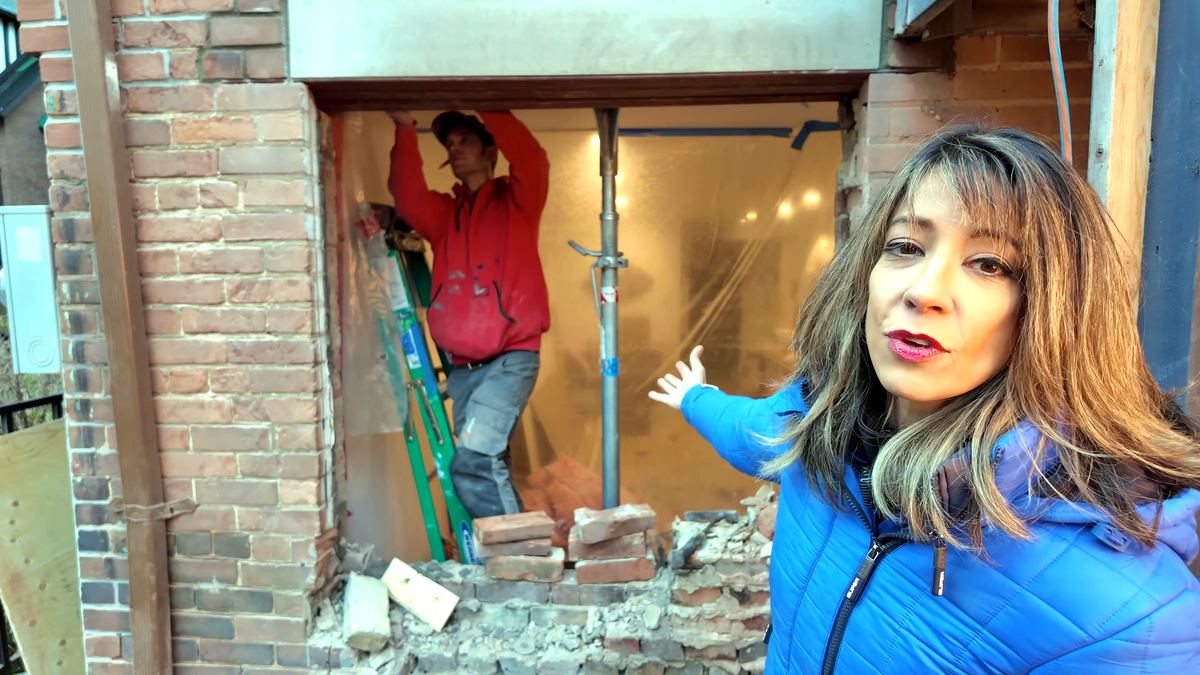
The flat plates are Strong Boys or needles.
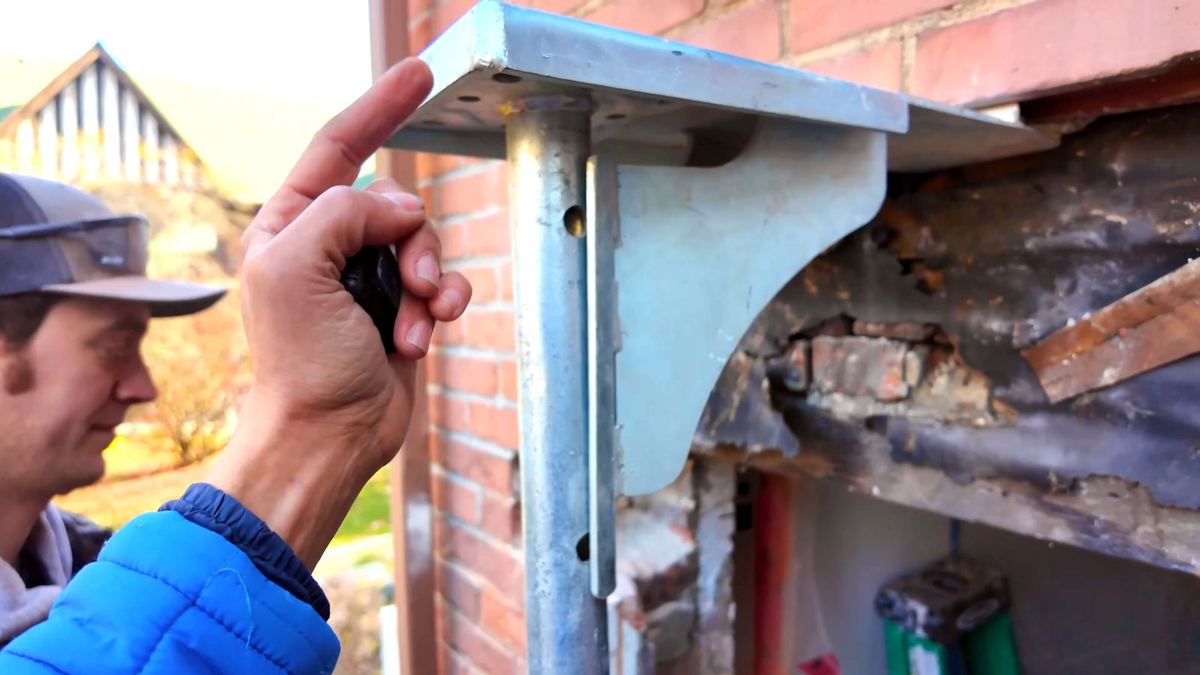
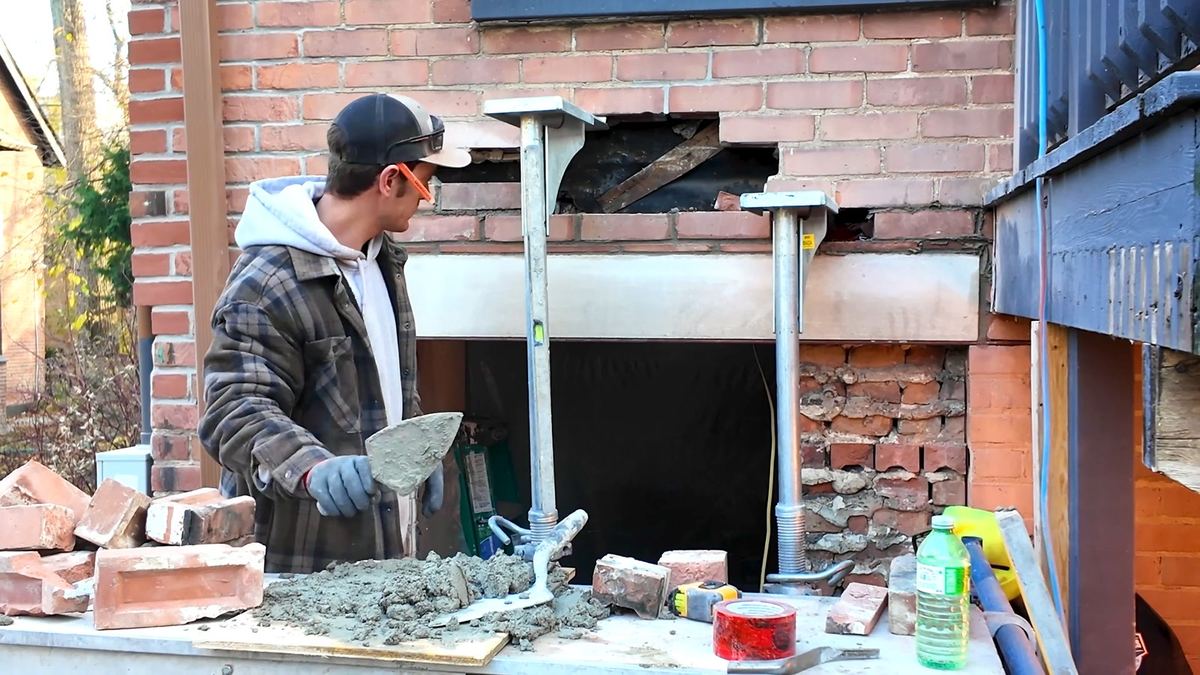
On this project, needle beams and adjustable steel props supported the masonry while the lintels were replaced. Temporary support requirements depend on the wall, the loads and the opening.
Set the Bearing & the Steel Lintels
The lintel ends rest on a cut-back seat in the masonry called the bearing. This installation provided 6″+ of bearing at each end, which is required by our local code. Confirm the bearing required for your opening based on your own code and stamped, permitted drawings.
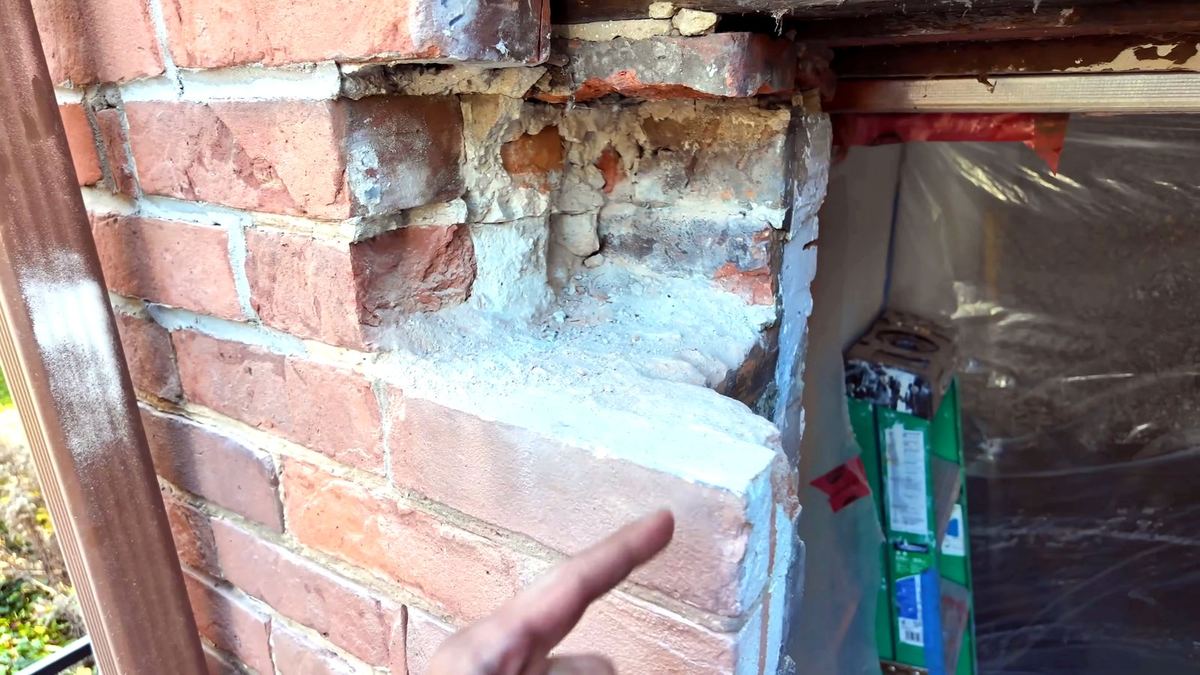
Because this opening spans 52″, the steel lintels here were a taller high-back profile (5½” at the back) rather than a standard lintel, sized for this span. Lintel size and profile should be specified for your span and load, not copied from another job.
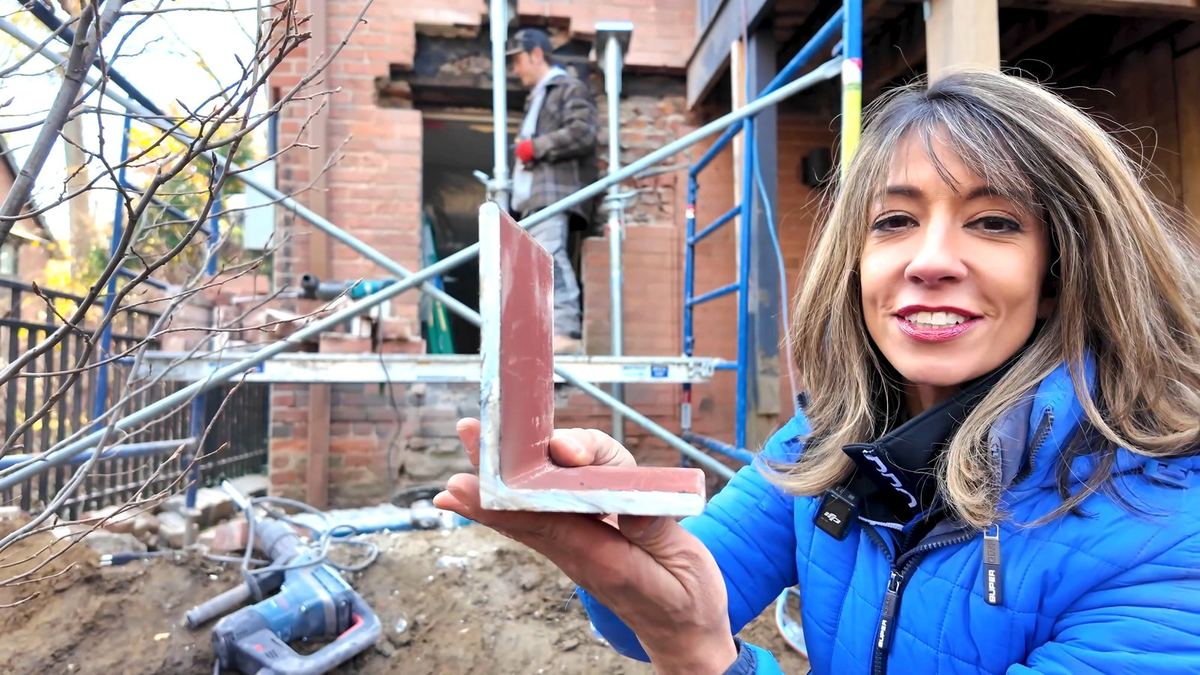
Set each lintel high-back to the back, confirm the bearing at both ends, and level it before you load it.
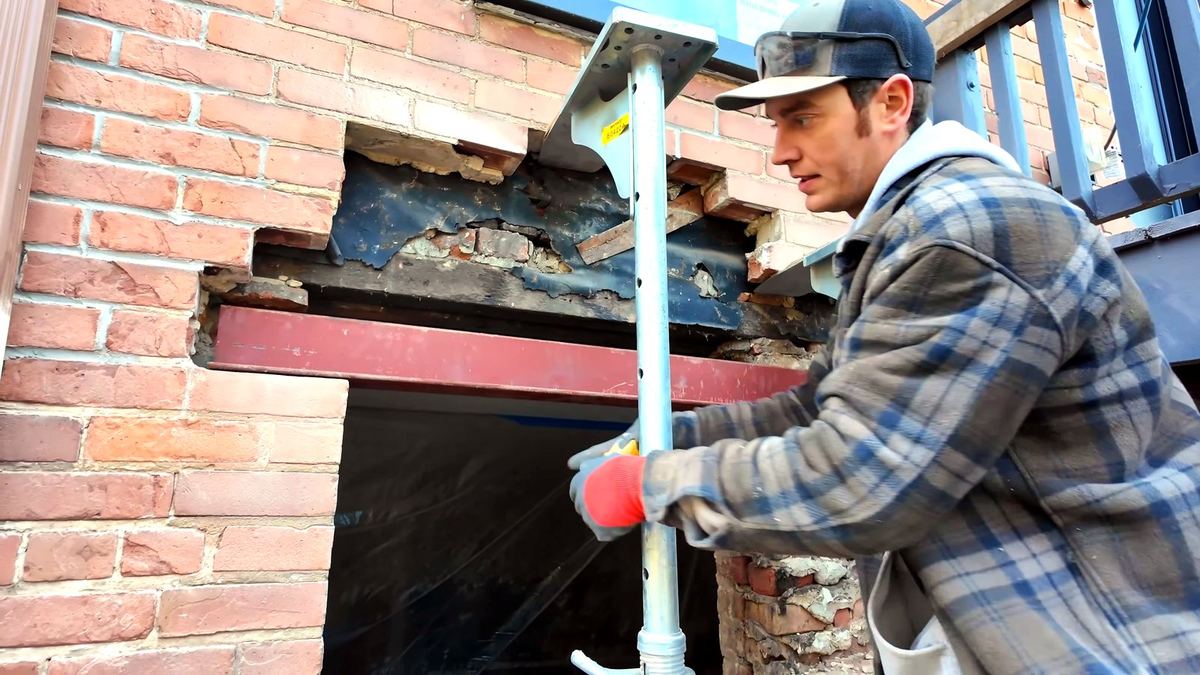
The two interior lintels go in the same way from inside, on their own jacks. One rule that matters: the brick bears directly on the steel, no mortar between brick and steel. Mortar goes on the sides and top of the brick, never on the steel. And every brick has to make full contact, no gaps, no voids.
Flash the Lintels
Before rebuilding the brick, install a waterproof flashing membrane over the steel lintel. The goal is to collect moisture that gets behind the masonry and direct it back toward the exterior.
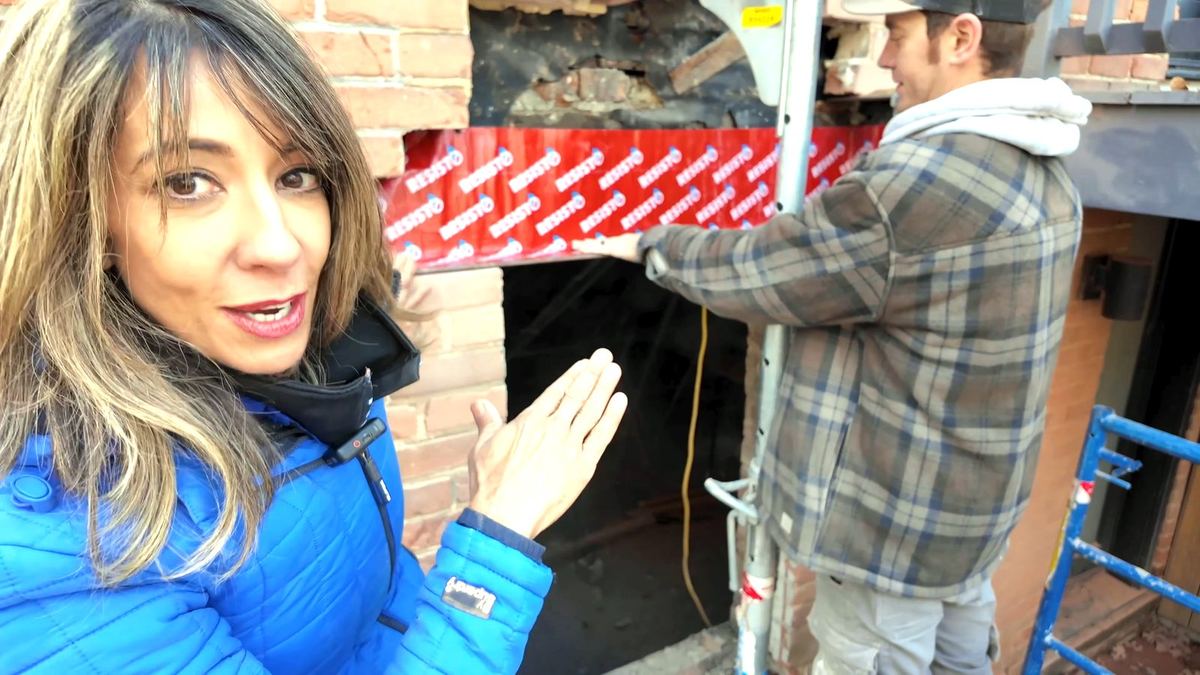
On this build, we used a waterproofing membrane over the lintel, keeping the steel protected before the masonry was rebuilt.
Rebuild the Brick & Set the Limestone Header
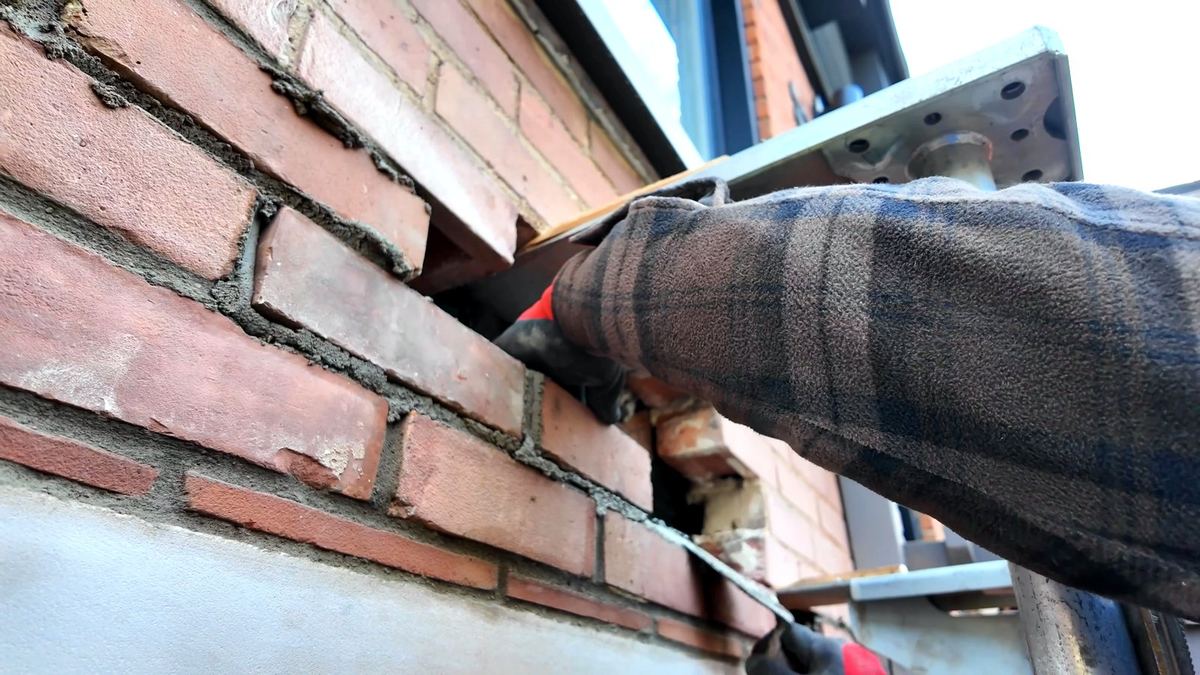
The bricks going back in are chiseled at the back to clear the depth of the new Indiana Limestone header, a rough back is fine, it is hidden.
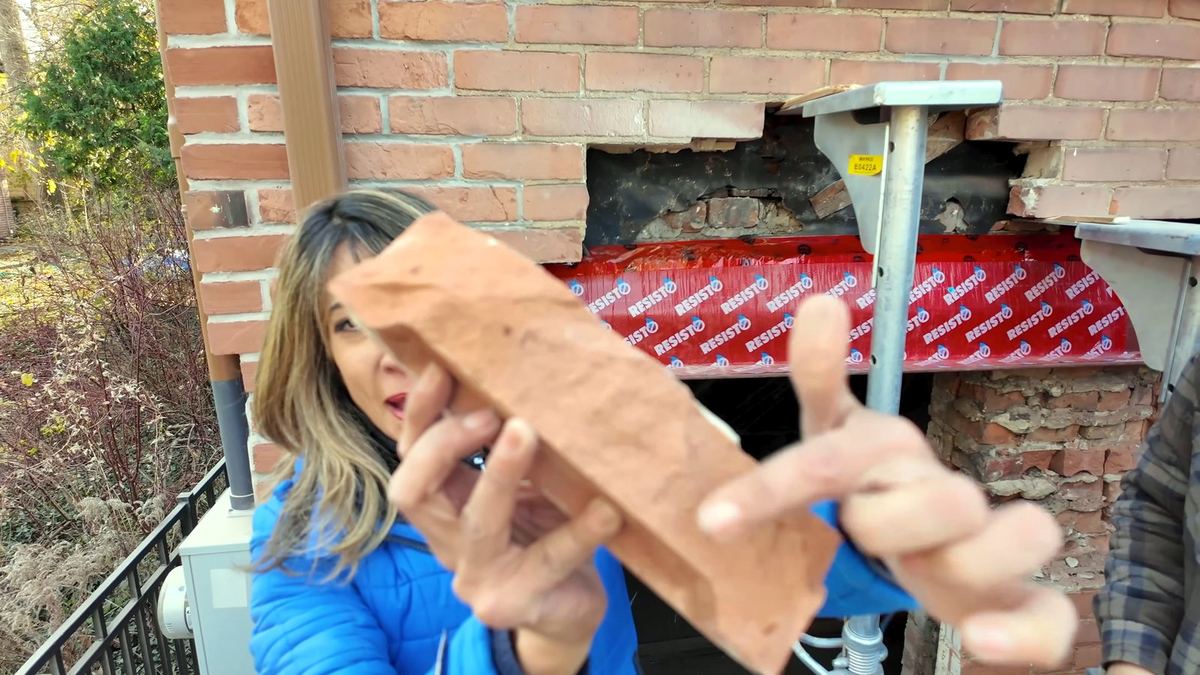
Bed and butter each brick. Your mortar is right when it clings to the trowel even turned over, too dry it crumbles, too wet it slumps. For century-old brick, use a softer Type N mortar so the joint moves before the brick does; skip the hard, high-cement mixes that damage old brick.
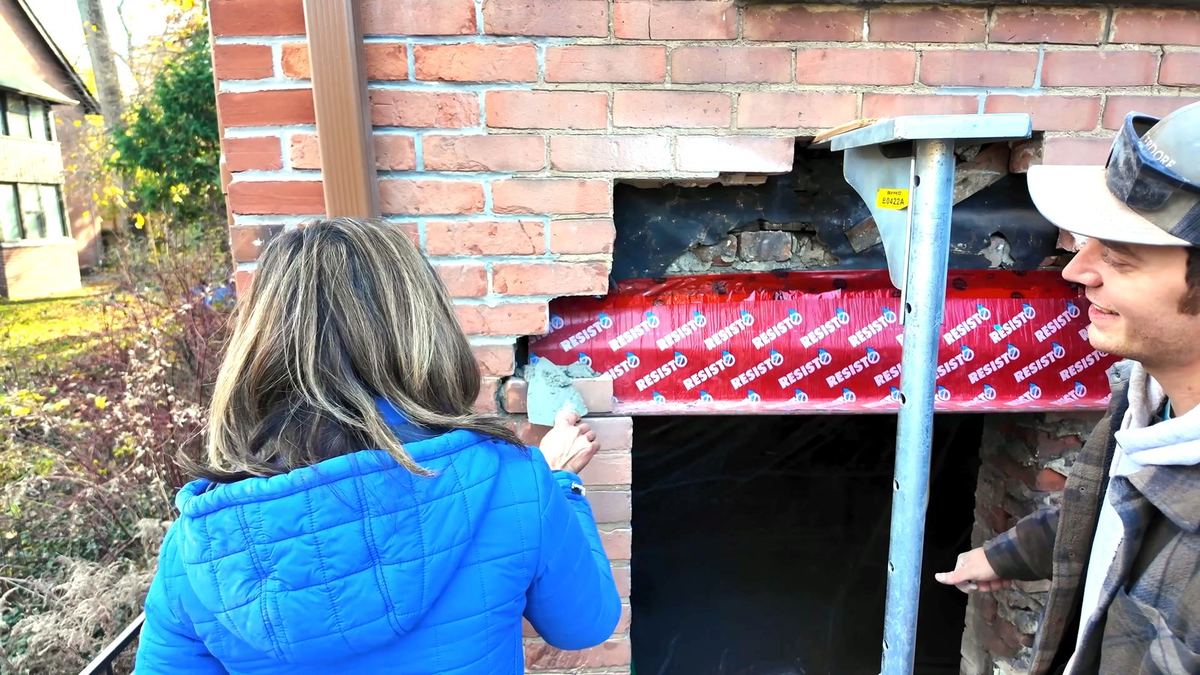
Bed and level the side bricks to maintain a clean, level opening. Set the Indiana Limestone header directly on the steel lintel over the waterproofing membrane, then mortar the joints around and above the stone using white Type N mortar.
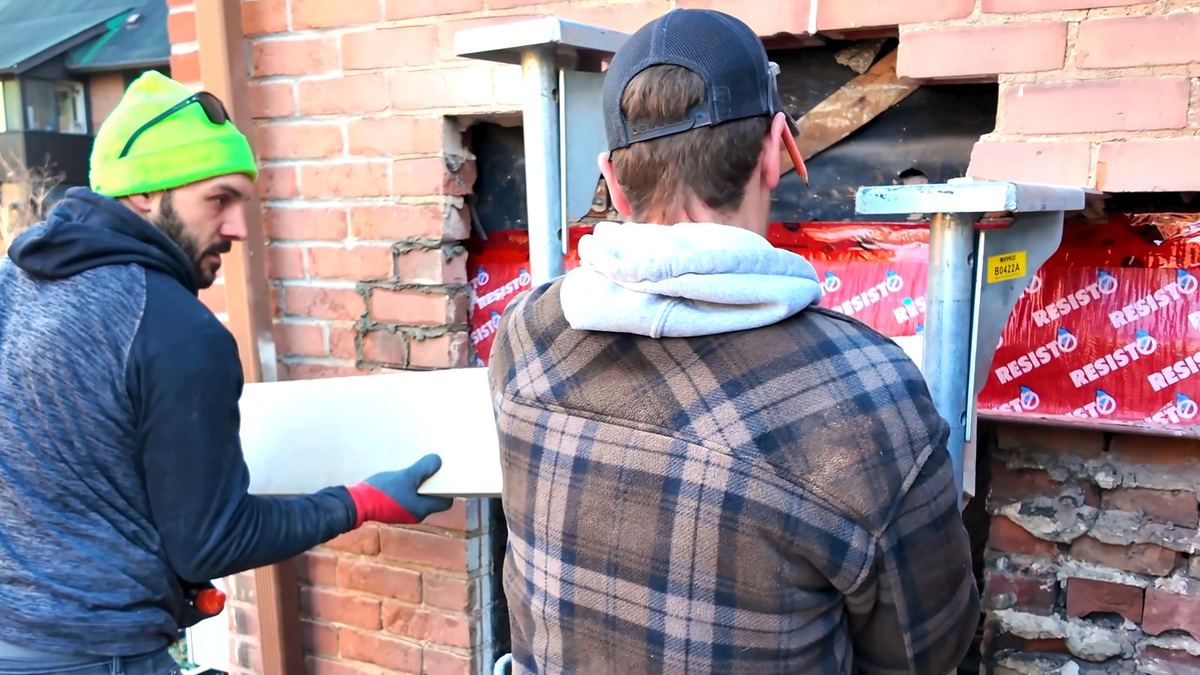
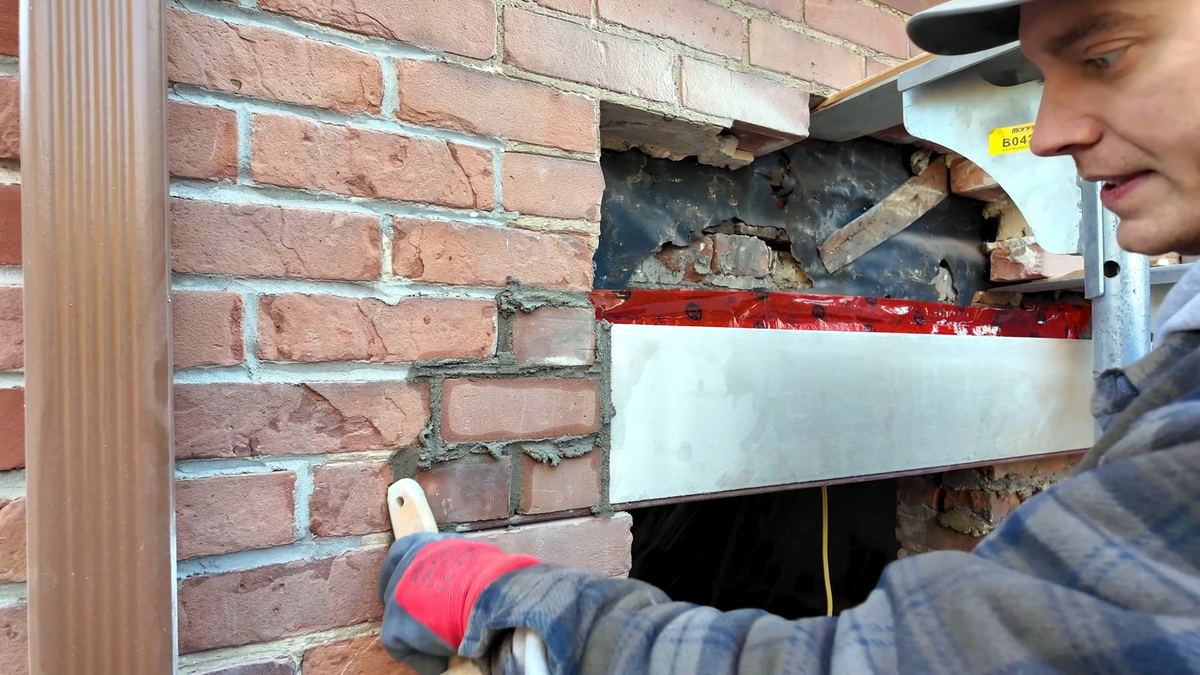
Fill the remaining brick above it, working around the jacks, the props stay put, carrying the load, until everything is packed in and set. Only then do the jacks come out.
Tool the Joints to Match the Old Brick
A shiny concave jointer would look brand new next to 100-year-old joints, wrong look. Instead, strike the joint with the back of the handle to knock it back and shape it, then brush it.
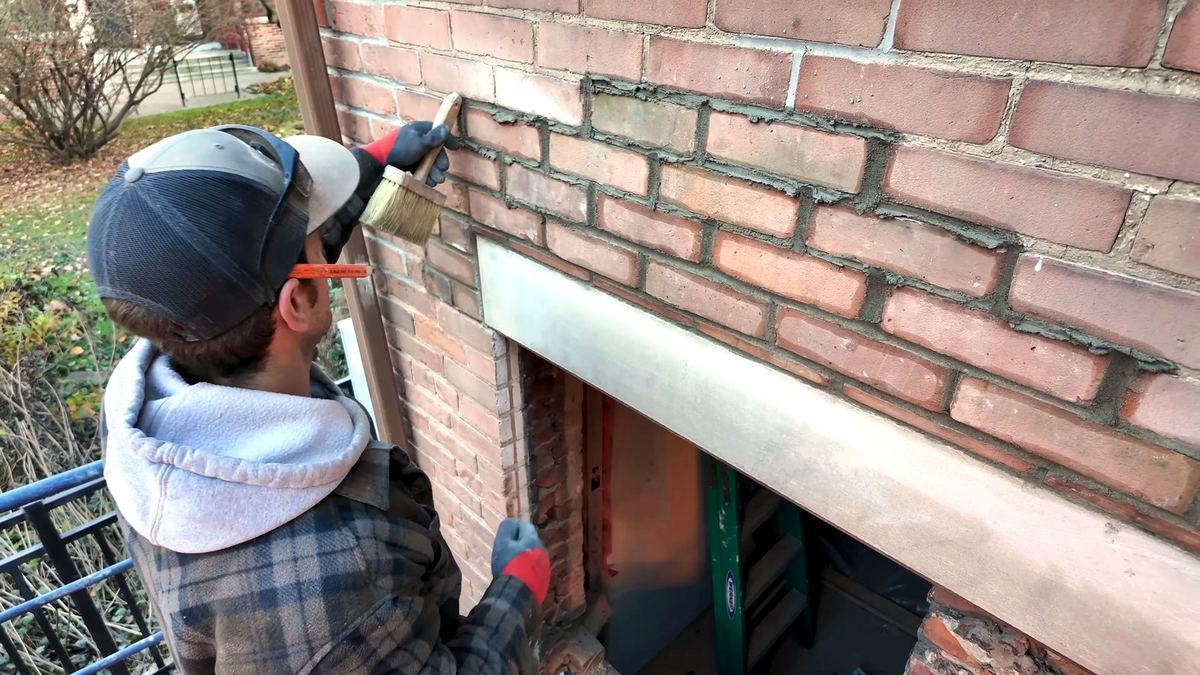
The brush does double duty: it clears excess mortar from the brick faces and exposes the aggregate for a weathered texture, helping the new work blend into the existing wall.
Wet-Set the Indiana Limestone Sill
Wet-set the sill into a full, fresh mortar bed, with full coverage under the stone and no hollow spots.
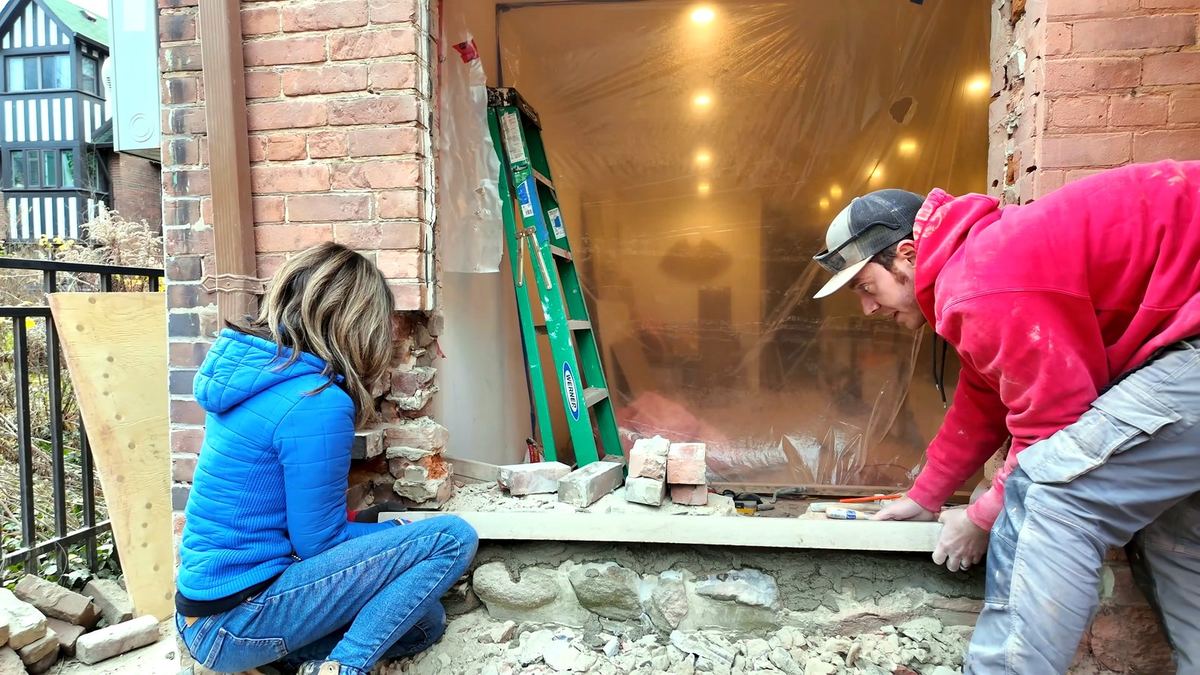
The drip edge, that groove cut into the underside, has to face out toward the exterior. Water runs to it and drips clear of the wall. Face it the wrong way and water tracks back into the house.
Pitch the Sill & Check Your Alignment
Set the sill with a slight slope to the exterior so rain drains away from the window instead of pooling. Check it with a level.
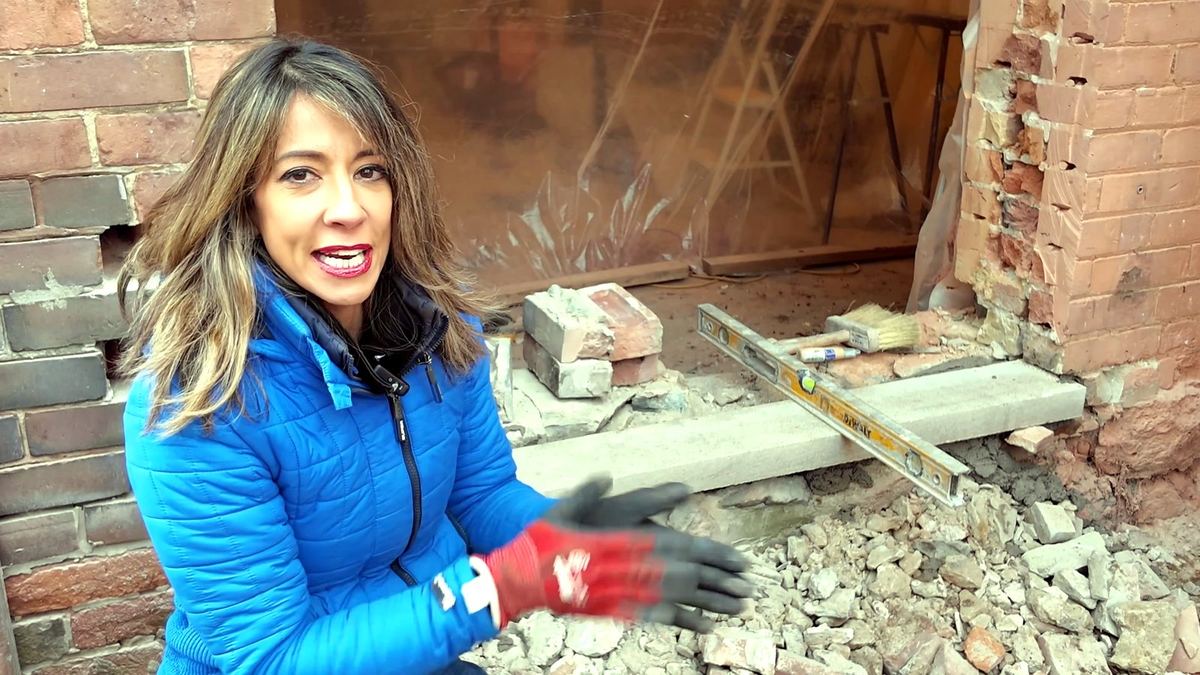
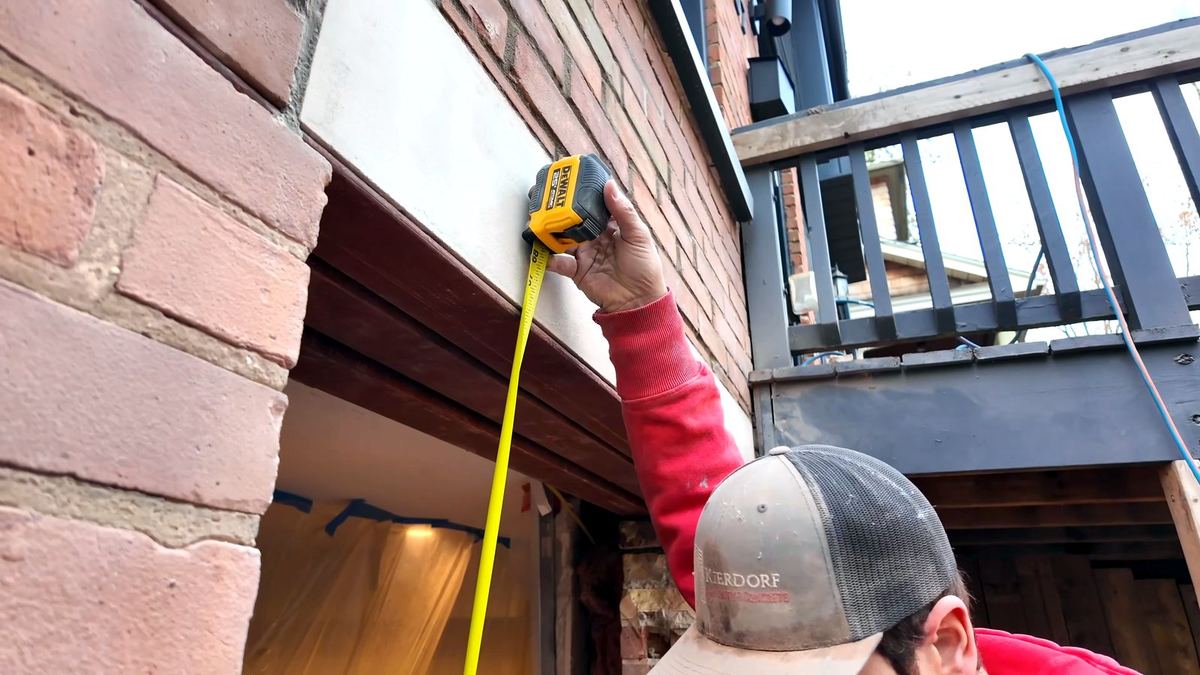
Then measure both jambs, the sill and header need to land equal on each side so the opening stays square and the stone reads symmetrical. Measure down from the header at a couple of points too, to confirm the reveal is consistent across the span.
Set the Window & Waterproof the Opening
Shim the new window square, plumb and level, then fasten the frame to the rough opening. Seal around the window frame with low-expansion spray foam insulation.
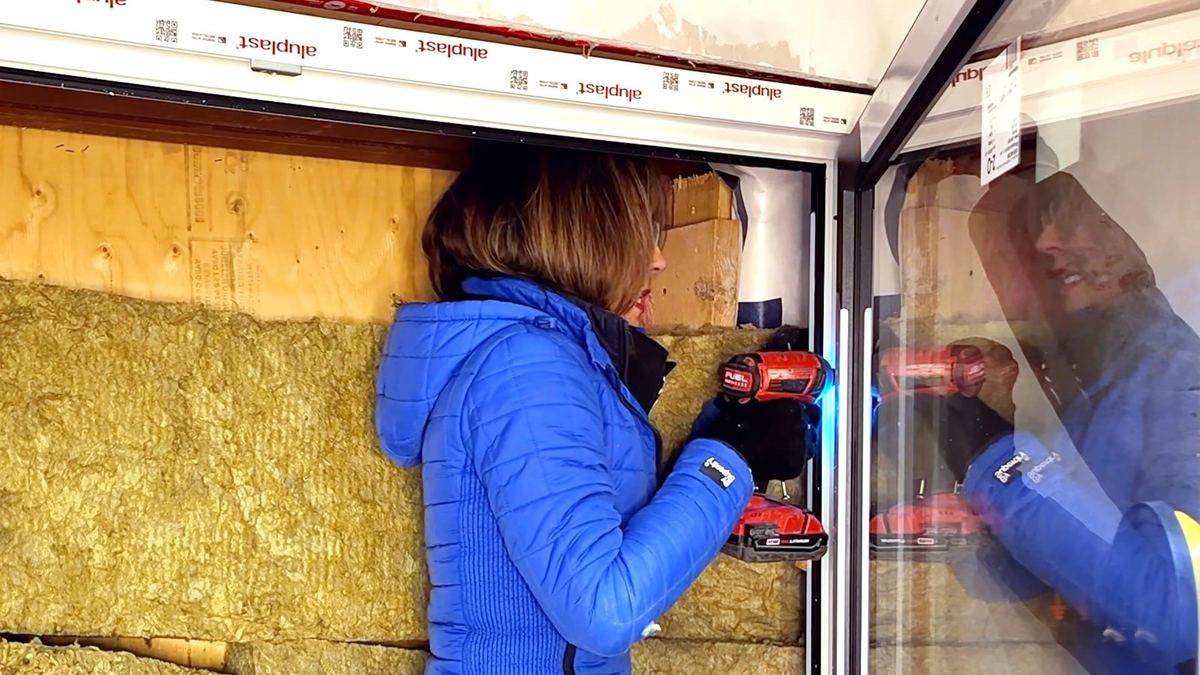
Liquid flashing was applied to the wood window sill and frame for waterproofing. I prefer liquid flashing here because it creates a continuous waterproof barrier across multiple materials, including wood, brick, stucco and concrete.
The Reveal
That is a 52″ opening where a small window used to be, and inside, the view and the light change the whole room.
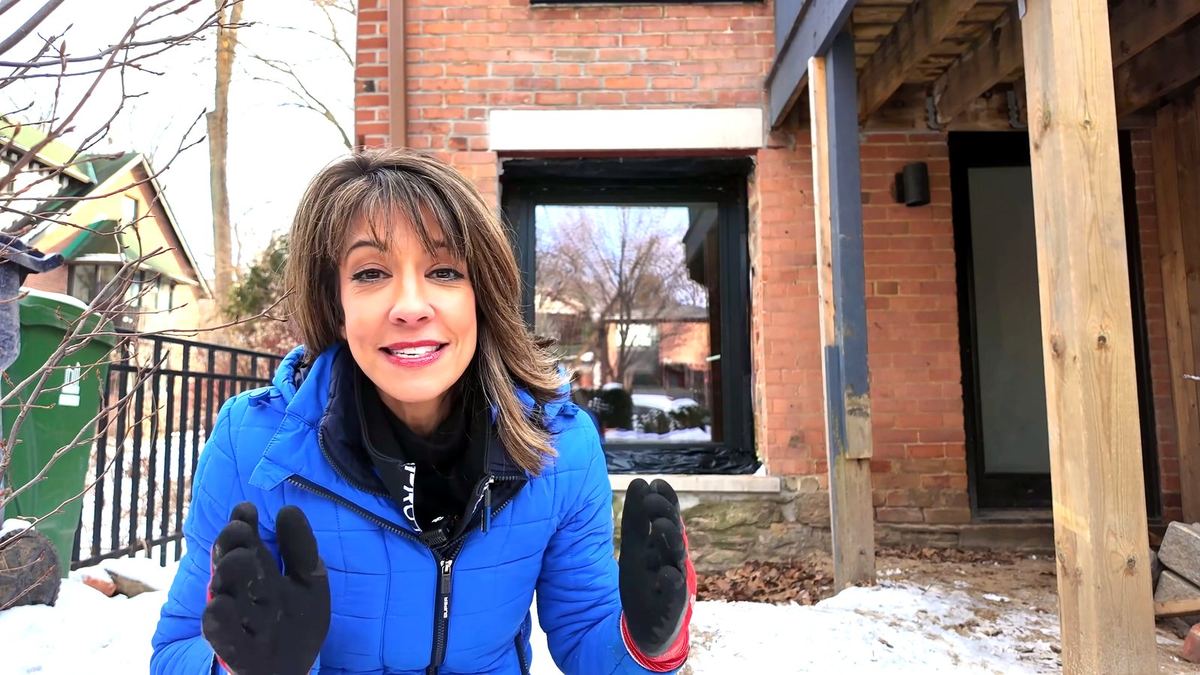
The exterior window recess was finished in wood painted black, with black trim concealing the cut edges. A new deck and landscaping completes the look, because the whole point of a window this size is to enjoy the view.
The Indiana Limestone sill and header complement the masonry character of this century home. Clean, modern lines update the traditional architecture naturally, with subtle impact.
Structural & Safety Note
Enlarging an opening in a masonry wall requires proper temporary support and structural planning. Consult a structural engineer and follow your local building code.
Built and documented from a real Daru Dhillon project. Watch the complete installation on YouTube.