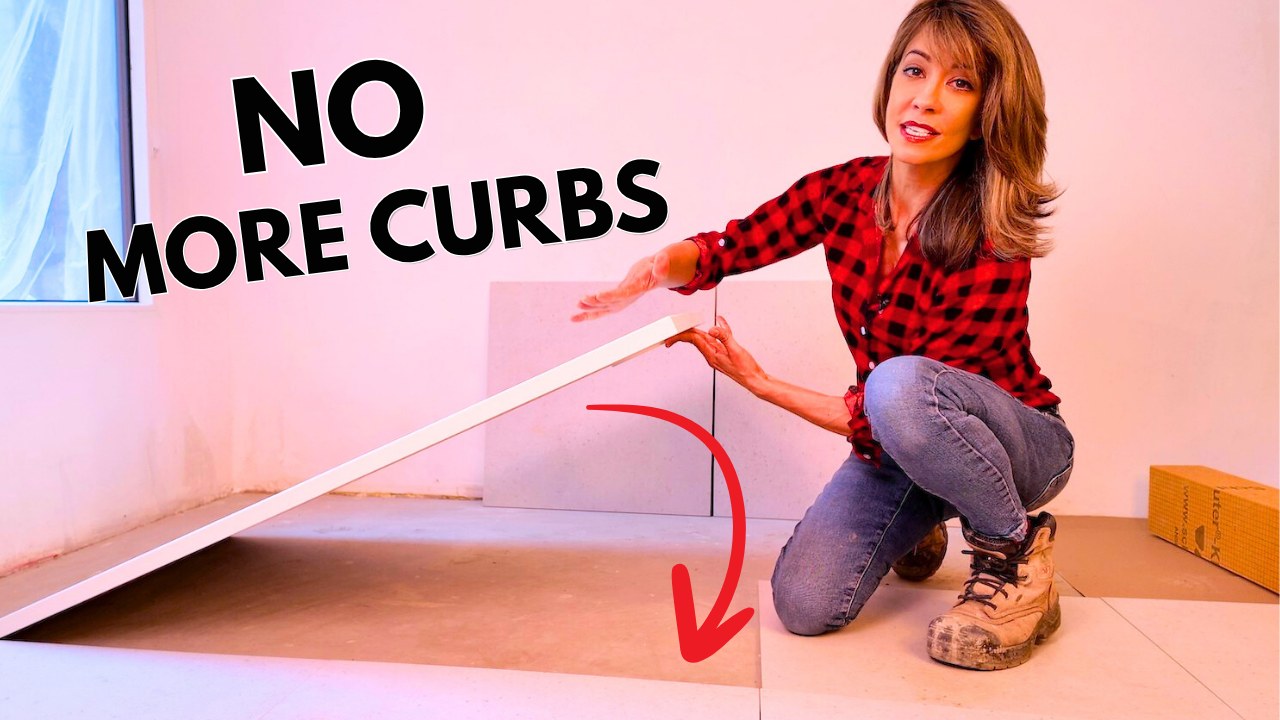
Forget Uncoupling: There’s a Better Tile Membrane Now
Tools & Materials You’ll Need View complete list
Materials
- MAPEI Mapeguard UM (wood/concrete)
- MAPEI Mapeguard UM 35 (wood/concrete)
- MAPEI Mapeguard ST waterproofing sealing tape
- MAPEI Ultraflex 2 LT modified mortar
- Compatible corner and transition pieces
- Tile
- Grout
Tools
- 1/4″ notched trowel (size per membrane instructions)
- Variable-speed mixer
- Grout float
- Mixing paddle
- Mixing bucket
- Margin trowel
- Utility knife
- Tape measure
- Level
- Steel roller, 75 lb. maximum (for Mapeguard UM)
- Sponge and clean water
- Knee pads
- Nitrile gloves
How to install a tile membrane over wood and concrete using Mapeguard UM and Mapeguard UM 35. Learn mortar selection, mixing and waterproofing, and why I recommend crack isolation as the benchmark in tile membranes. Uncoupling as the entry point, and why third-party testing matters in construction.
PerformanceTested Membrane
Isolation+ Uncoupling
ProtectionUp to 1/8″ (3 mm)
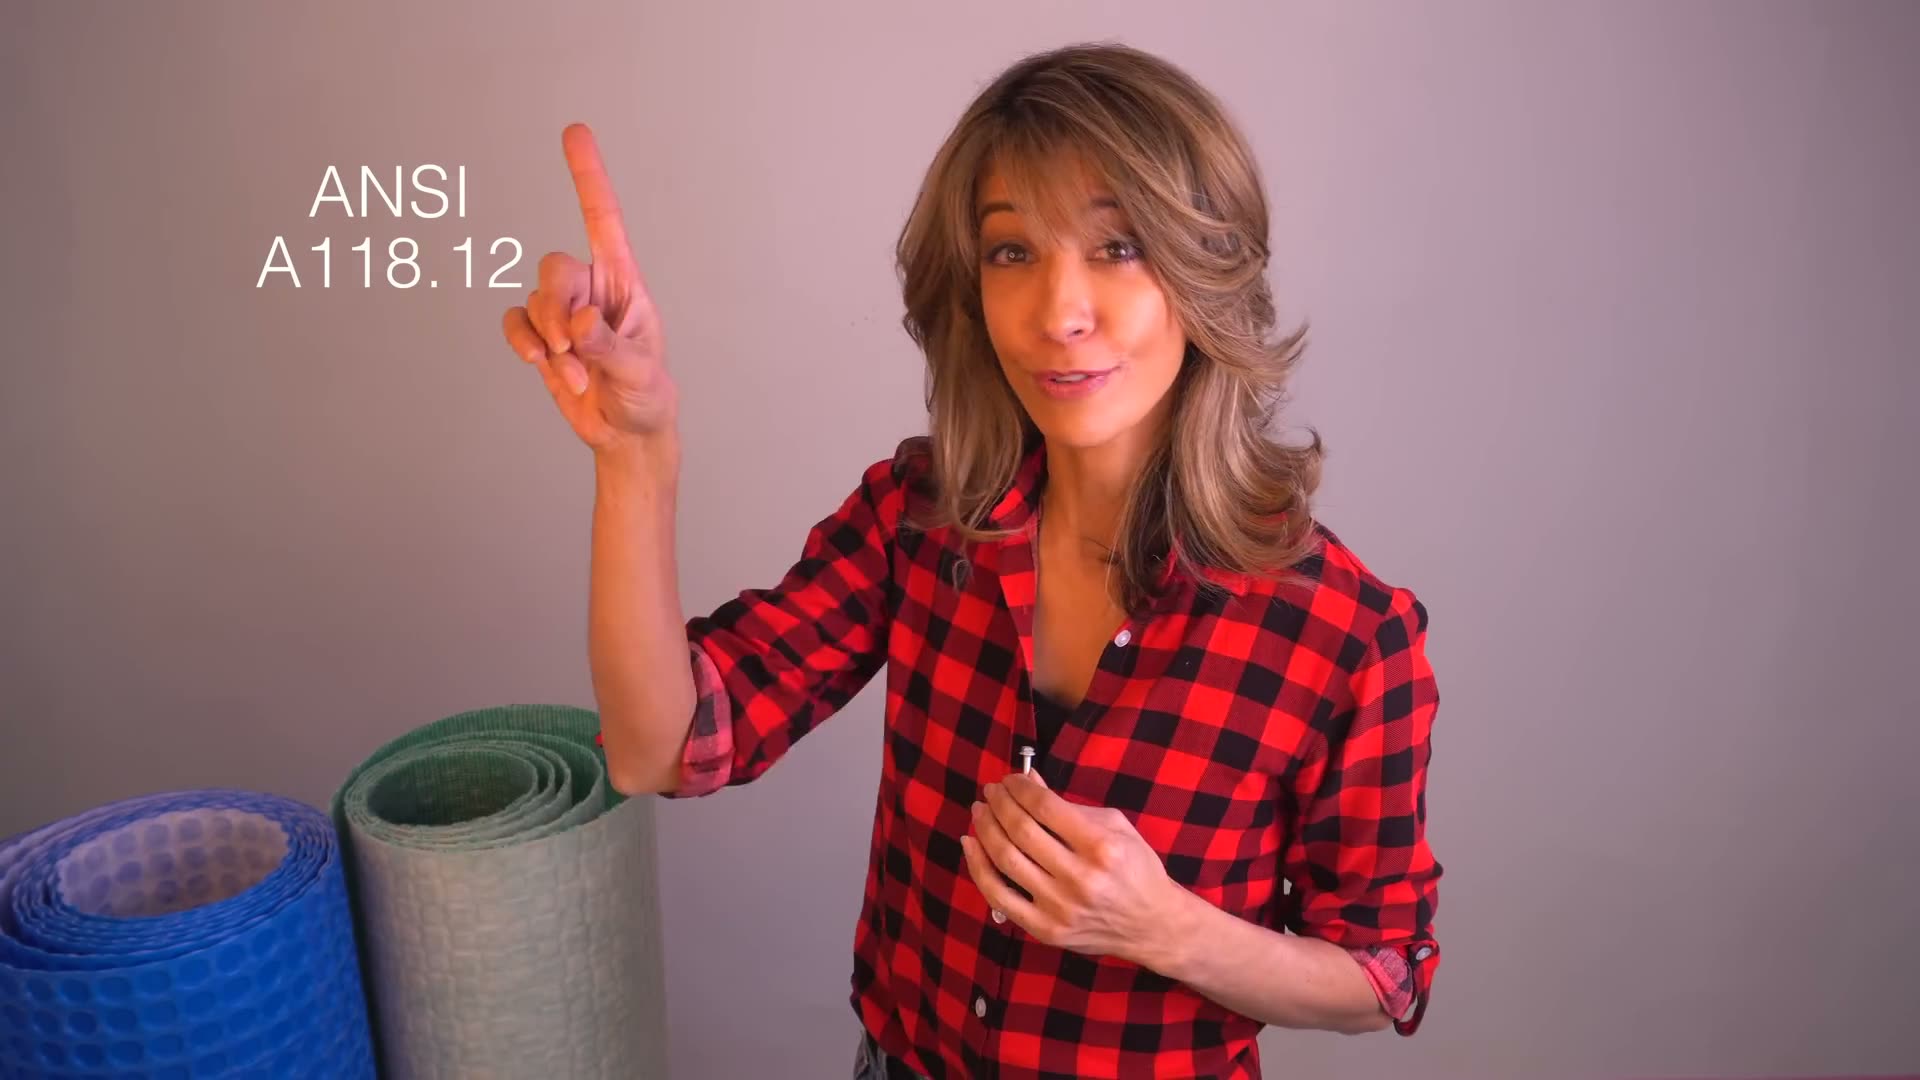
RatedANSI A118.12
Tools and materials used in this project.
Shop on AmazonClean & Prep the Substrate
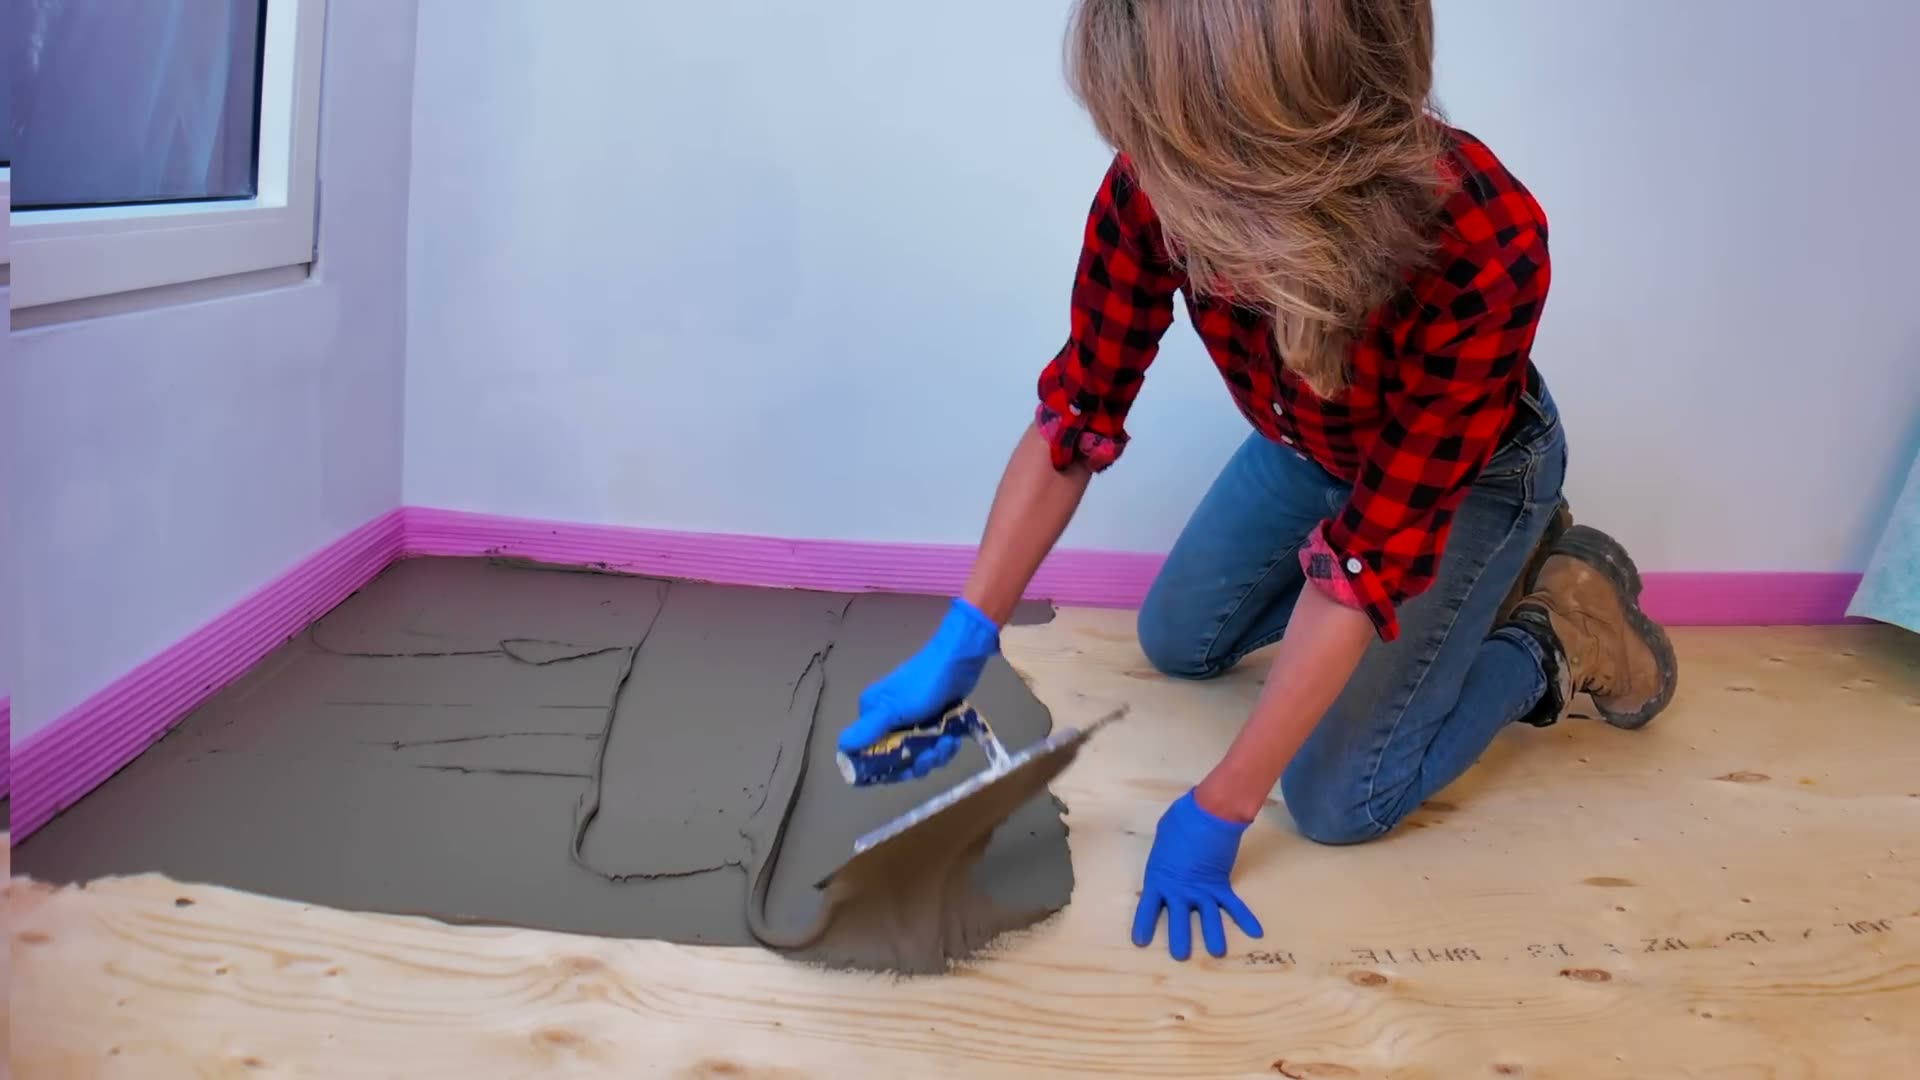
Start by removing dust, debris, paint, oils or anything that could interfere with mortar adhesion. The membrane is only as good as the bond underneath it. Then apply your modified mortar with the flat side of your trowel.
Key the Mortar Into the Subfloor
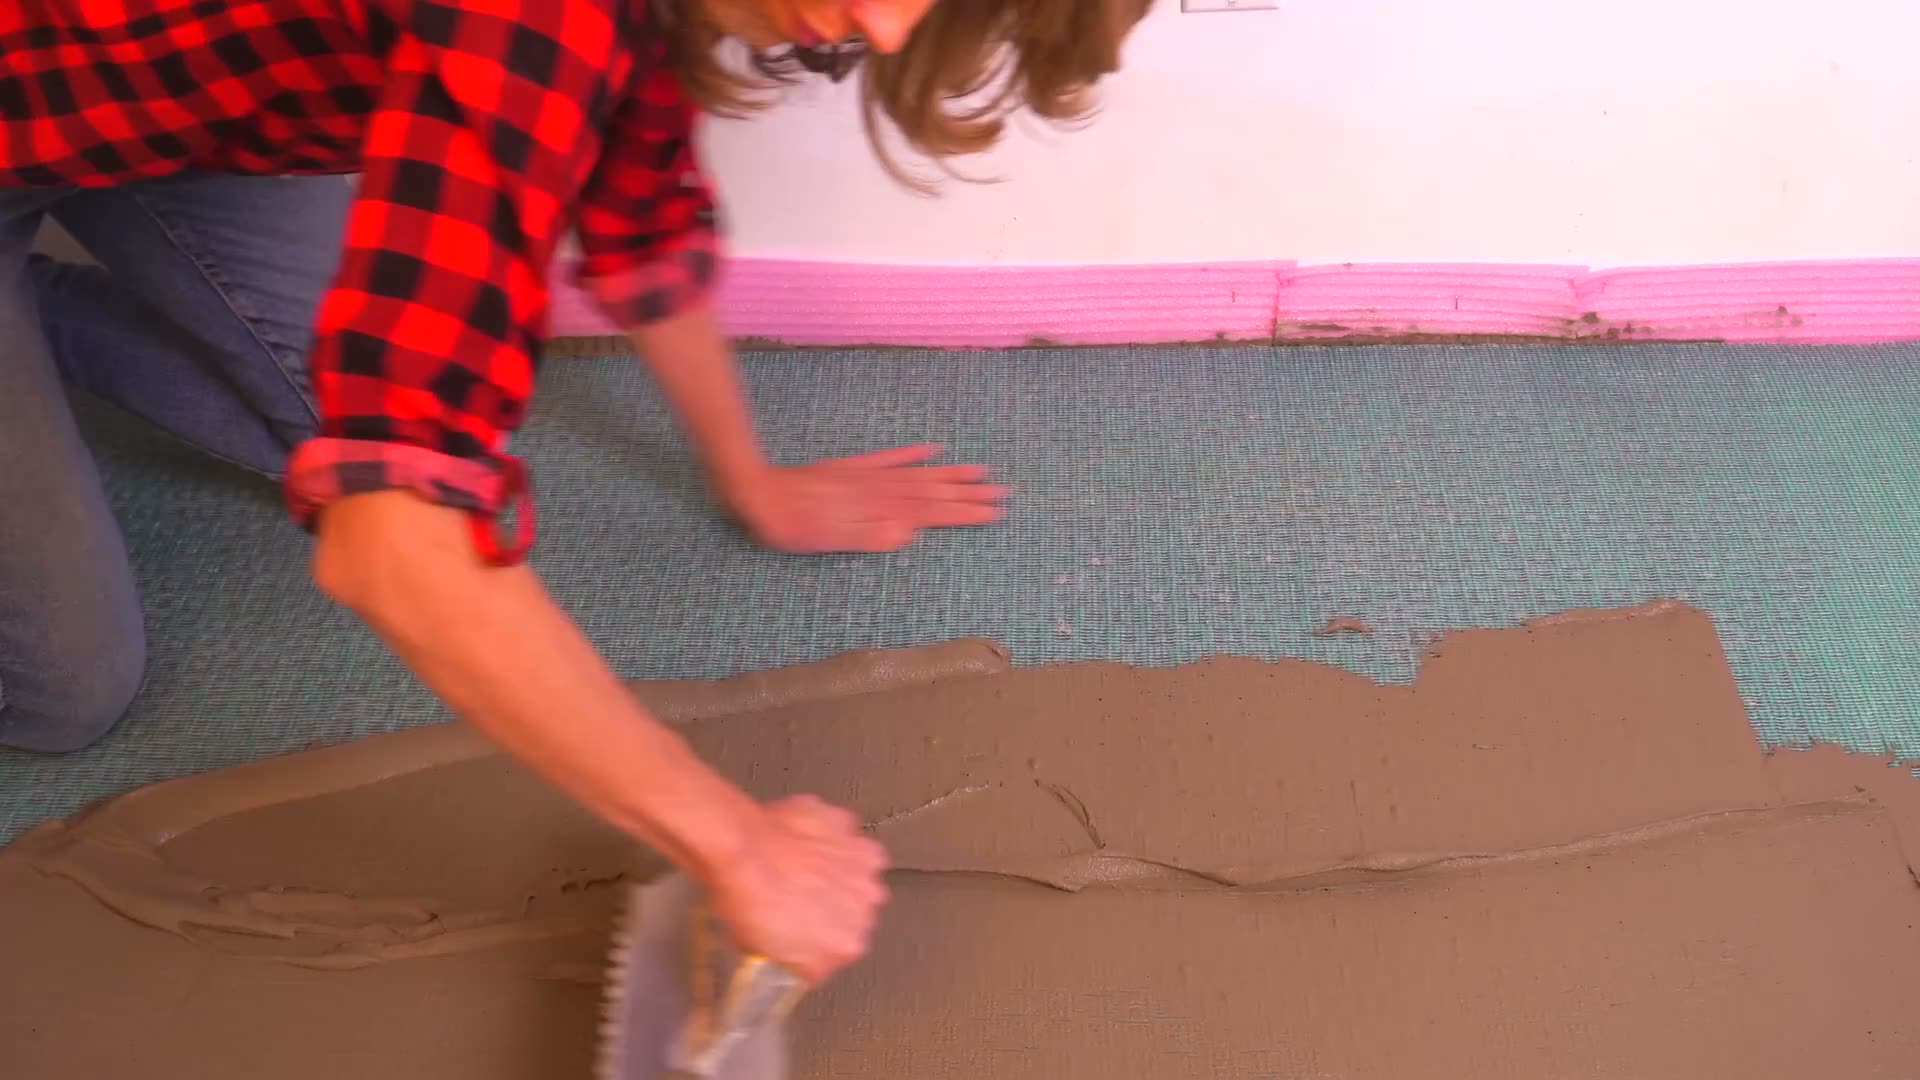
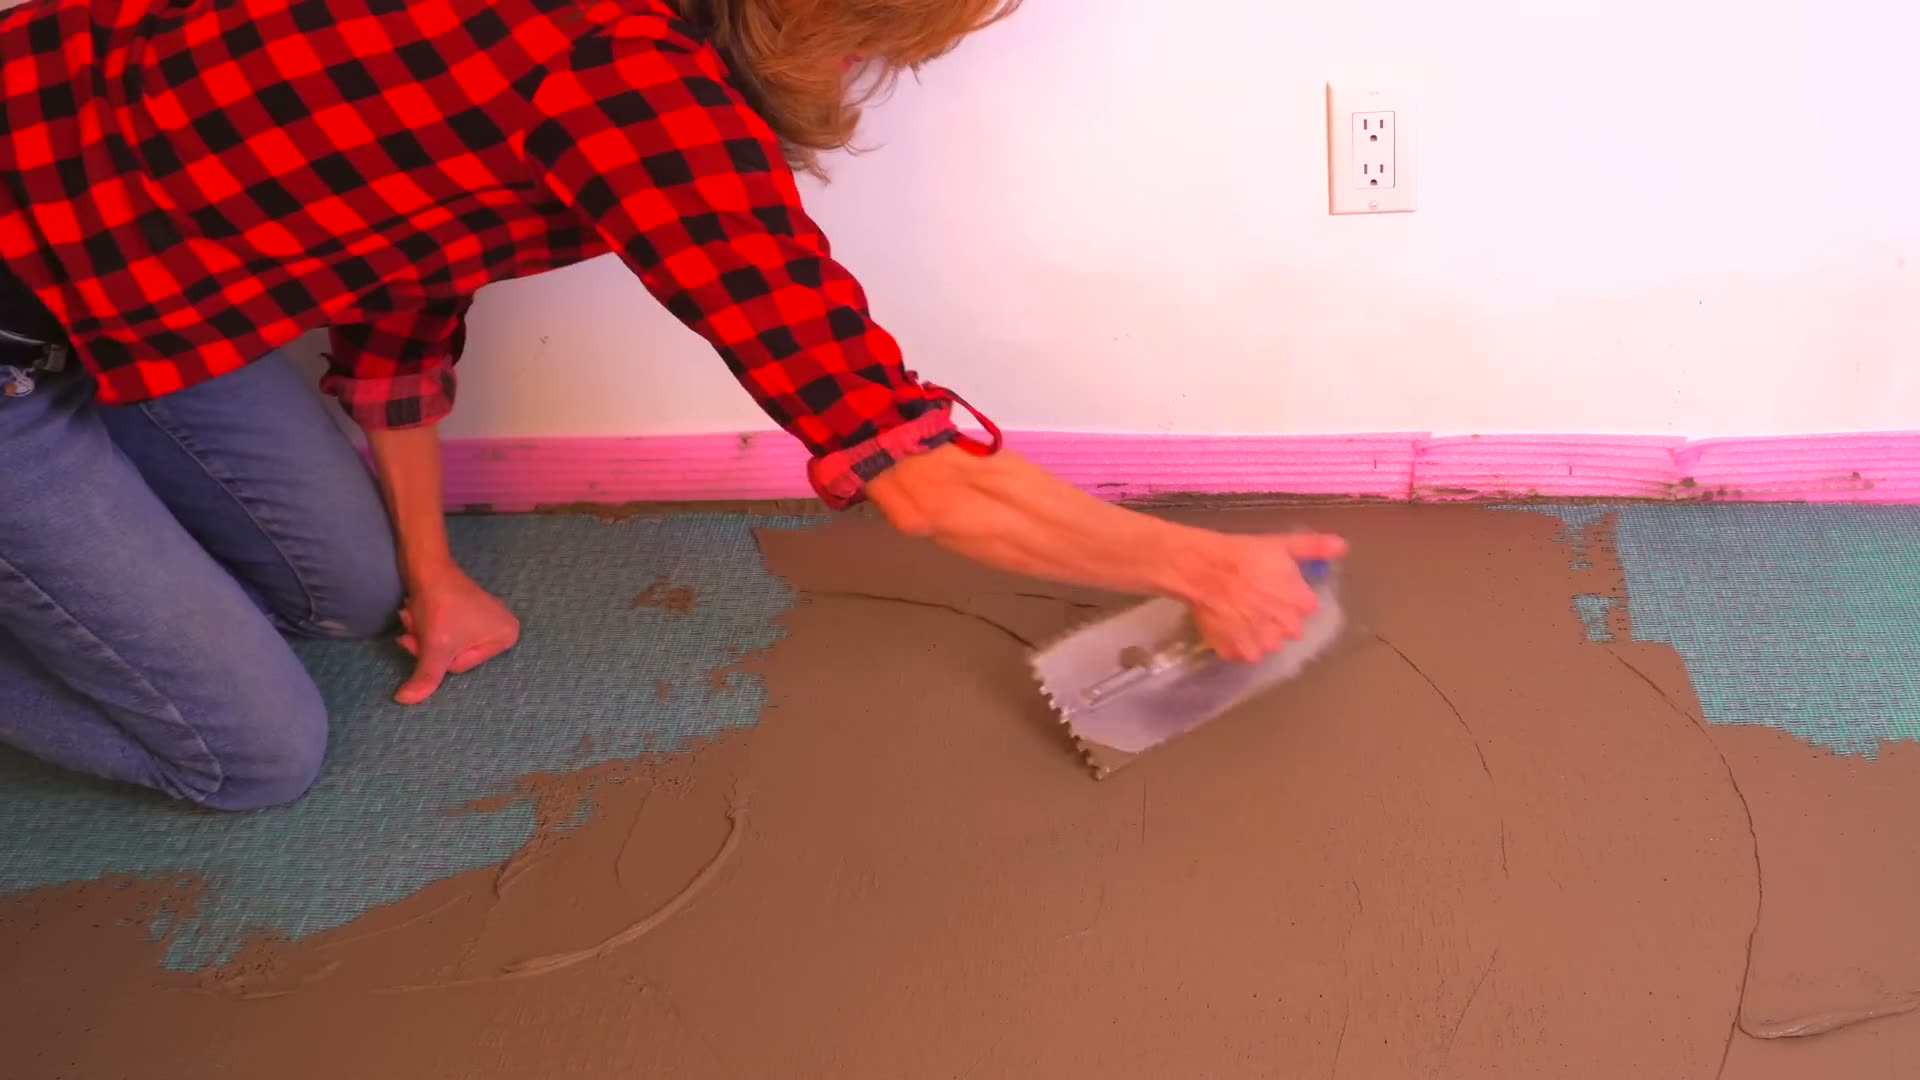
Start with the flat side of your trowel and use firm pressure to key the mortar into the subfloor. This creates a strong bond between the mortar bed and your wood substrate.
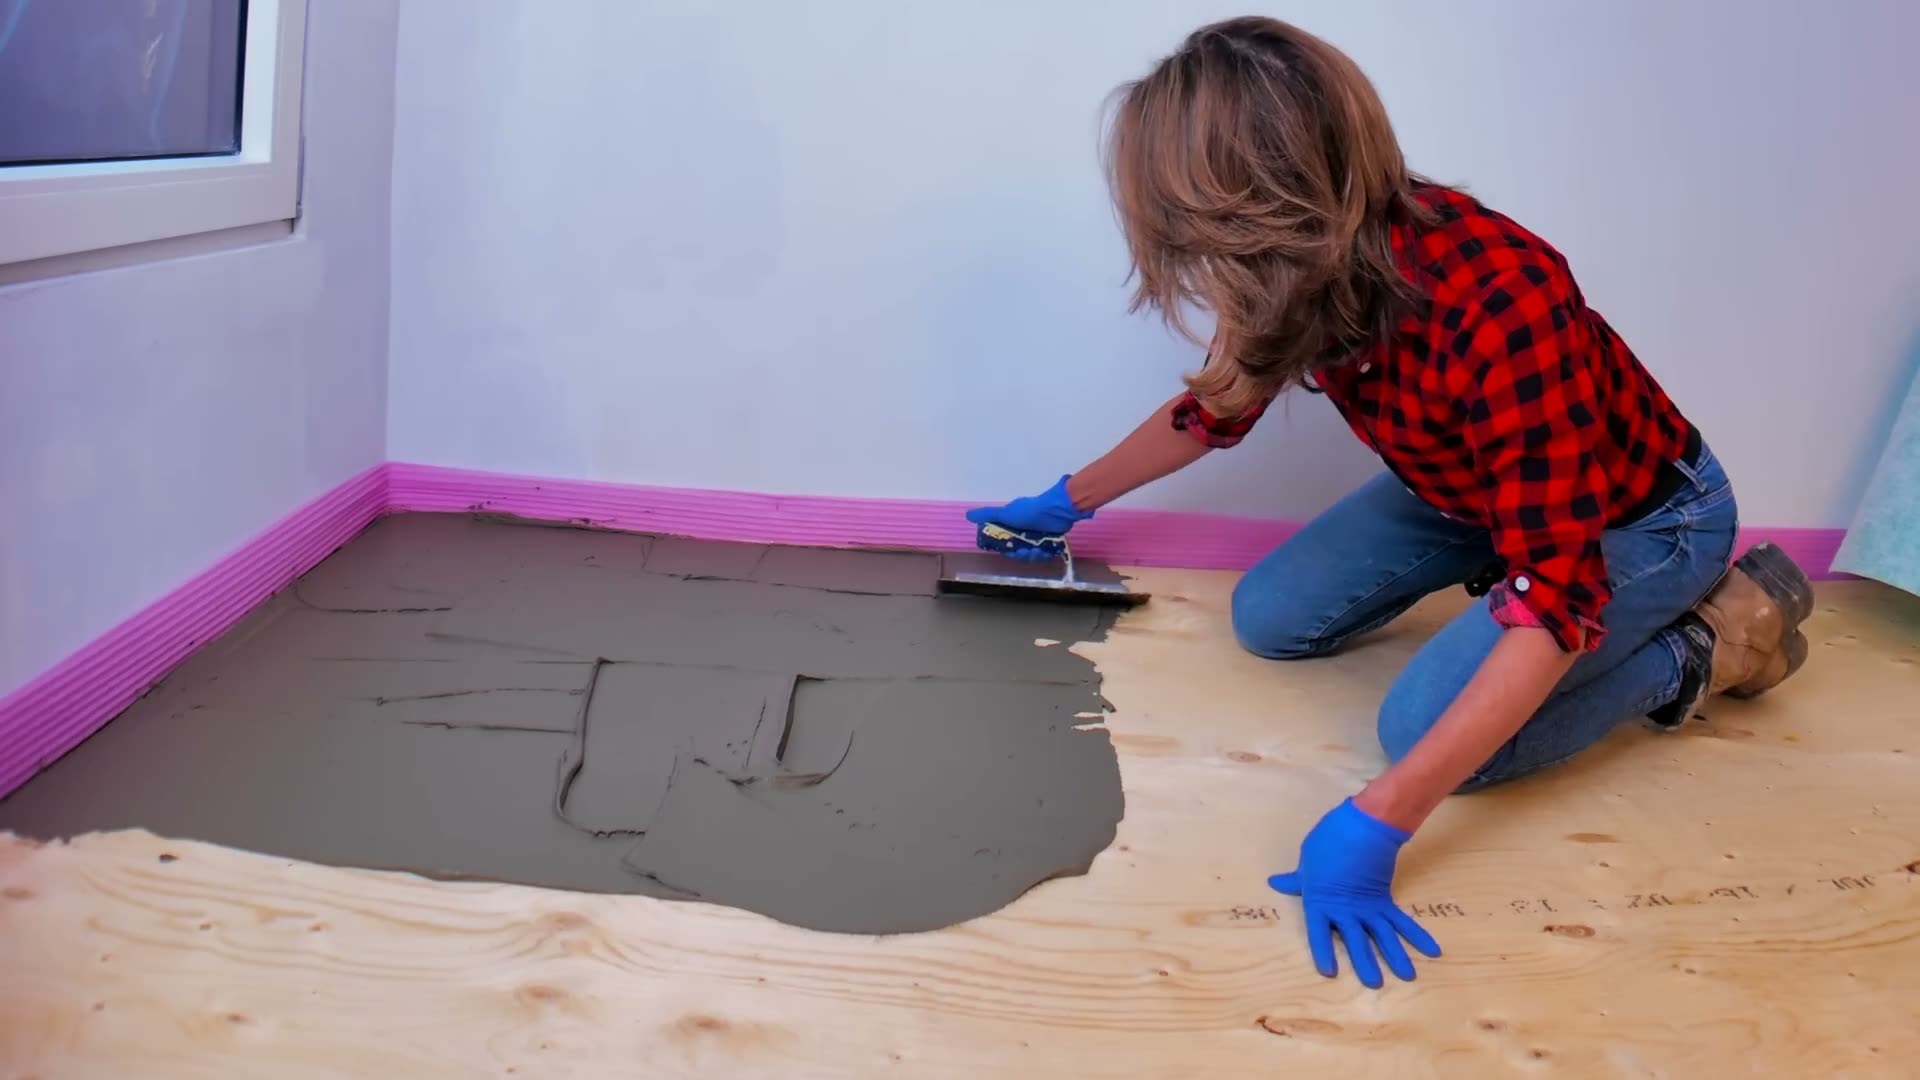
Then comb the mortar consistently with the appropriate notched trowel, keeping the ridges even and running in one direction. On this install I used a 1/4″ notched trowel.
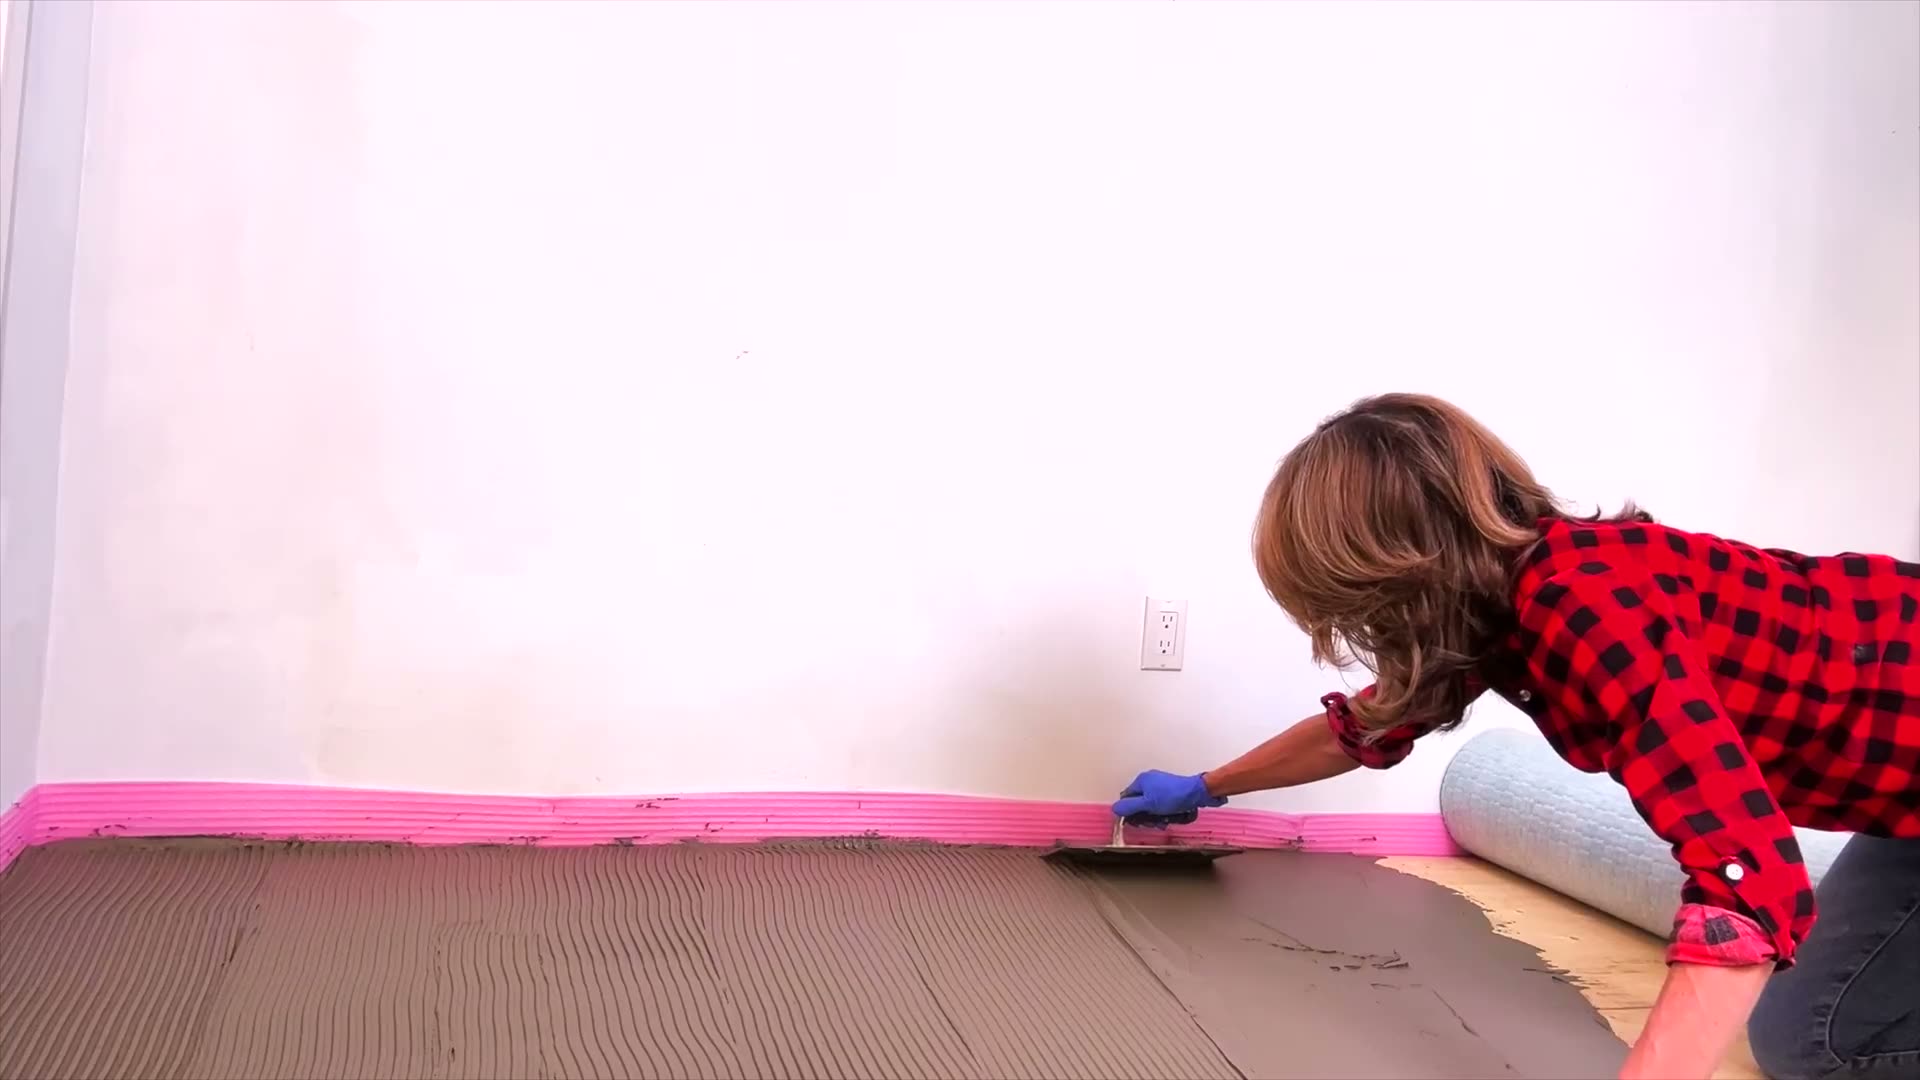
Set the Membrane
Once your trowel ridges are ready to go, set Mapeguard UM into the fresh mortar. The fleece layer on the underside is designed to enhance mechanical bonding.
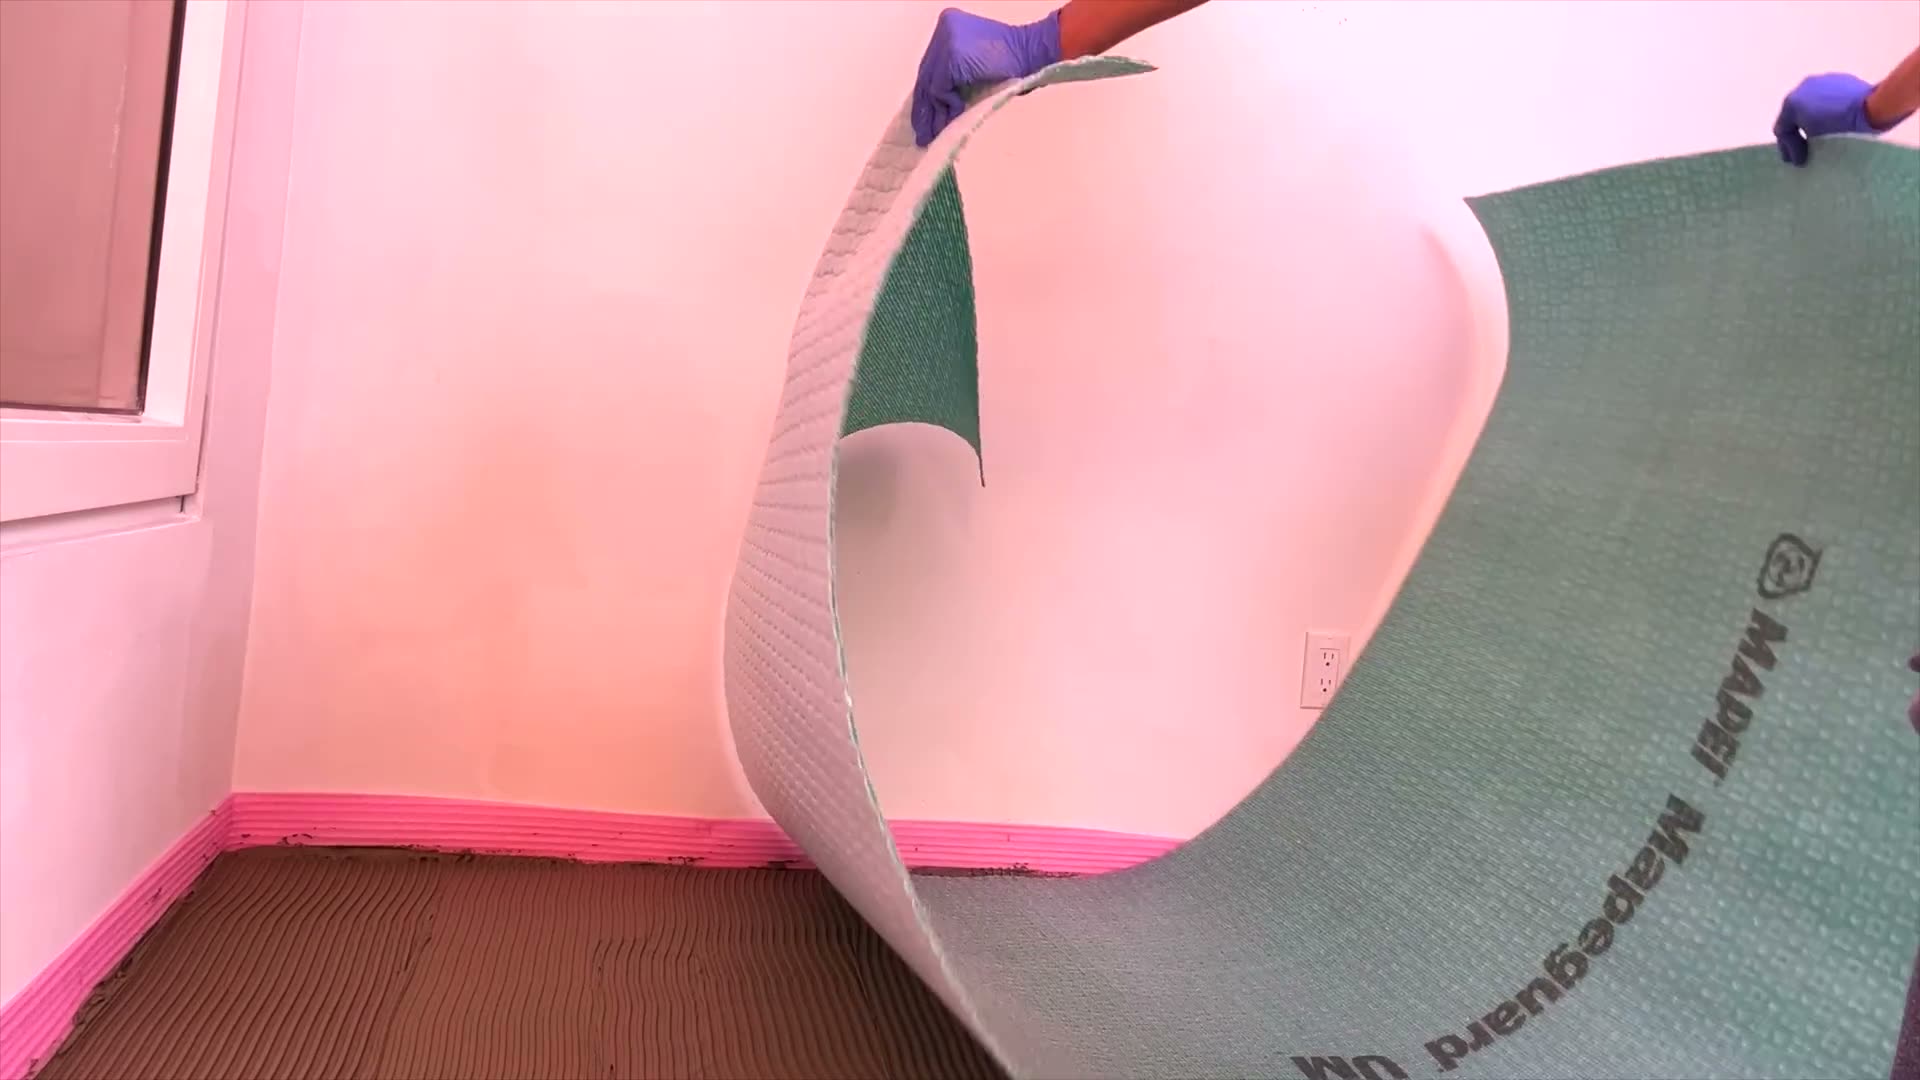
As you embed the membrane, the mortar locks into the fleece, anchoring it to the substrate. This is why getting your mortar and coverage right matters.
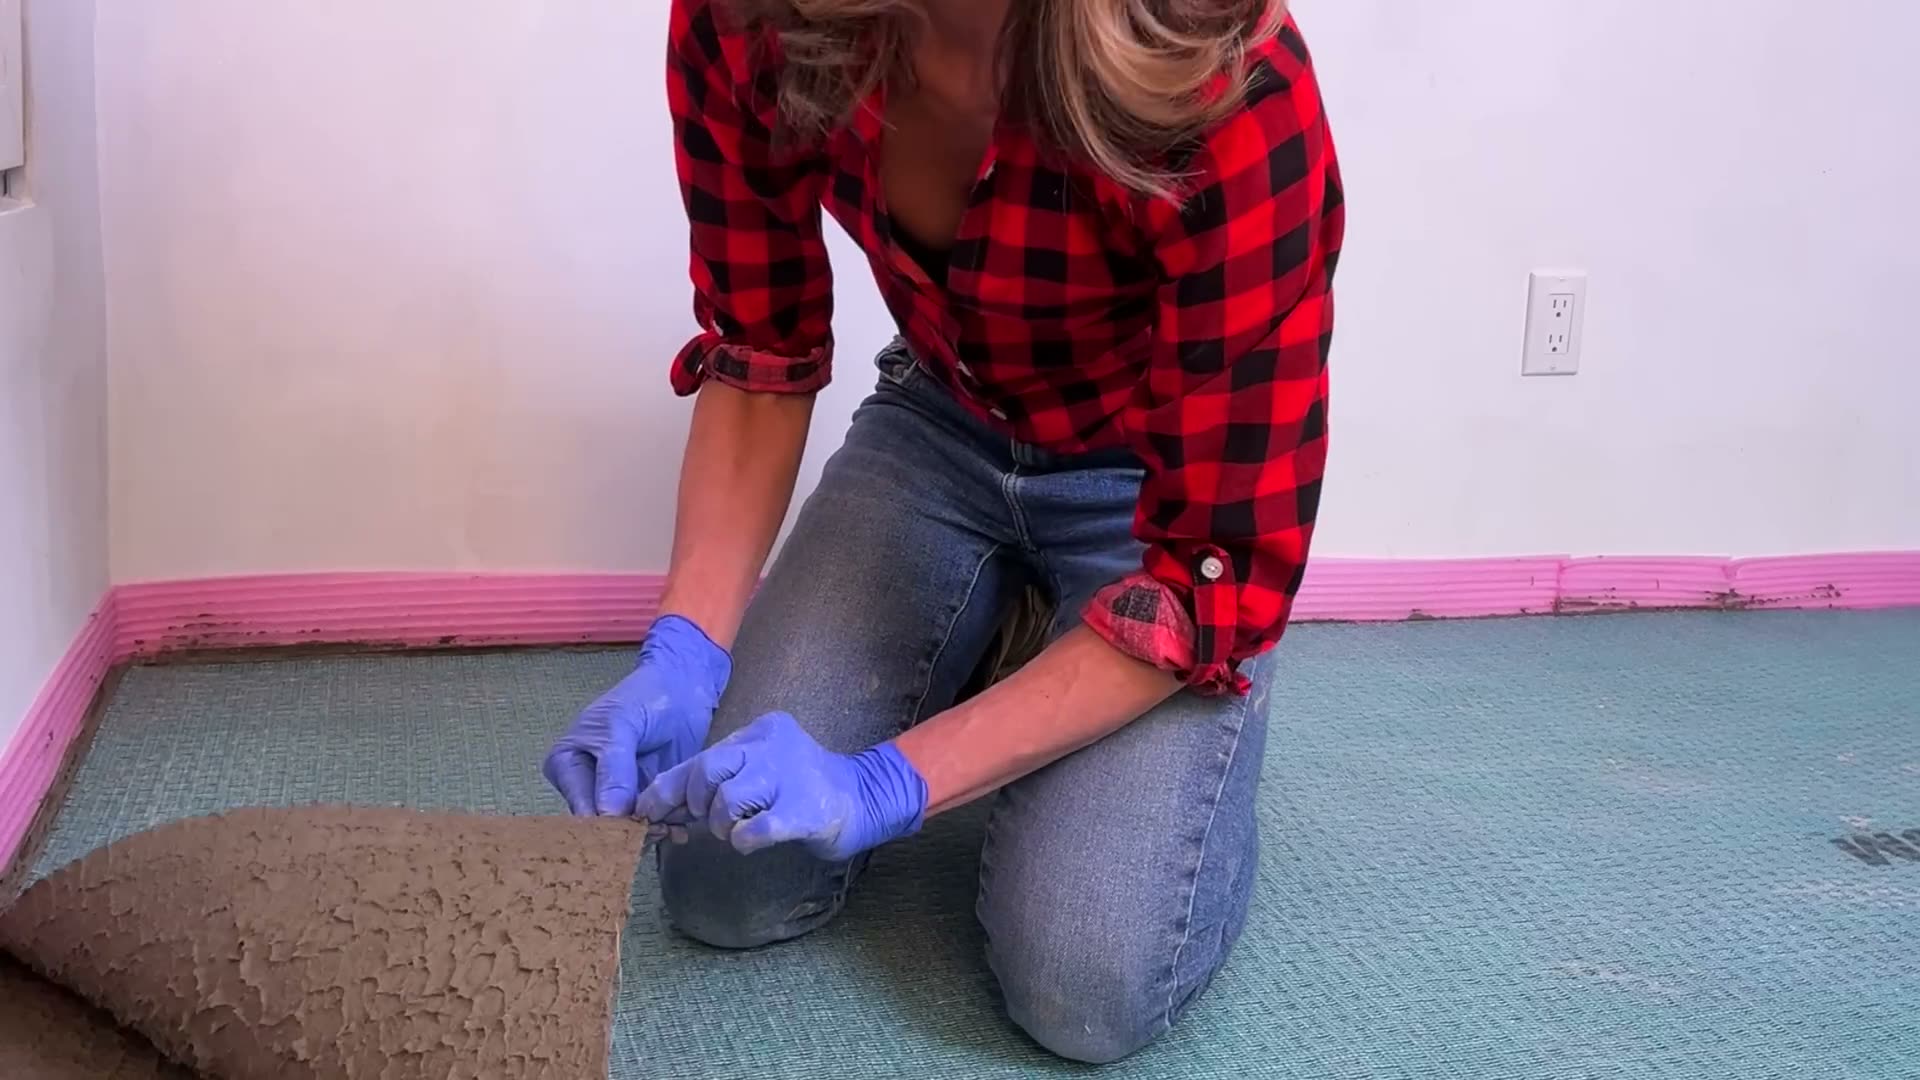
Uncoupling separates the tile assembly from movement and stress in the substrate that can lead to cracked tile. It’s the starting point in every tile membrane I use, but it doesn’t provide crack isolation. There’s a test for that.
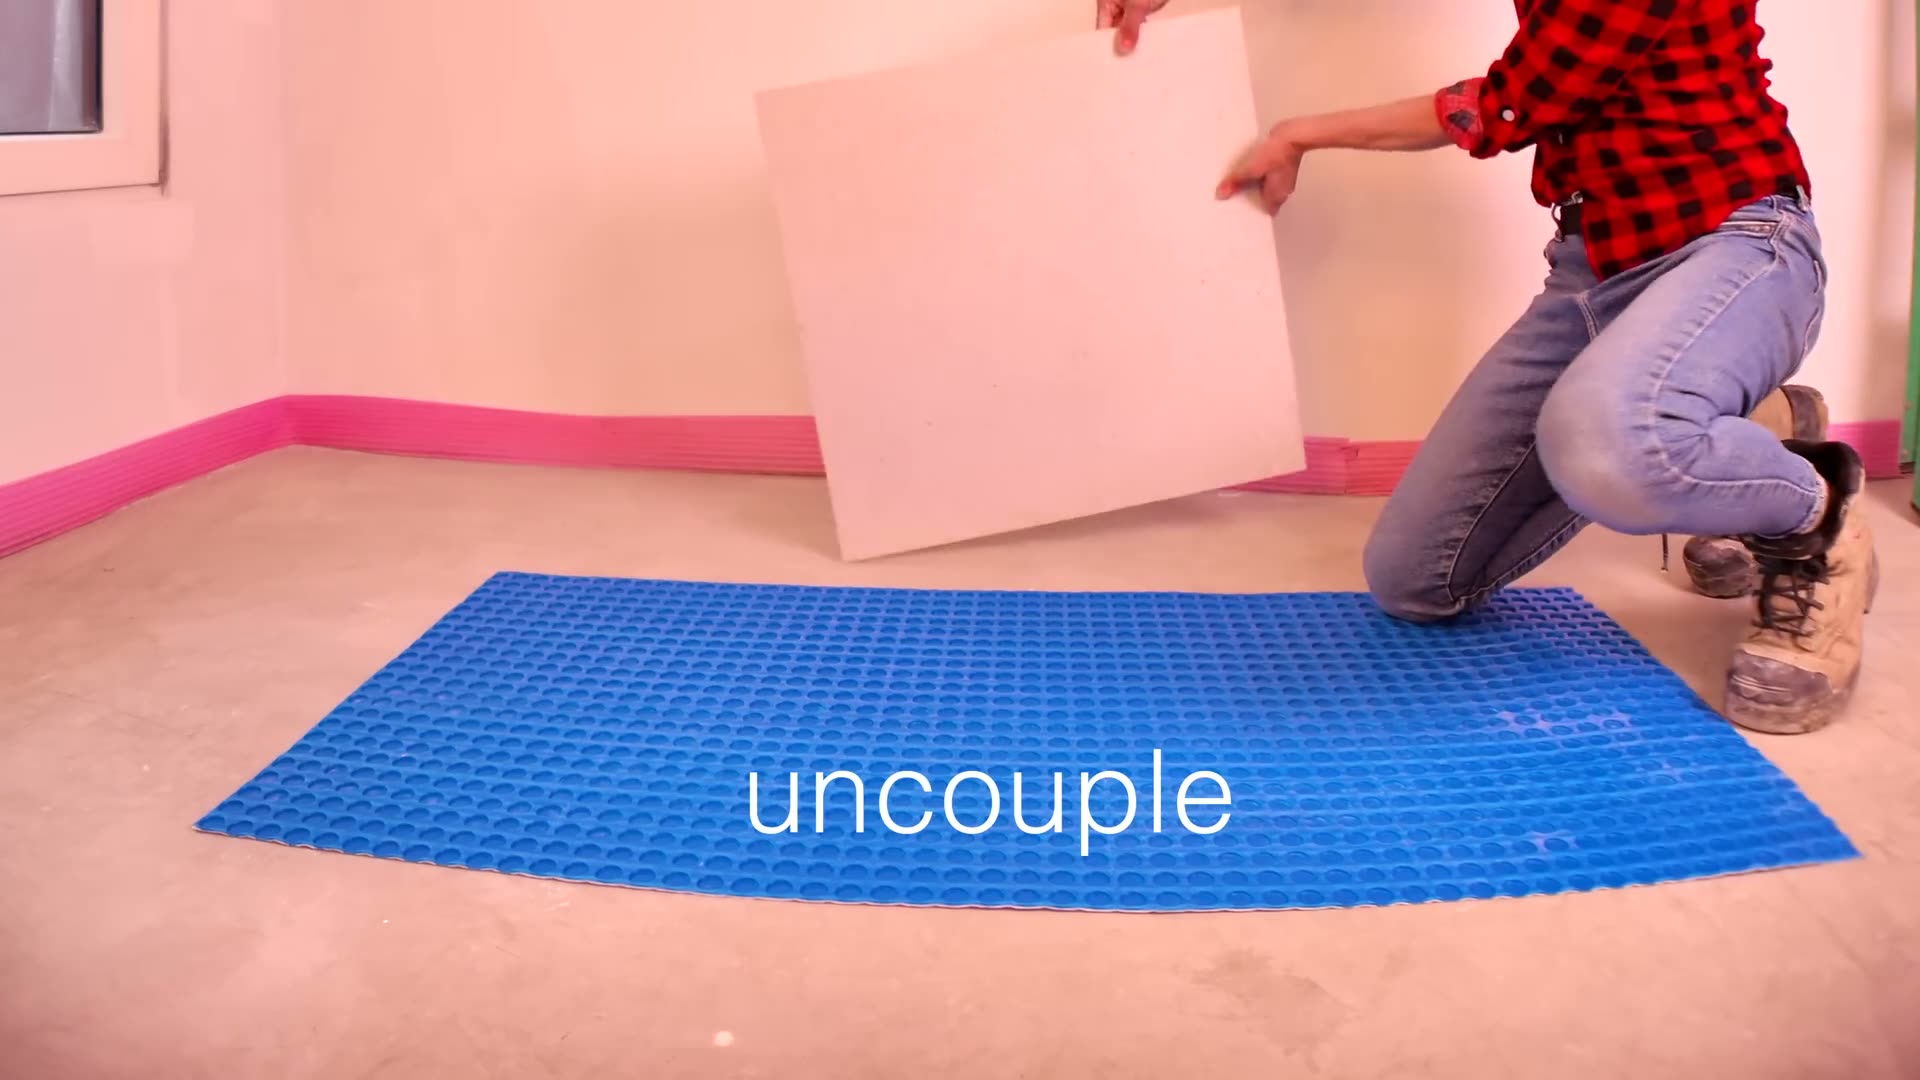
What uncoupling does not do is isolate a crack. Separating the tile from substrate movement and preventing a crack from transferring through the tile assembly are two different jobs.
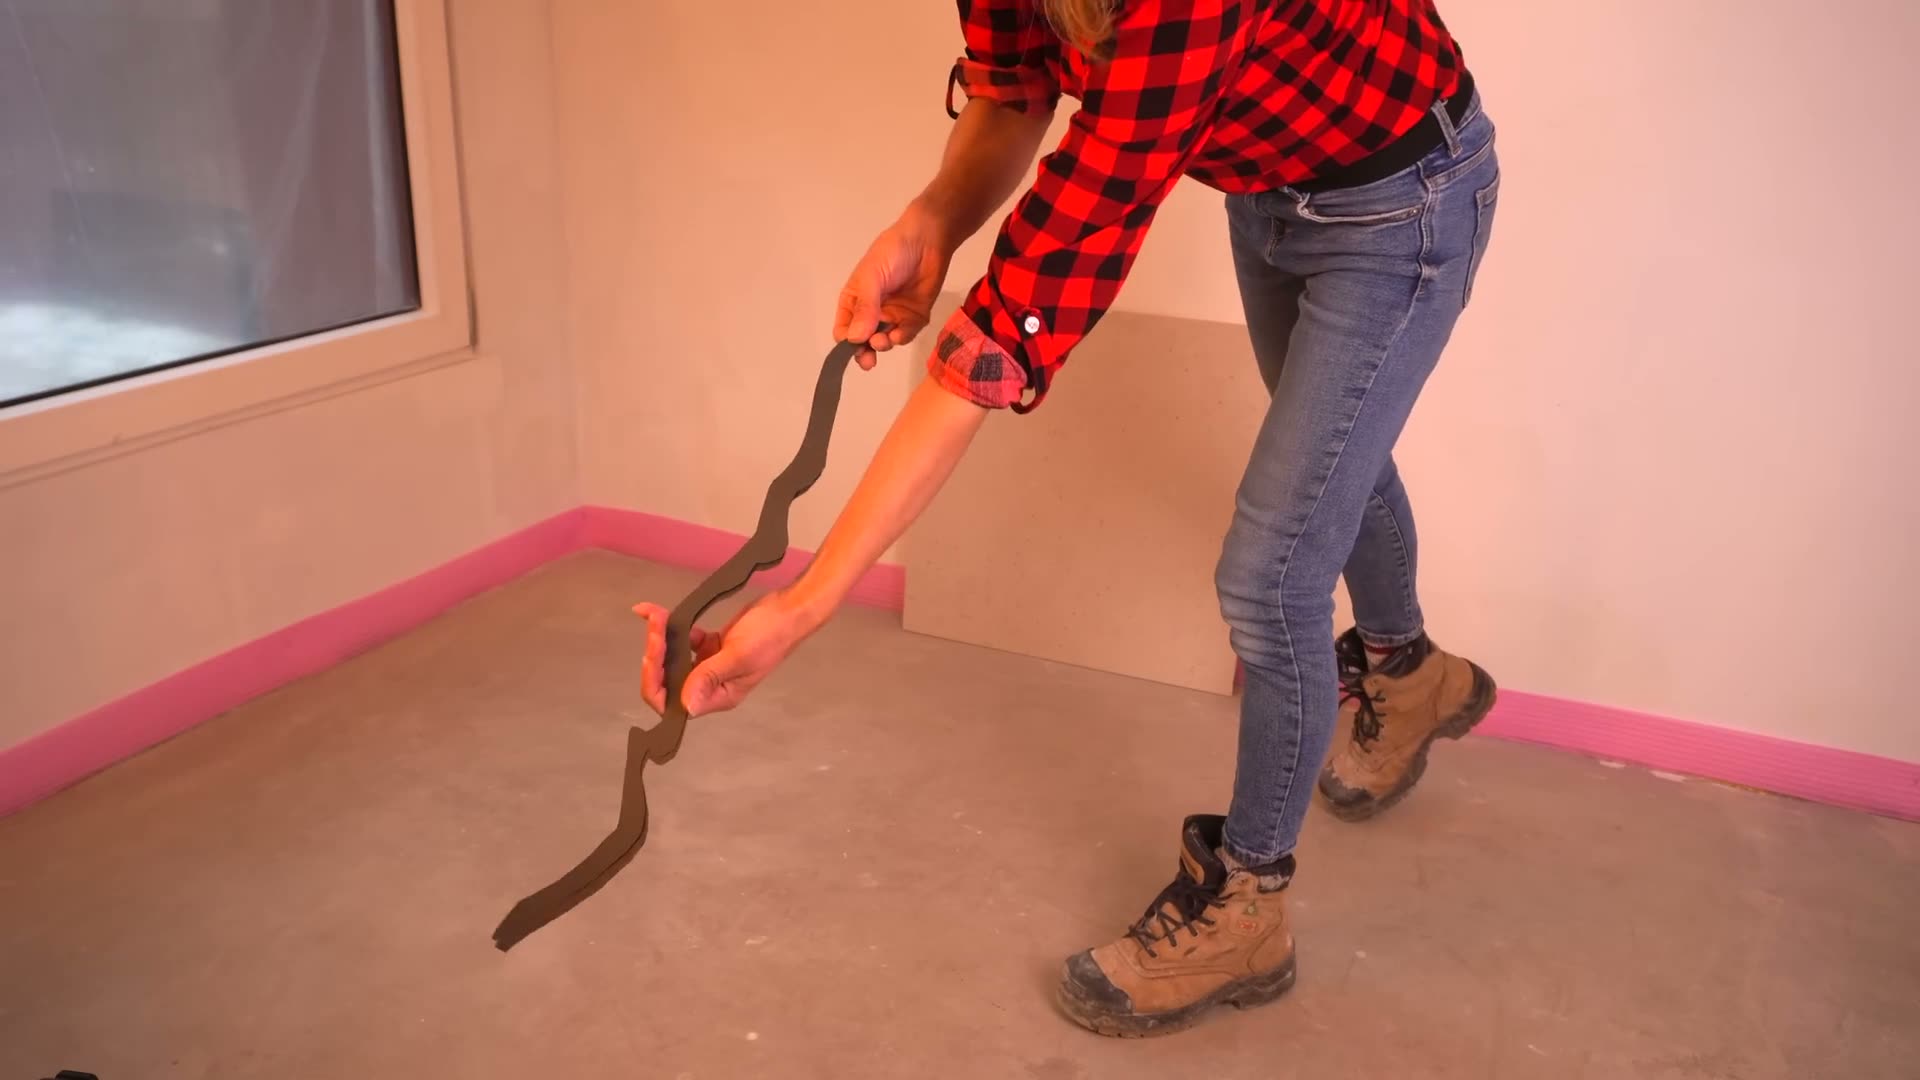
Concrete cracks. This is a hairline crack and here’s the problem.
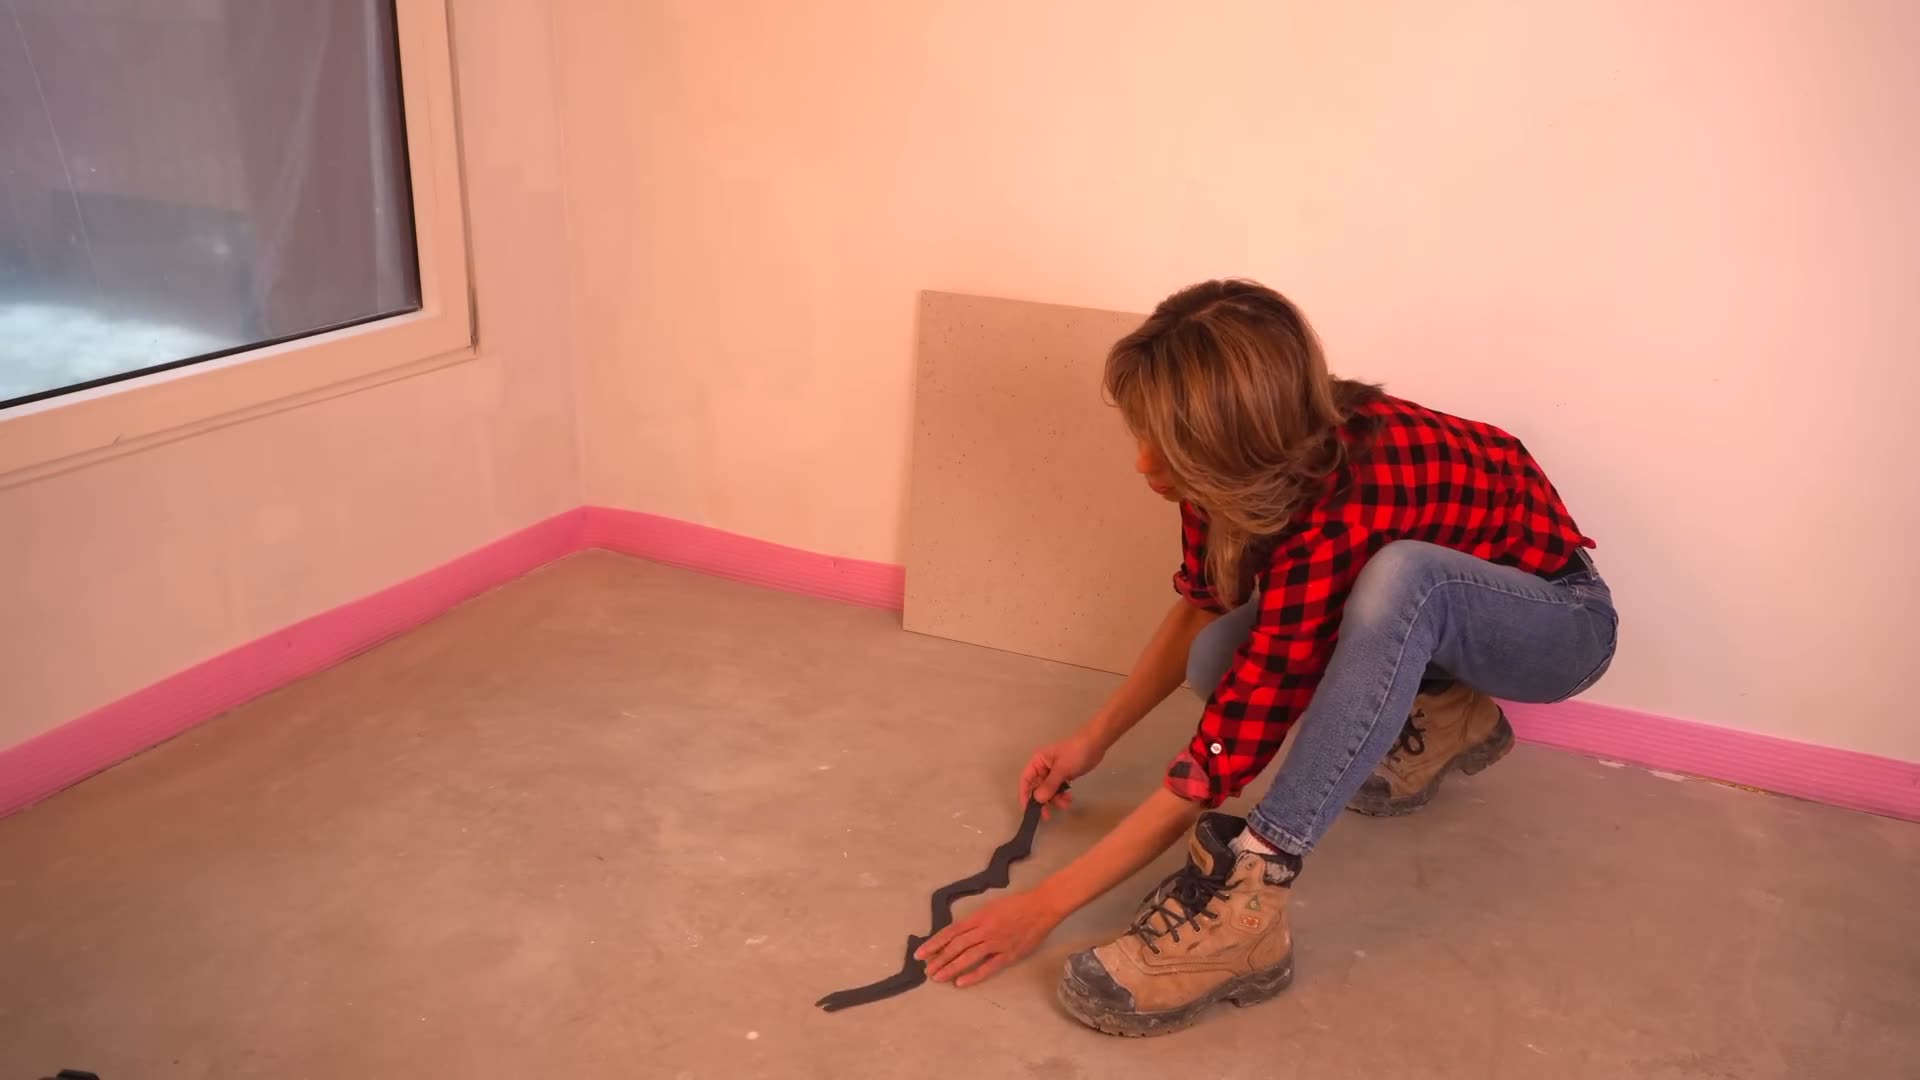
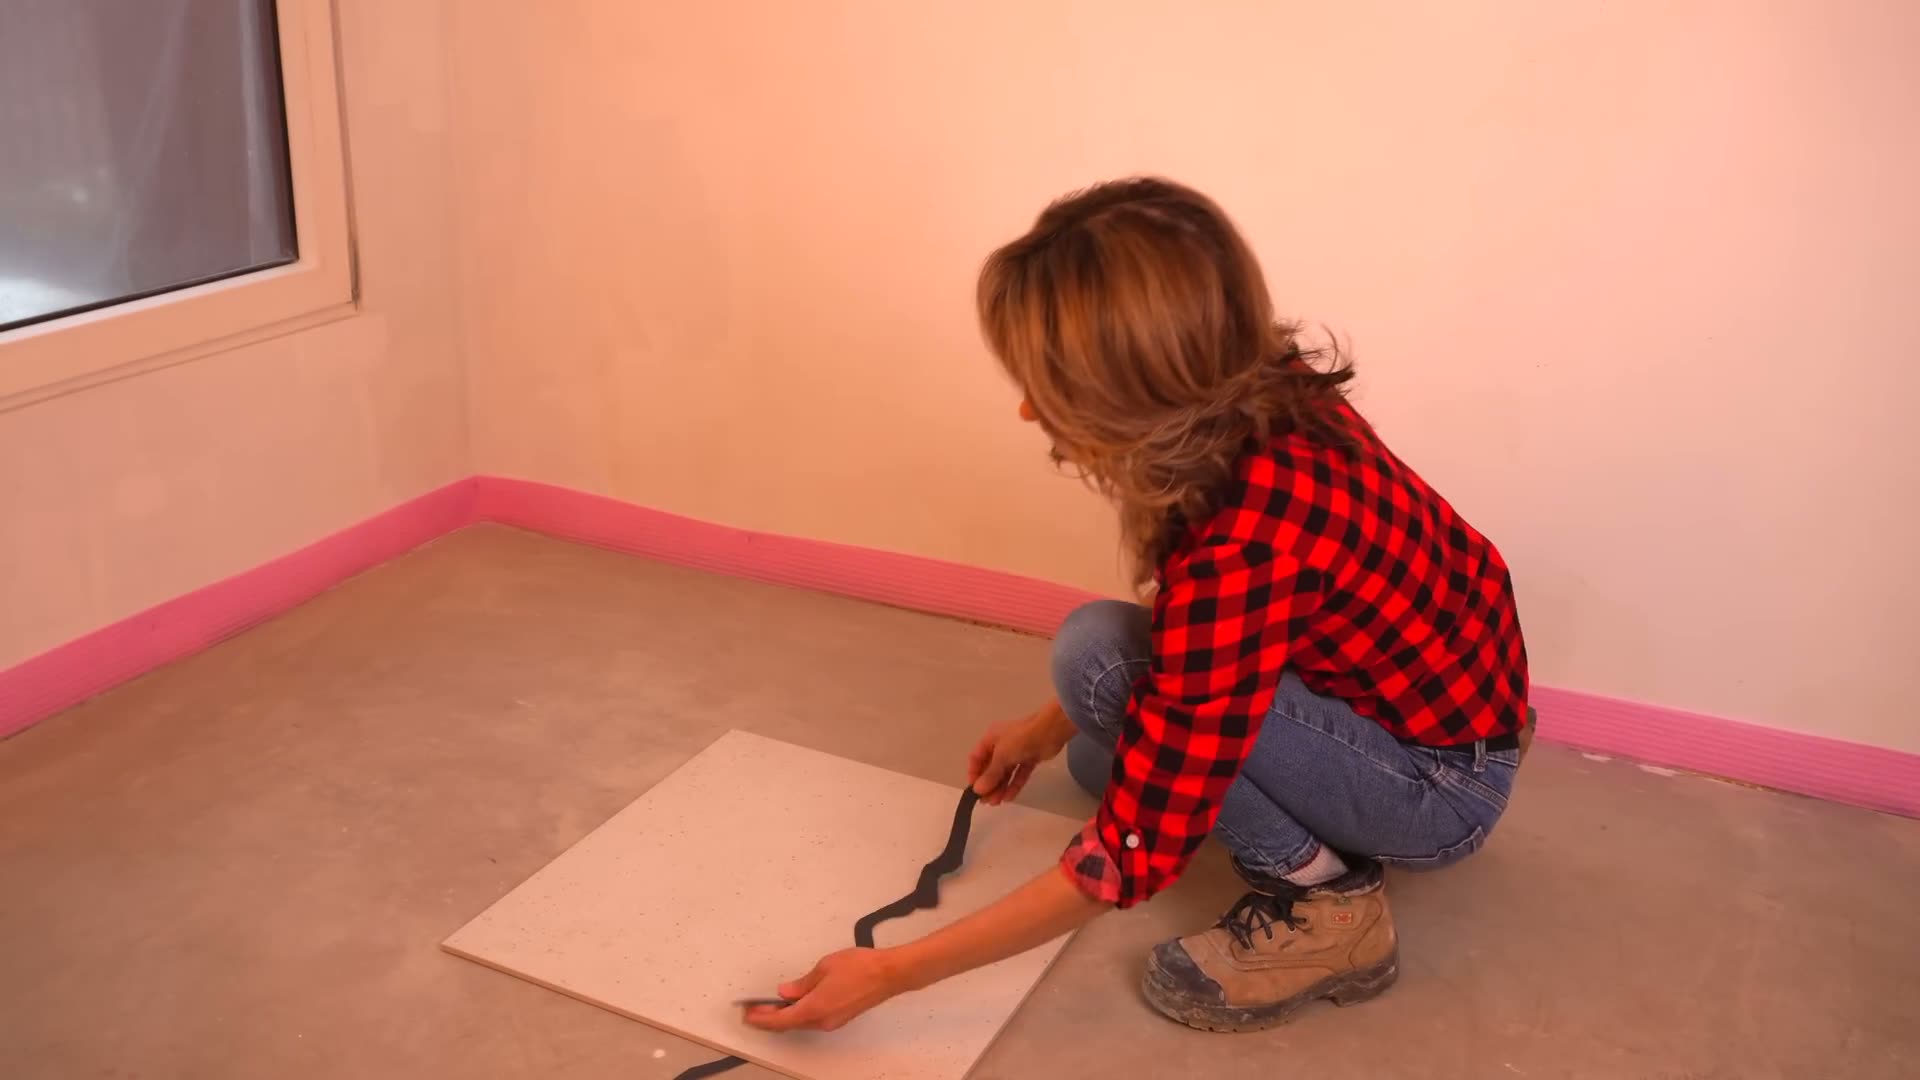
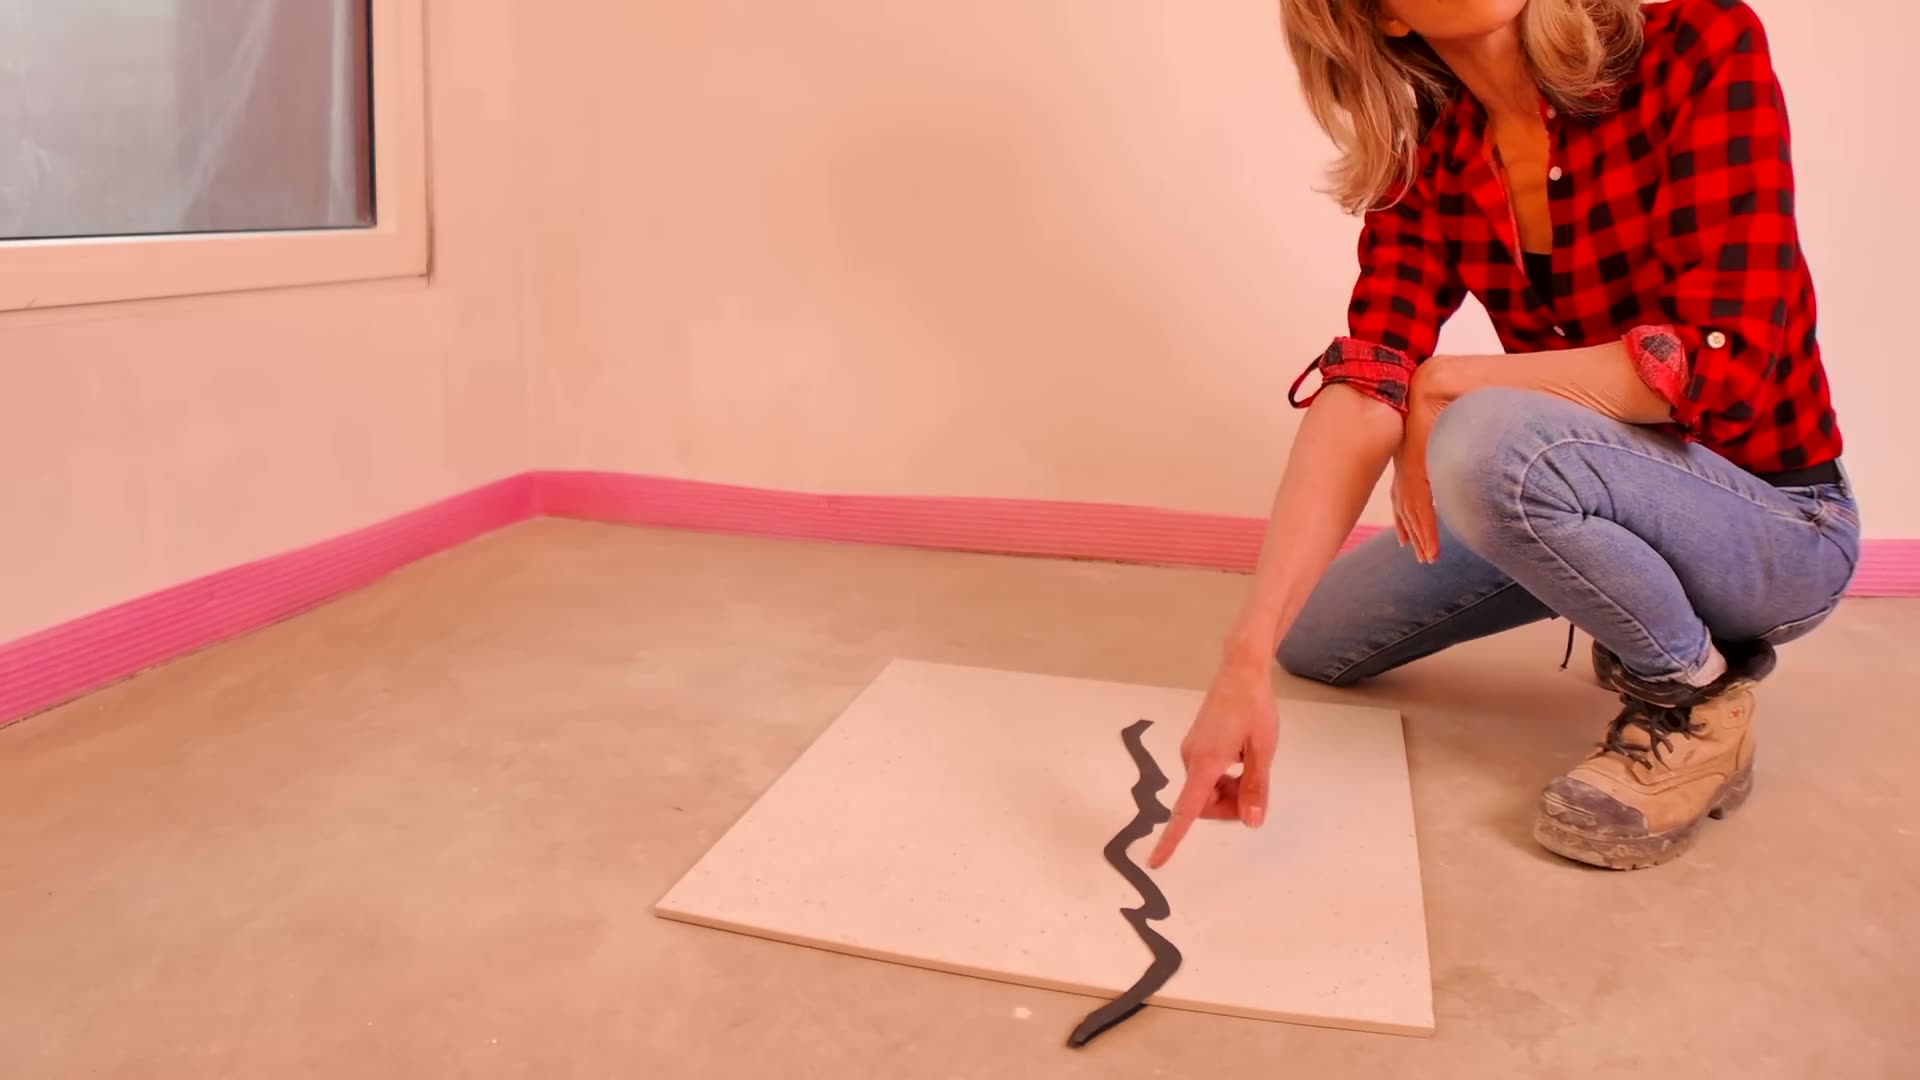
When tile is installed over cracked concrete without crack isolation, the crack can transfer straight through the assembly. As shown here, the crack in the concrete appears in the exact same location on the tile above. This is a common problem called crack transferring.
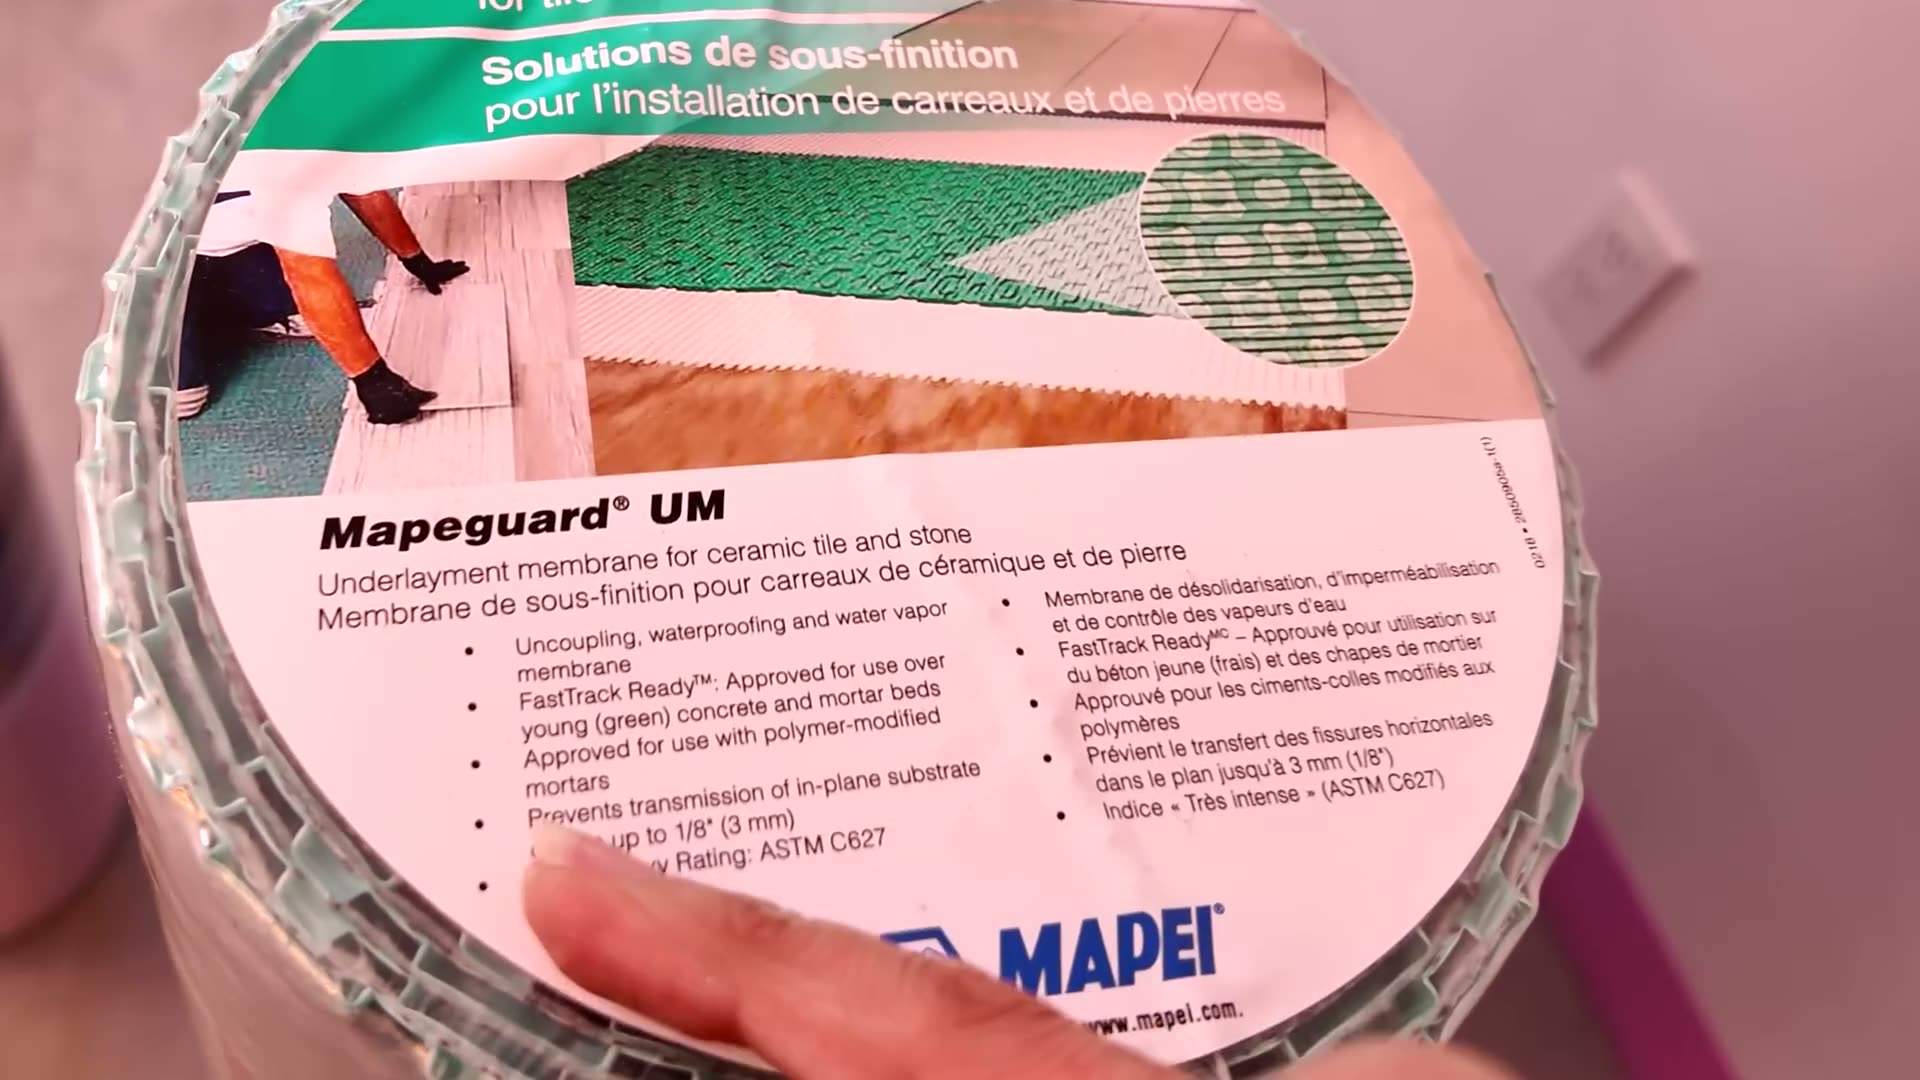
A crack-isolation membrane is designed to prevent a hairline crack from transferring up to your finished floor tile. Protecting against in-plane cracks in the substrate transferring through to the finished tile, up to 1/8″ (3 mm). Mapeguard UM and Mapeguard UM 35 are rated crack-isolation membranes that also provide uncoupling.
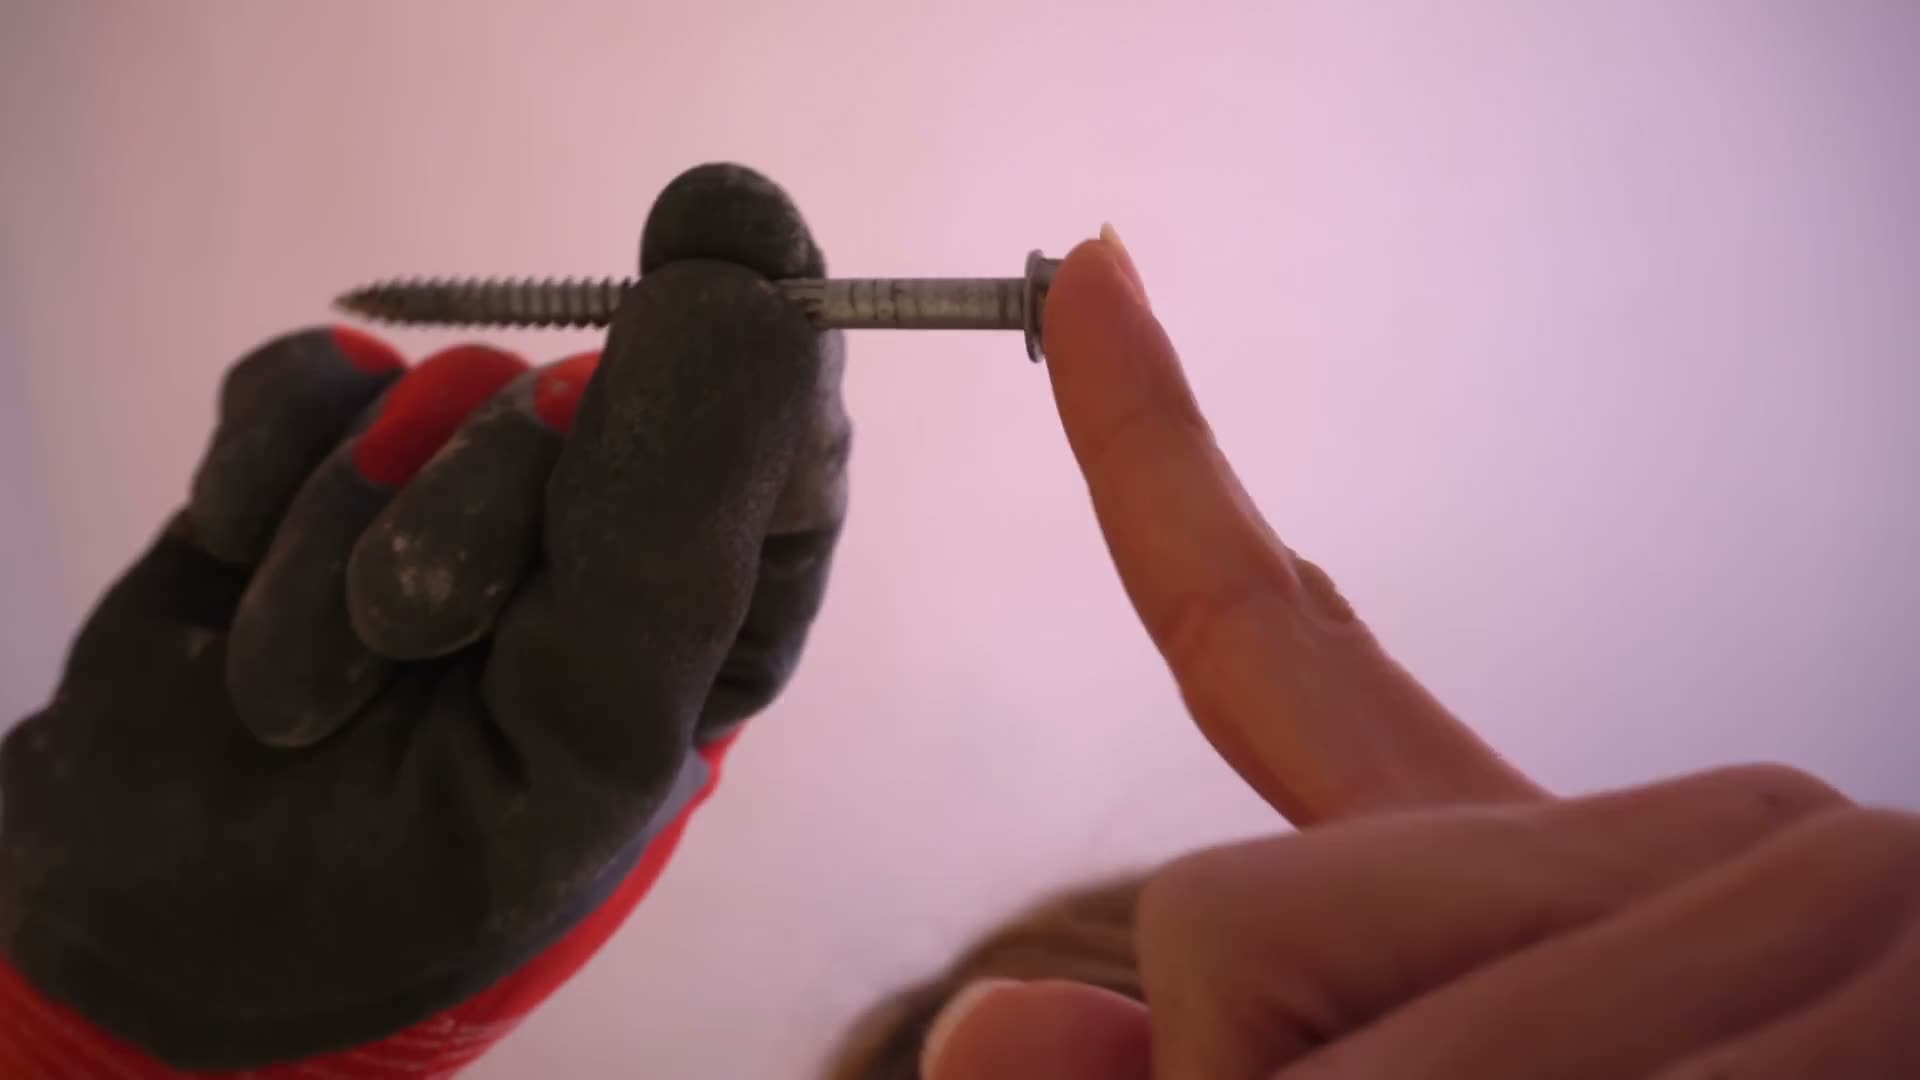
We trust a rated fastener because it’s third-party tested and rated to perform to a recognized standard. The same principle applies to fire-rated drywall.
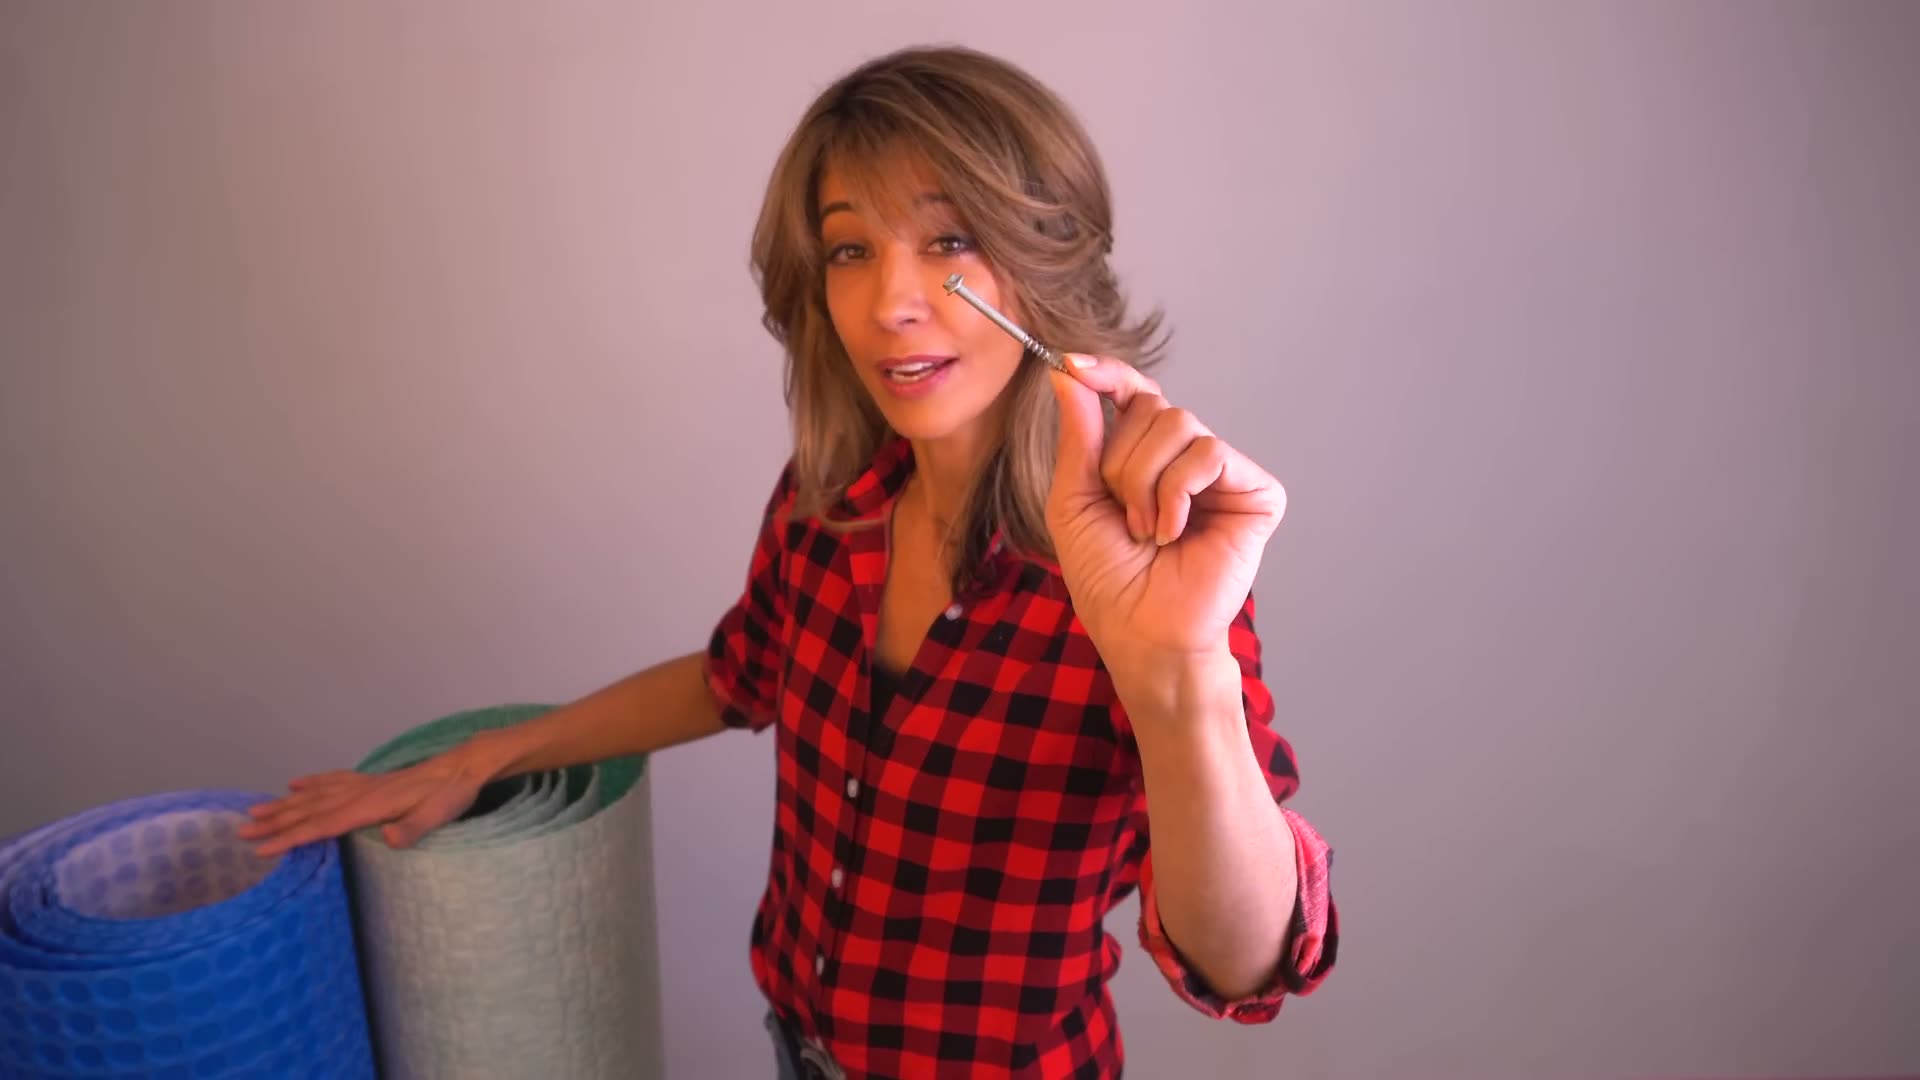
I expect the same from a tile membrane: third-party testing that proves how it performs. And I’m not alone.
ANSI A118.12 is the recognized standard for crack-isolation membranes under tile. Mapeguard UM and Mapeguard UM 35 meet the High Performance rating, protecting against in-plane cracks up to 1/8″ (3 mm). Both are also rated for waterproofing.
Mix the Mortar for the Tile Membrane
Ultraflex 2 LT is the mortar we are using. The membrane manufacturer specifies the mortar.
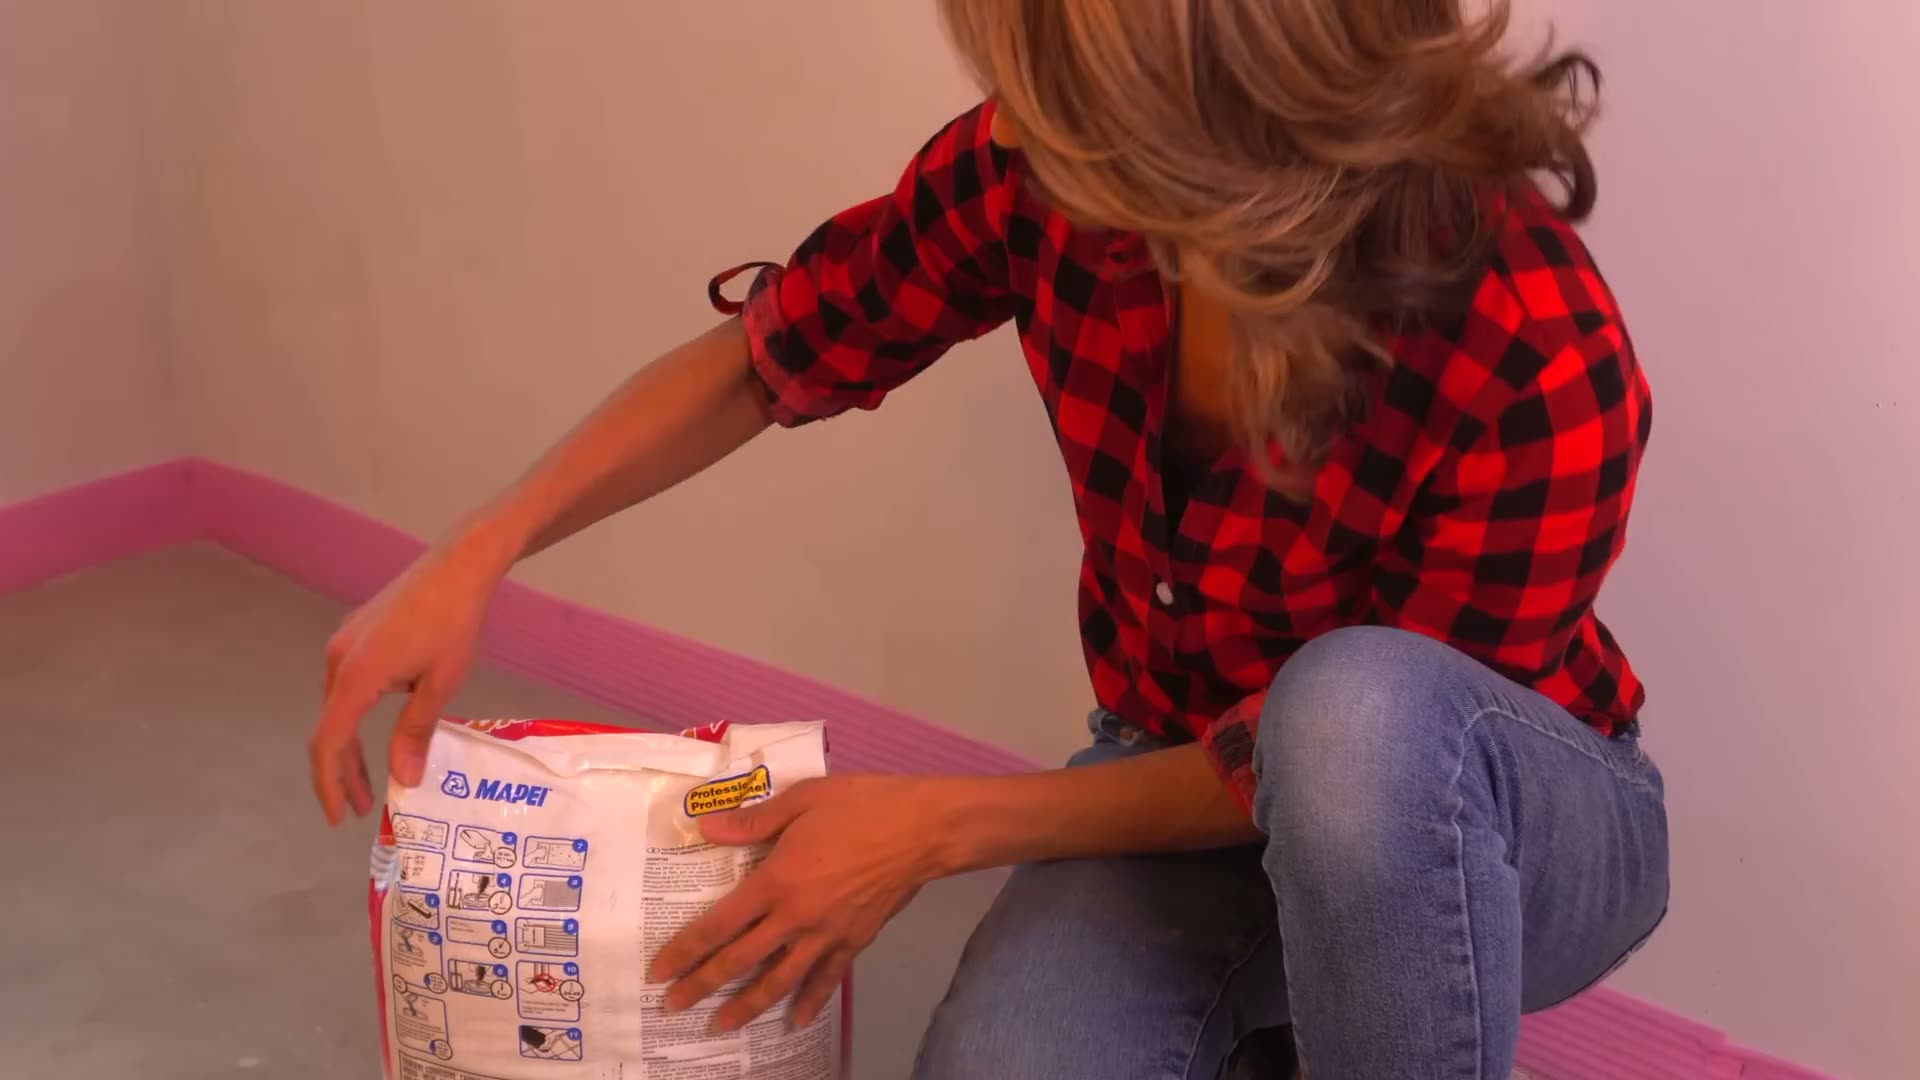
Check the mortar manufacturer’s instructions for membrane installation. Use the water ratio specified for waterproofing membranes. Not the ratio for setting tile.
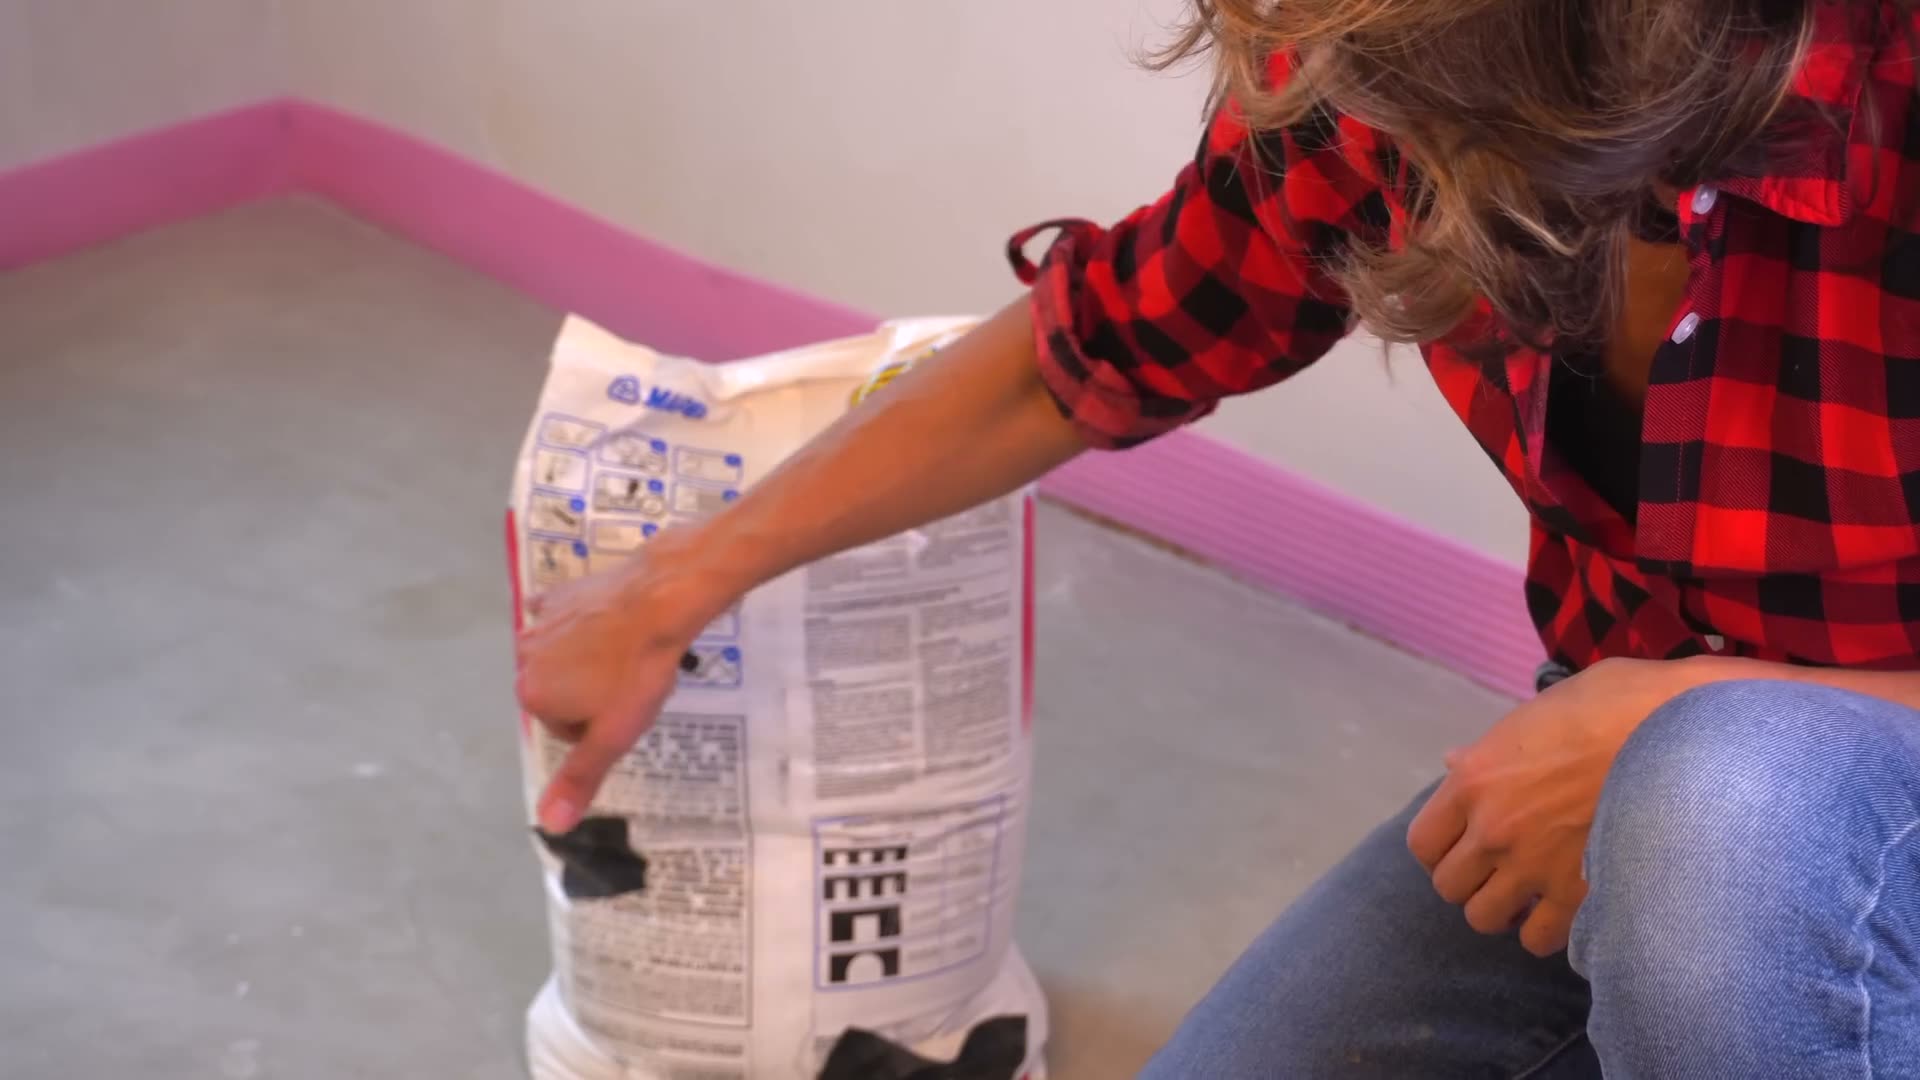
For this installation I worked toward the high end of the permitted range without exceeding the maximum, using a variable-speed mixer.
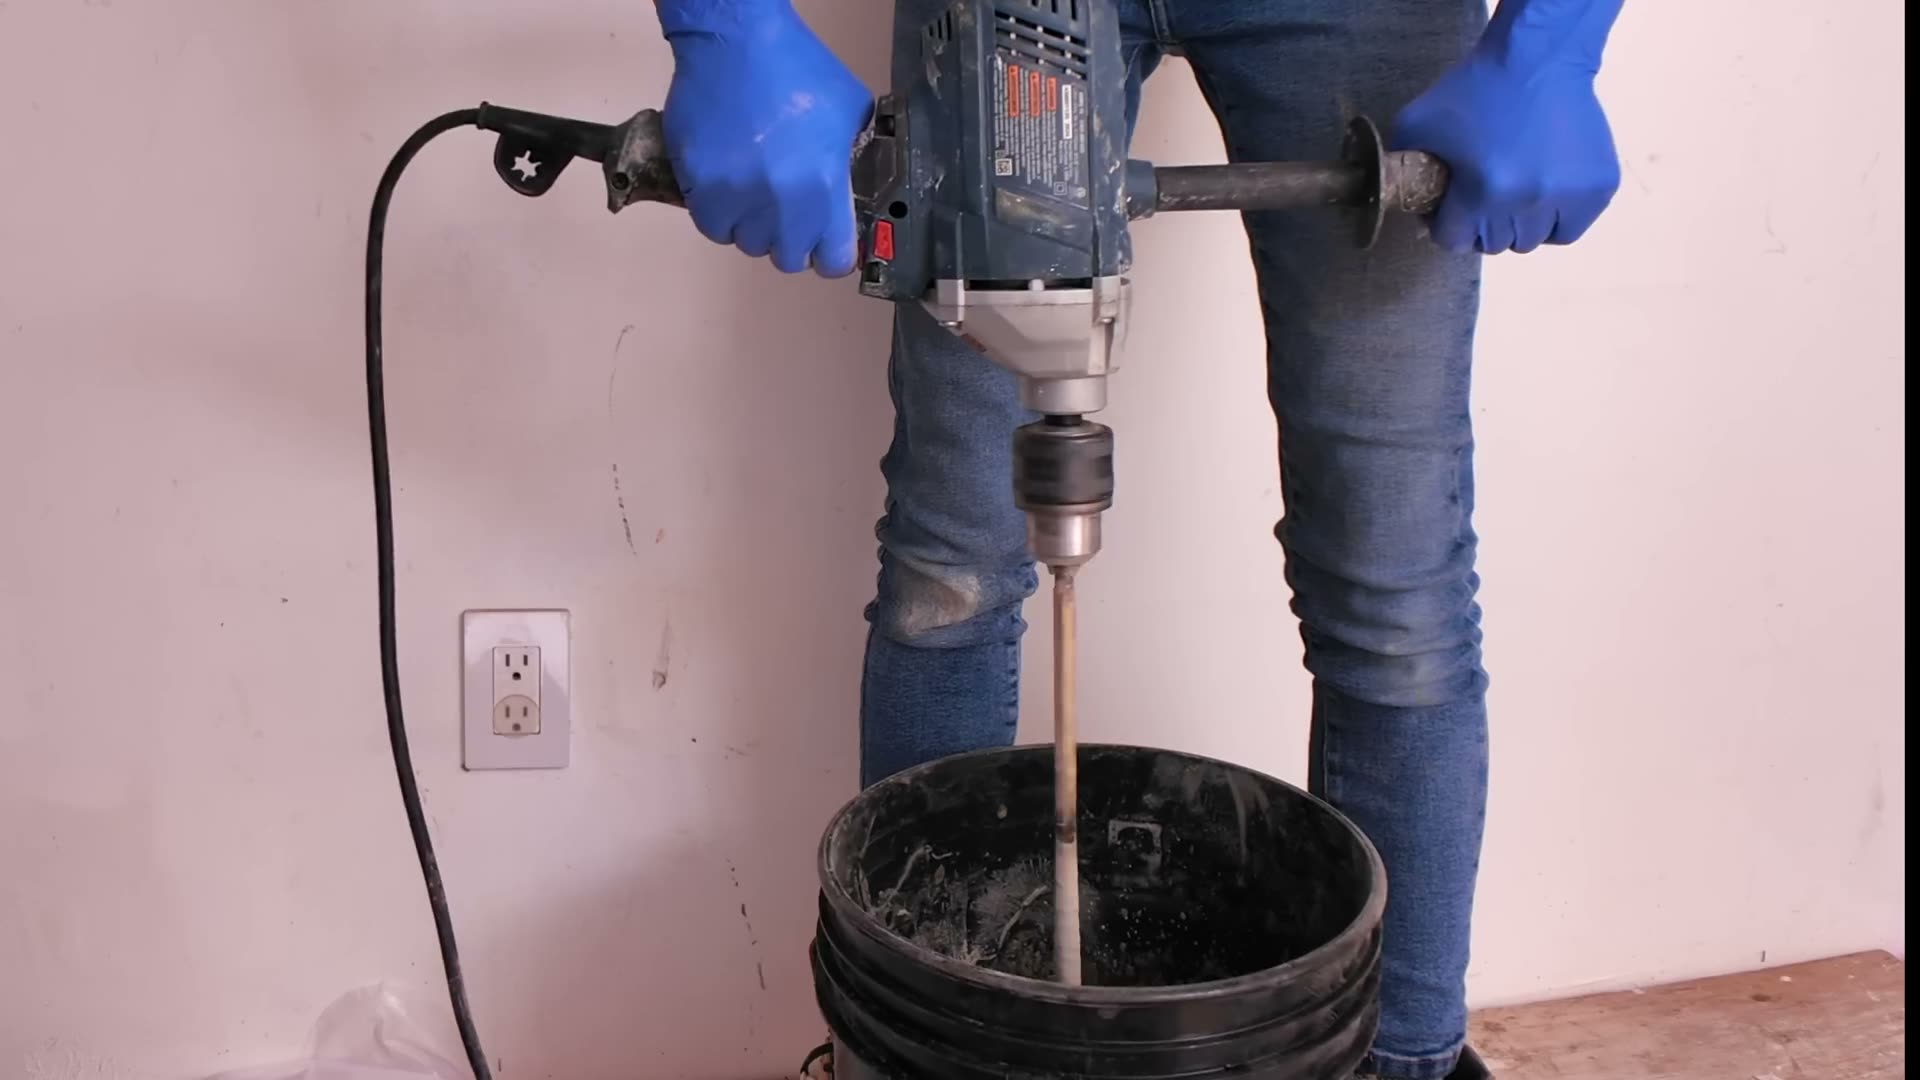
The goal is to get the consistency right so the membrane beds in easily and you get full coverage with a solid bond underneath.
Install Mapeguard UM 35 Over Concrete
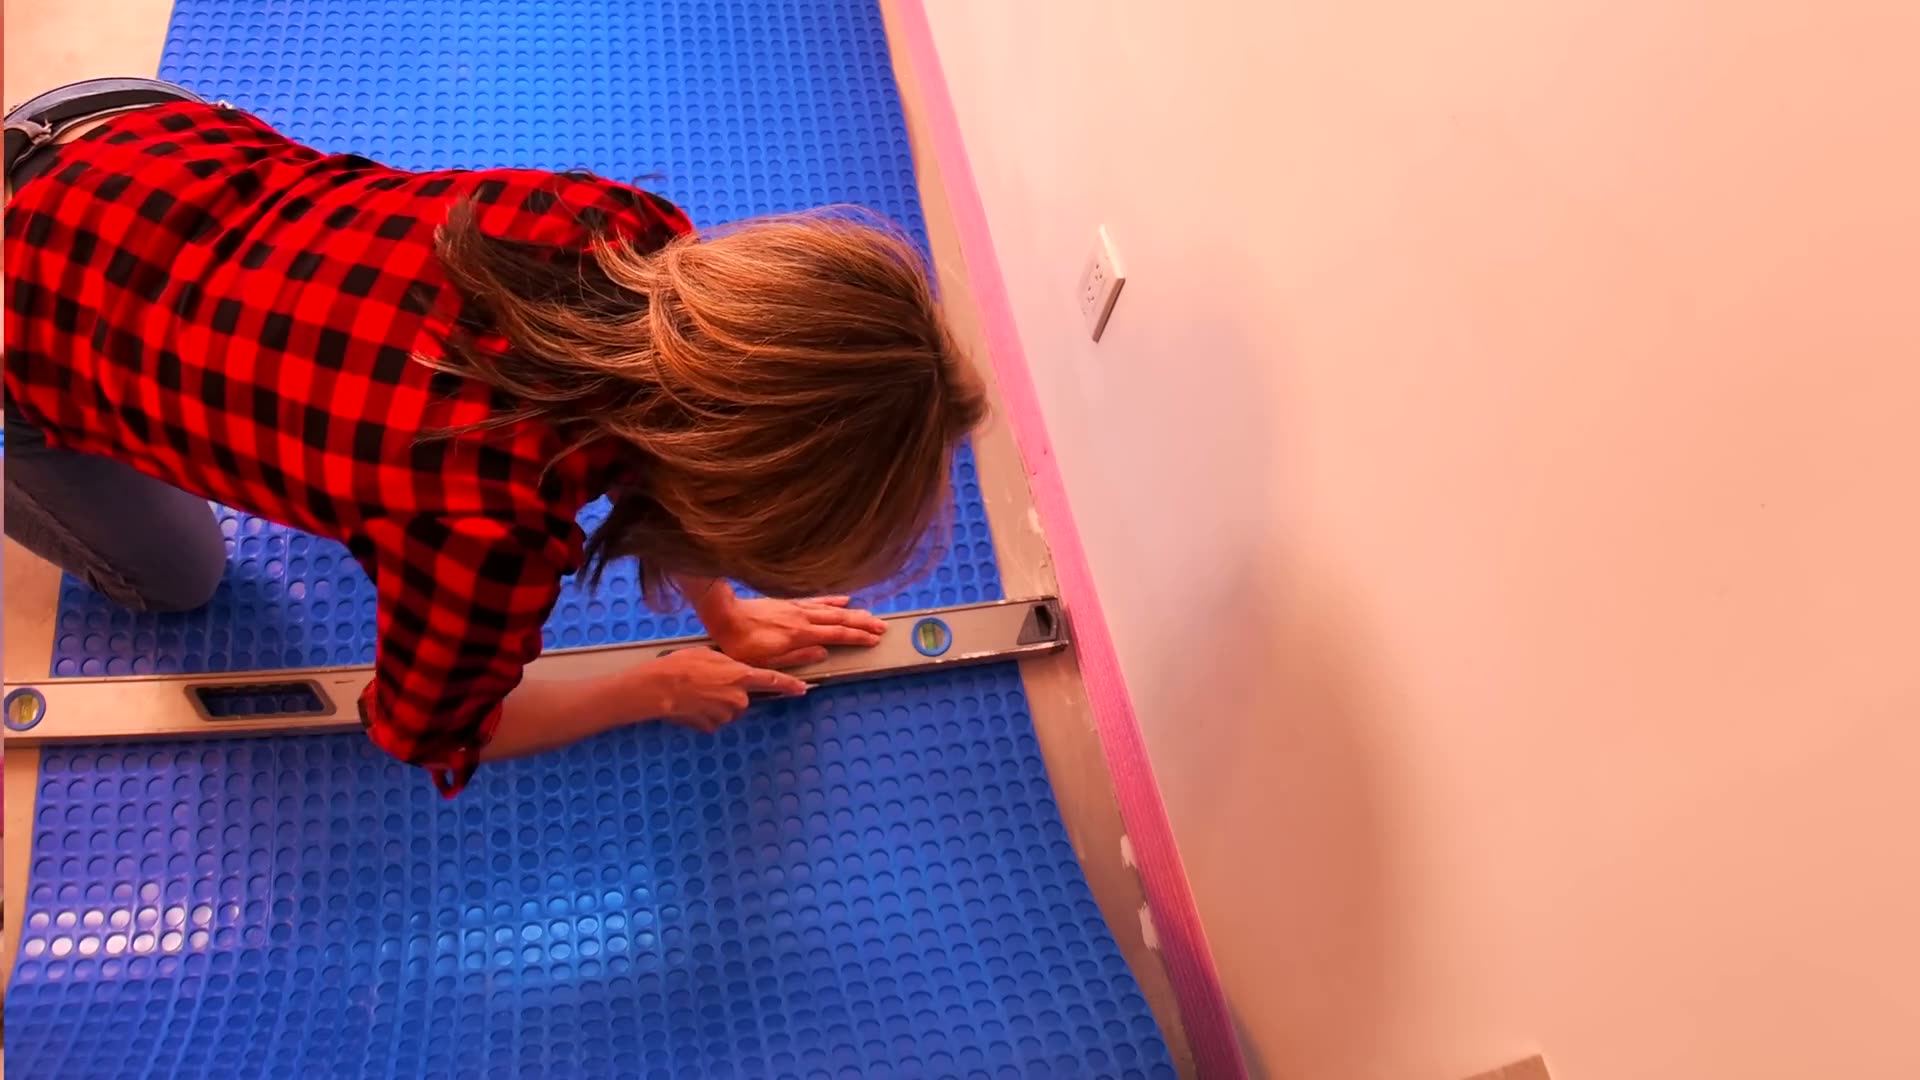
Dry fit the membrane first.
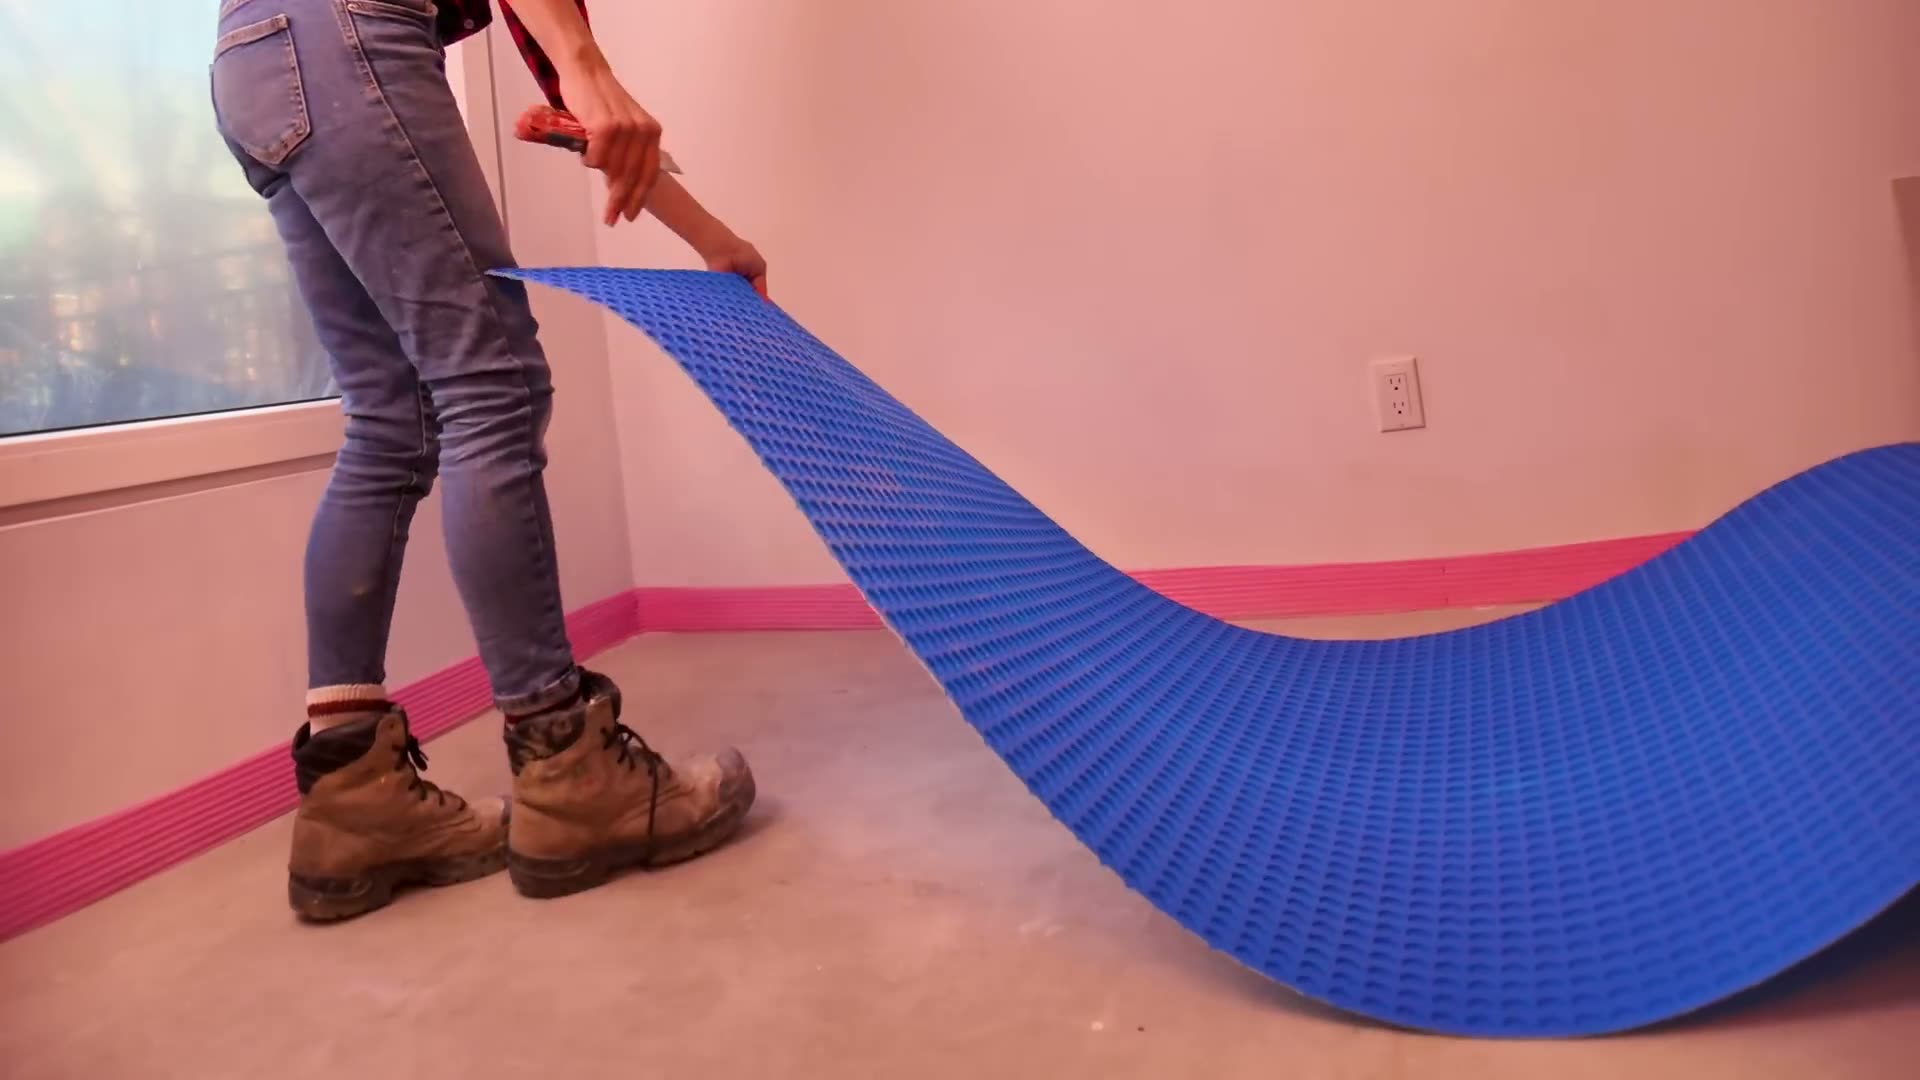
Cut it to the space, including any cut-outs, so every sheet is ready before the mortar goes down.
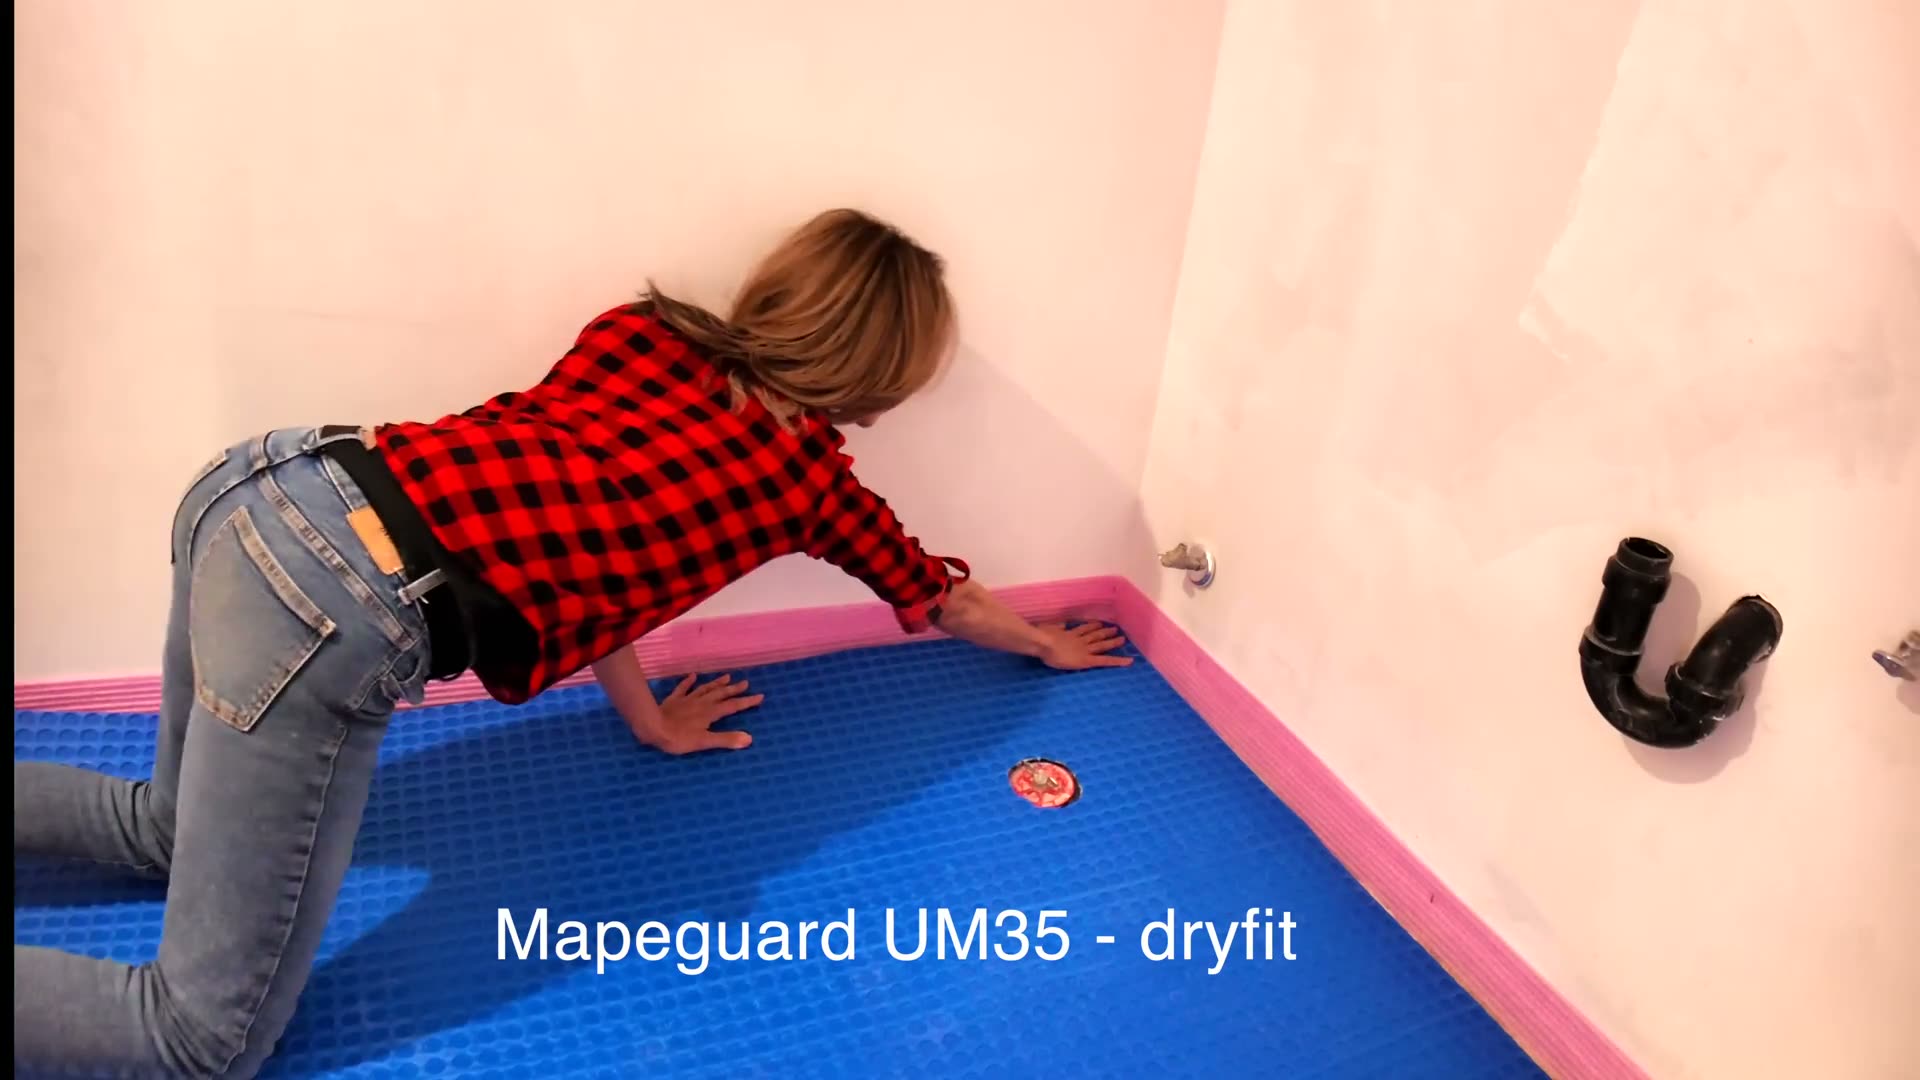
Concrete gives one of the clearest reasons to use crack isolation, because concrete cracks. For this installation I used Mapeguard UM 35 over a concrete slab.
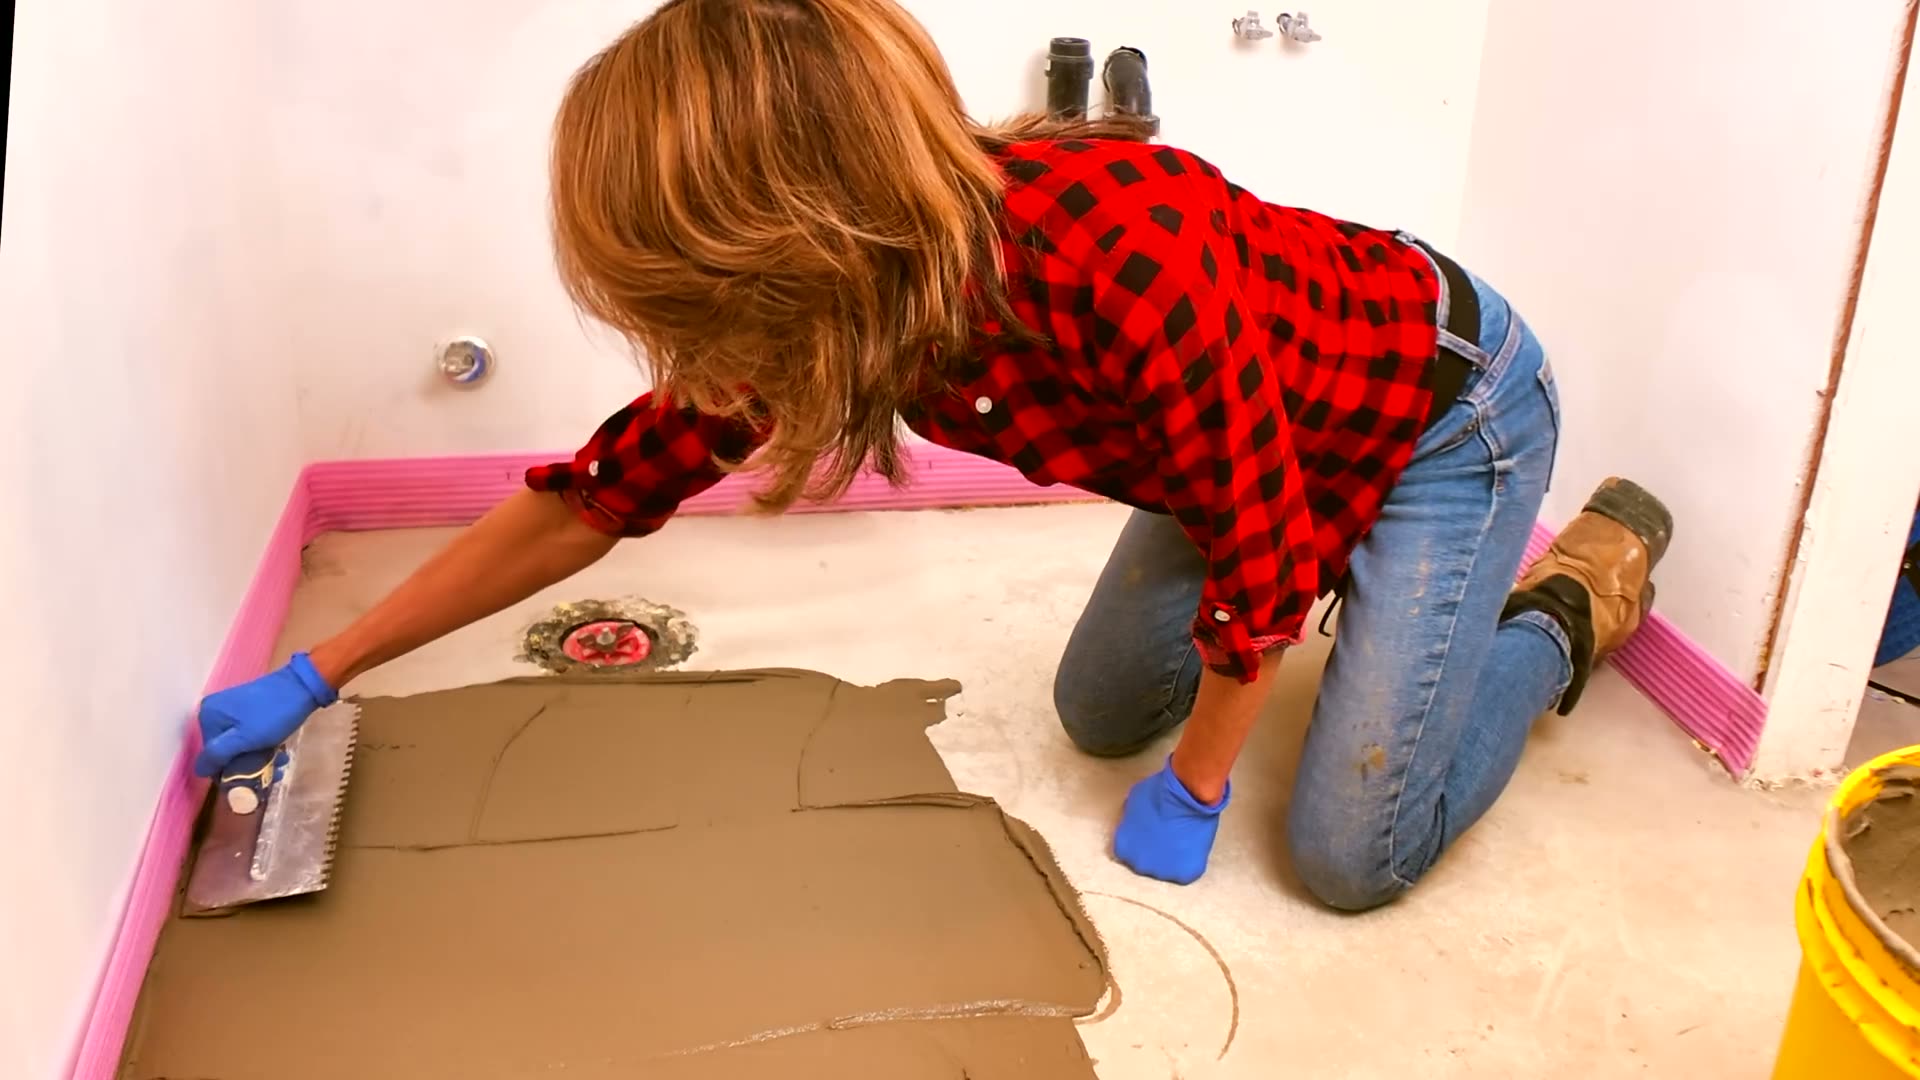
Spread the modified mortar and key it in with the flat side of the trowel. Work the mortar in one direction, then go back over it in the opposite direction to fully work it into the substrate.
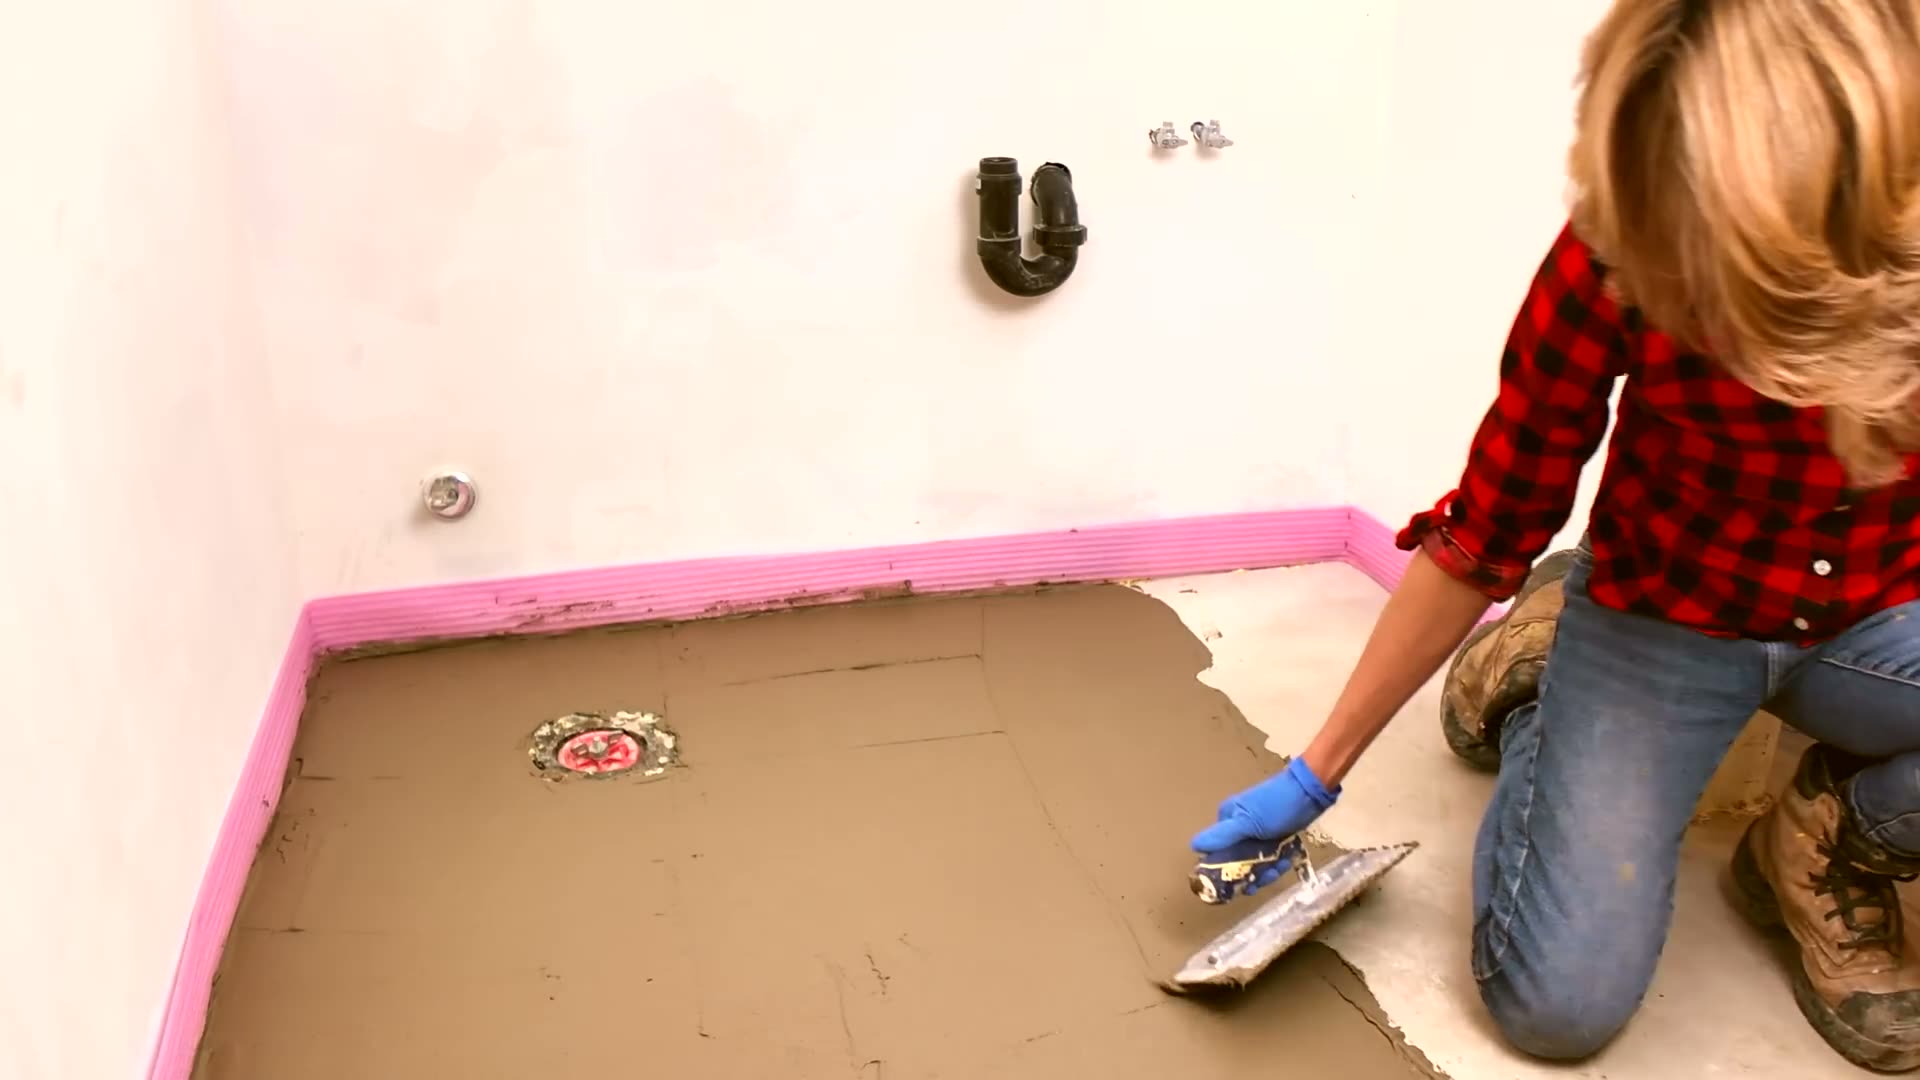
Then comb it out with the notched trowel, keeping the ridges even and running in one direction.
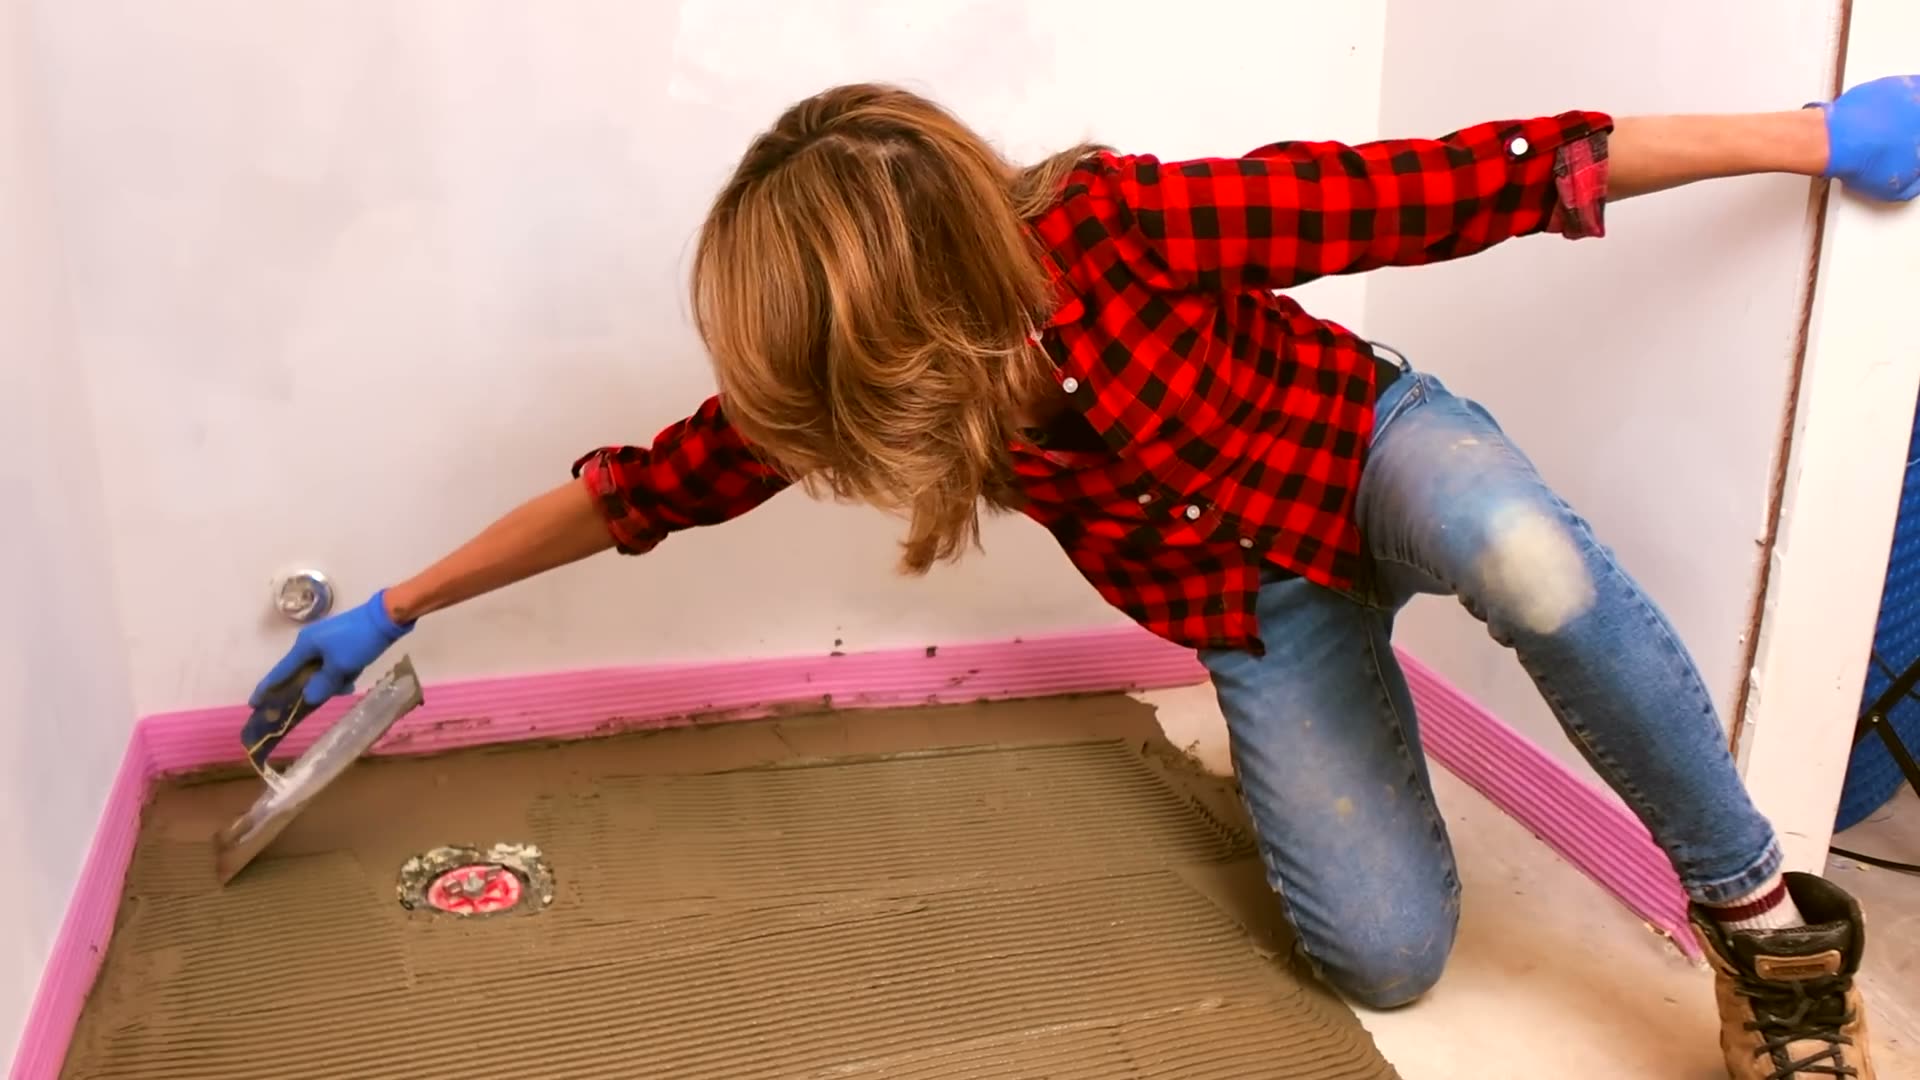
Set Mapeguard UM 35 into the fresh mortar.
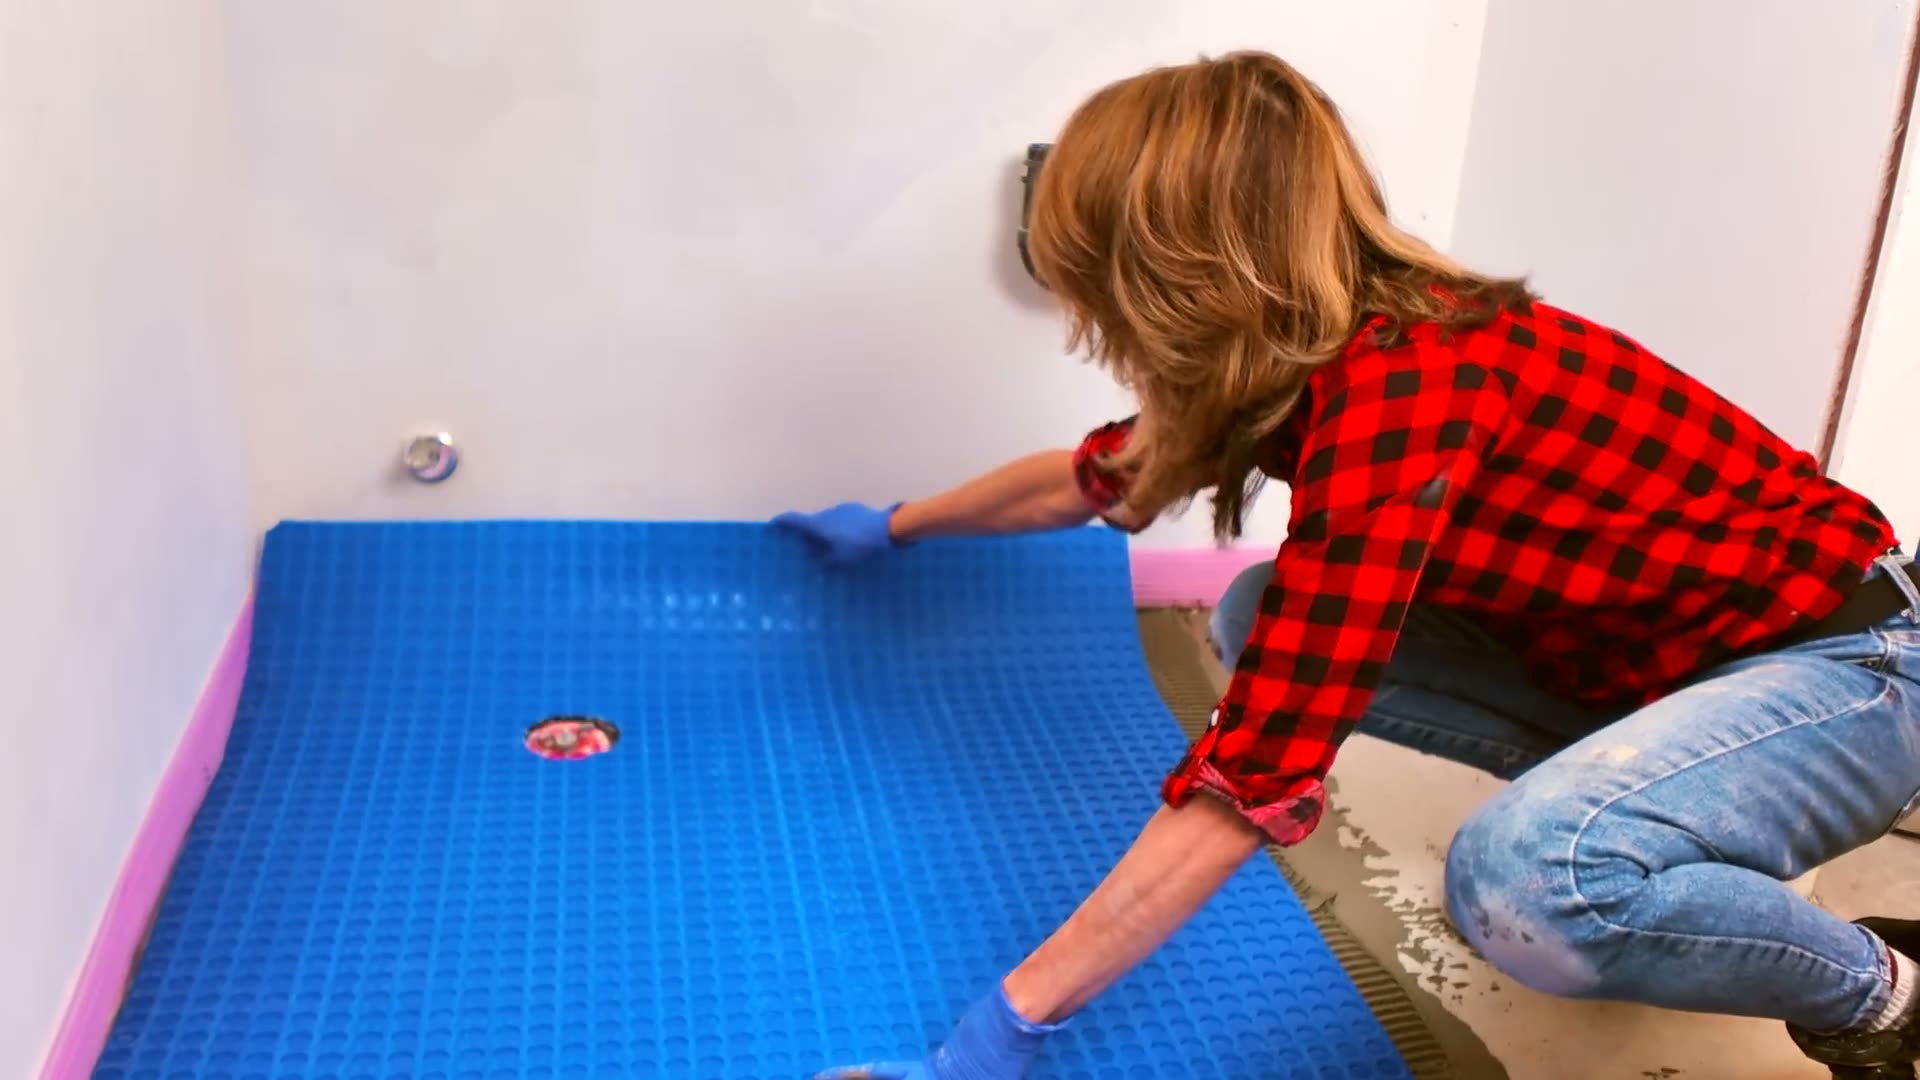
Mapeguard UM 35 is a rigid HDPE membrane, which makes it easier to install if you are new to membranes. It needs no special tools to embed. A grout float worked in two directions, east to west and then north to south, is enough to get full, continuous mortar contact underneath.
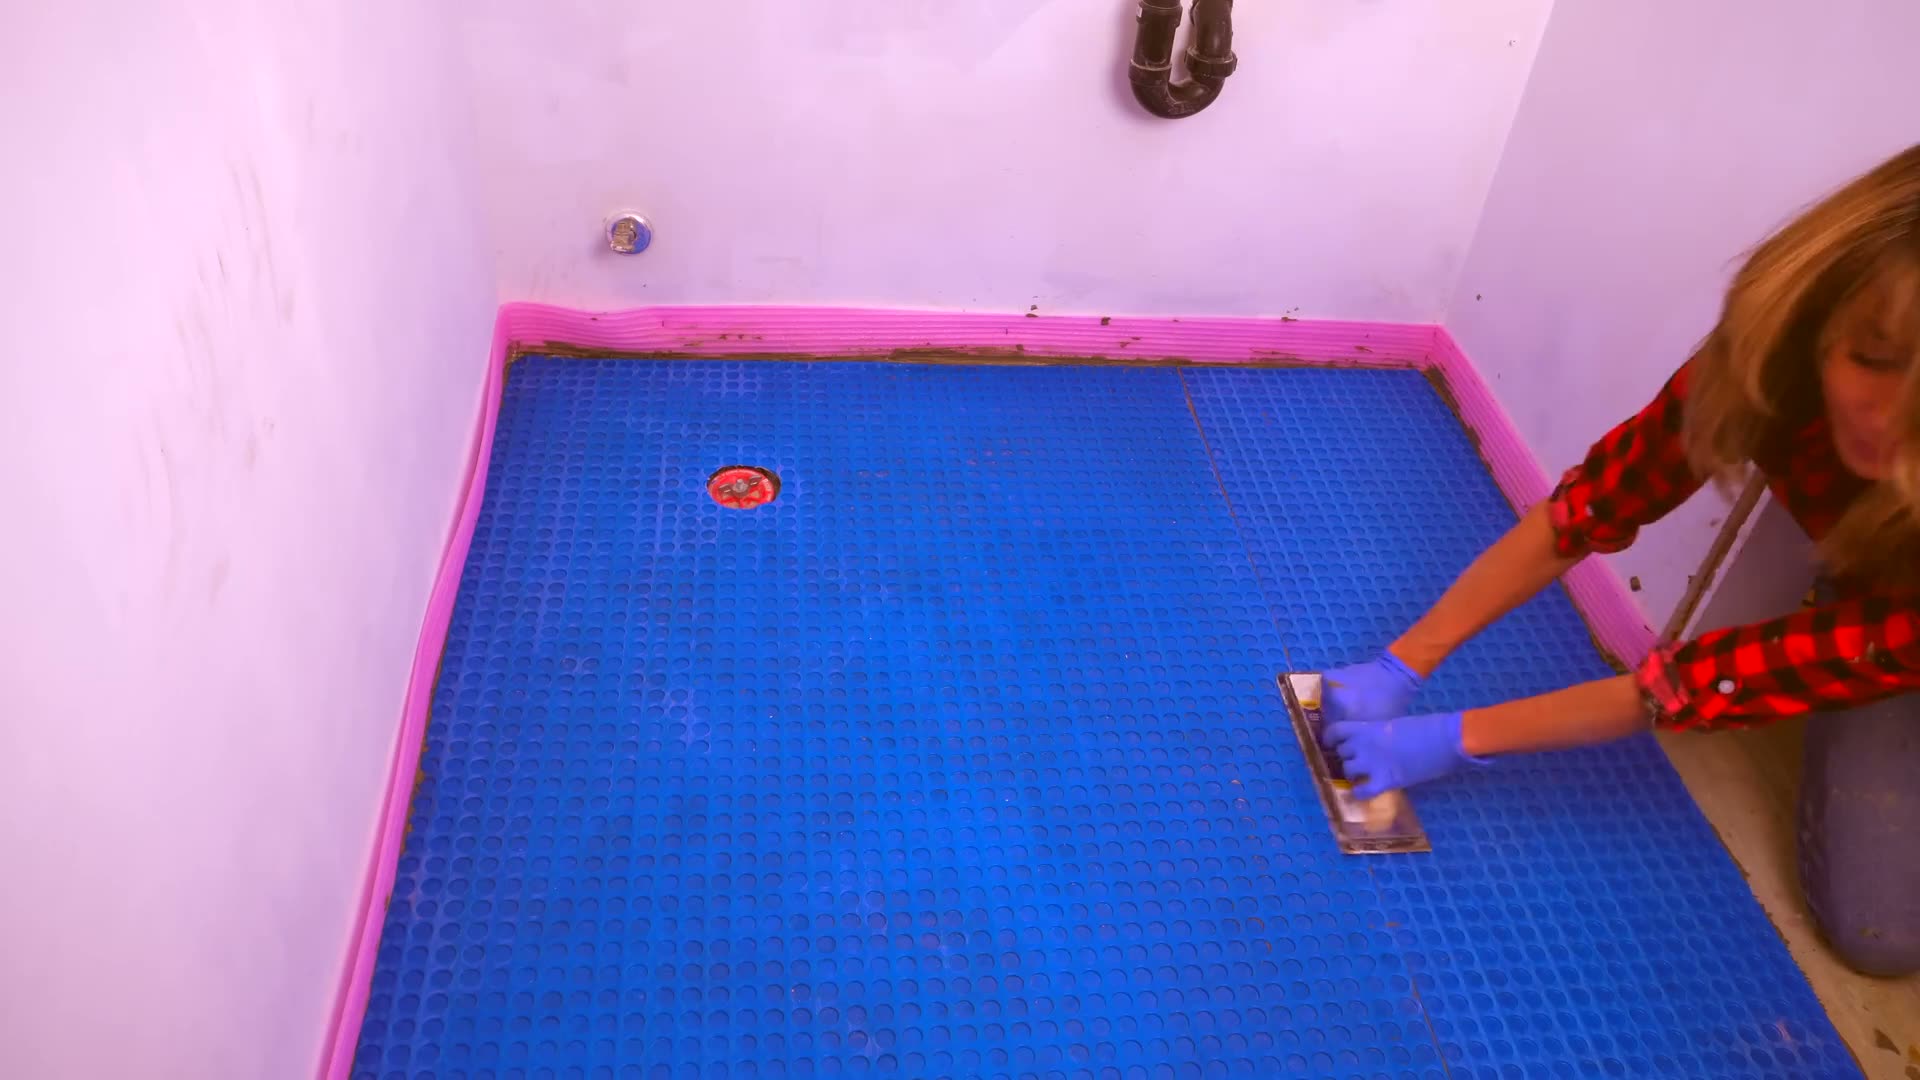
Check Your Mortar Coverage
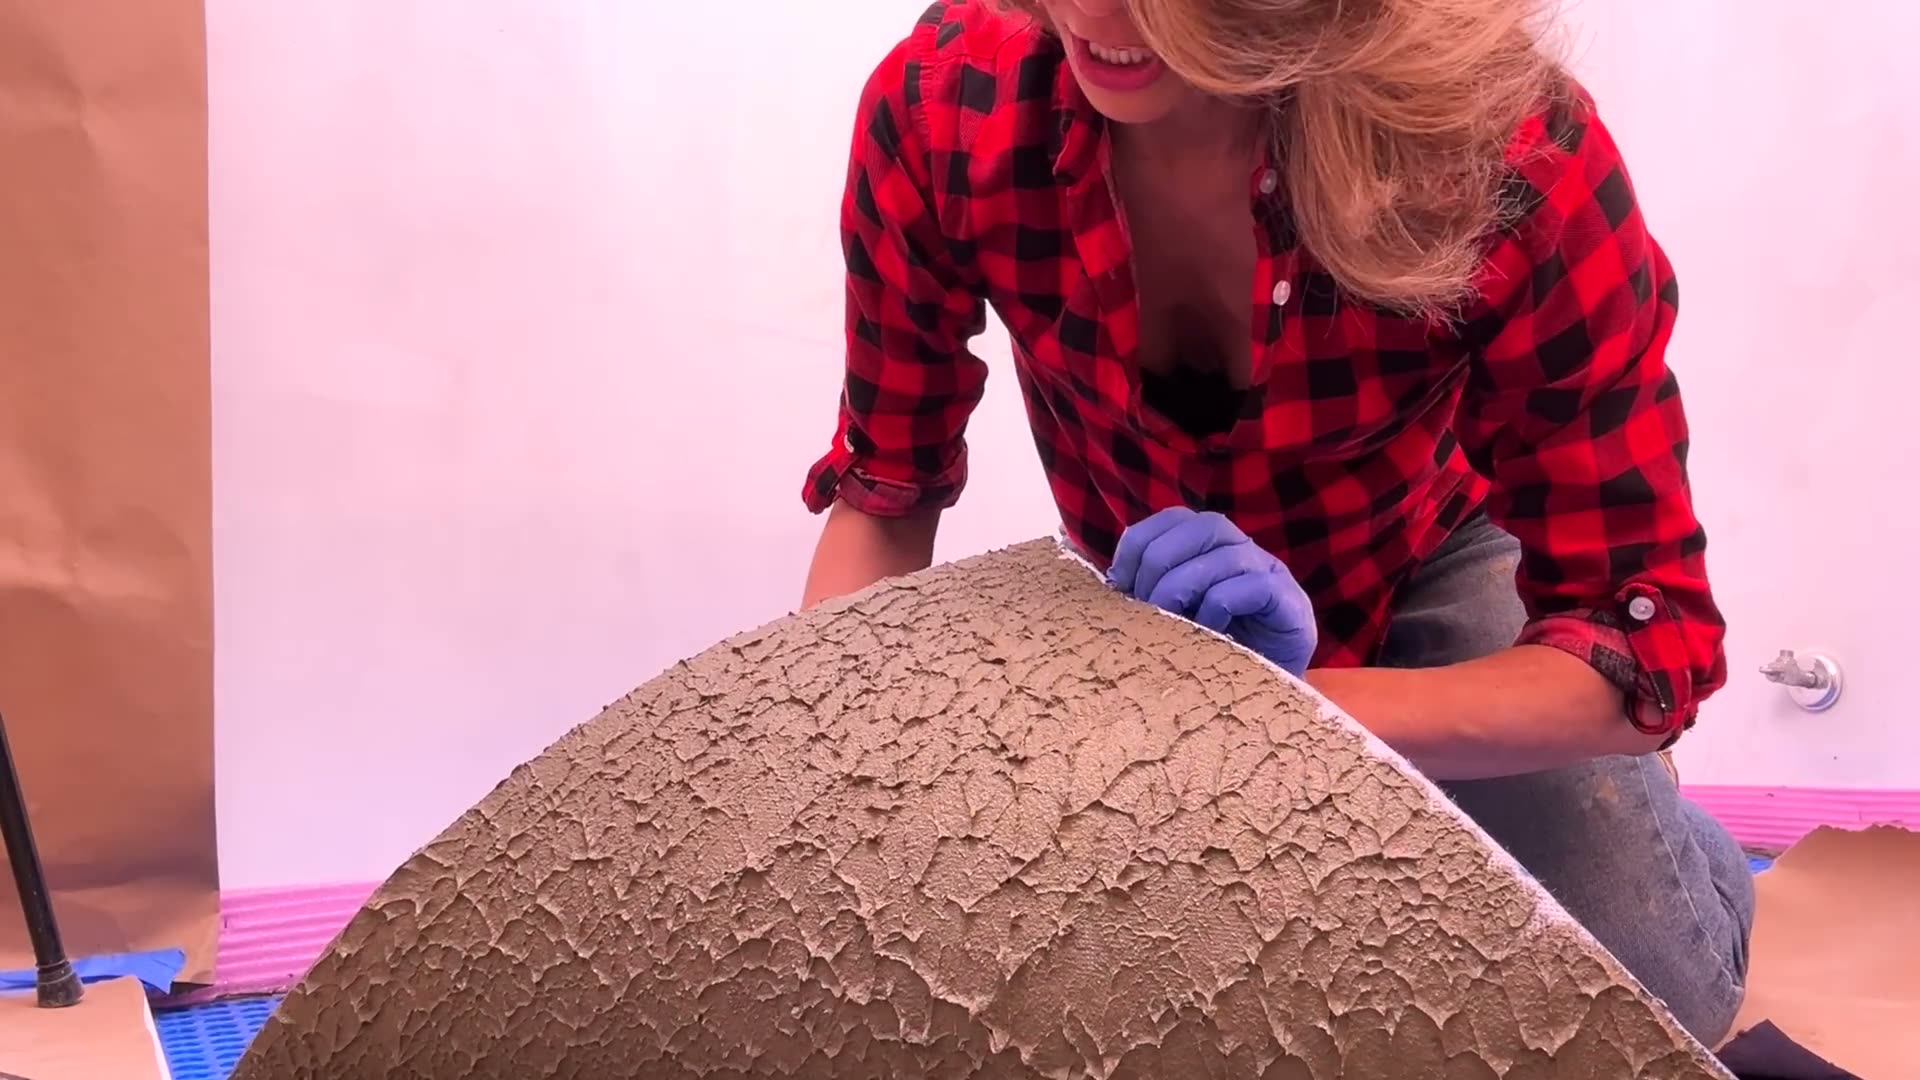
Here is a step I do not skip. Peel back a section of the membrane while the mortar is still fresh and look underneath. You should see good mortar transfer and continuous contact between the membrane and the mortar bed. If the coverage is there, lay it back down and re-embed the area you disturbed.
Waterproof the Tile Membrane Seams
The tile membrane is only waterproof when the seams are properly sealed. Treat every seam as part of the complete waterproofing system.
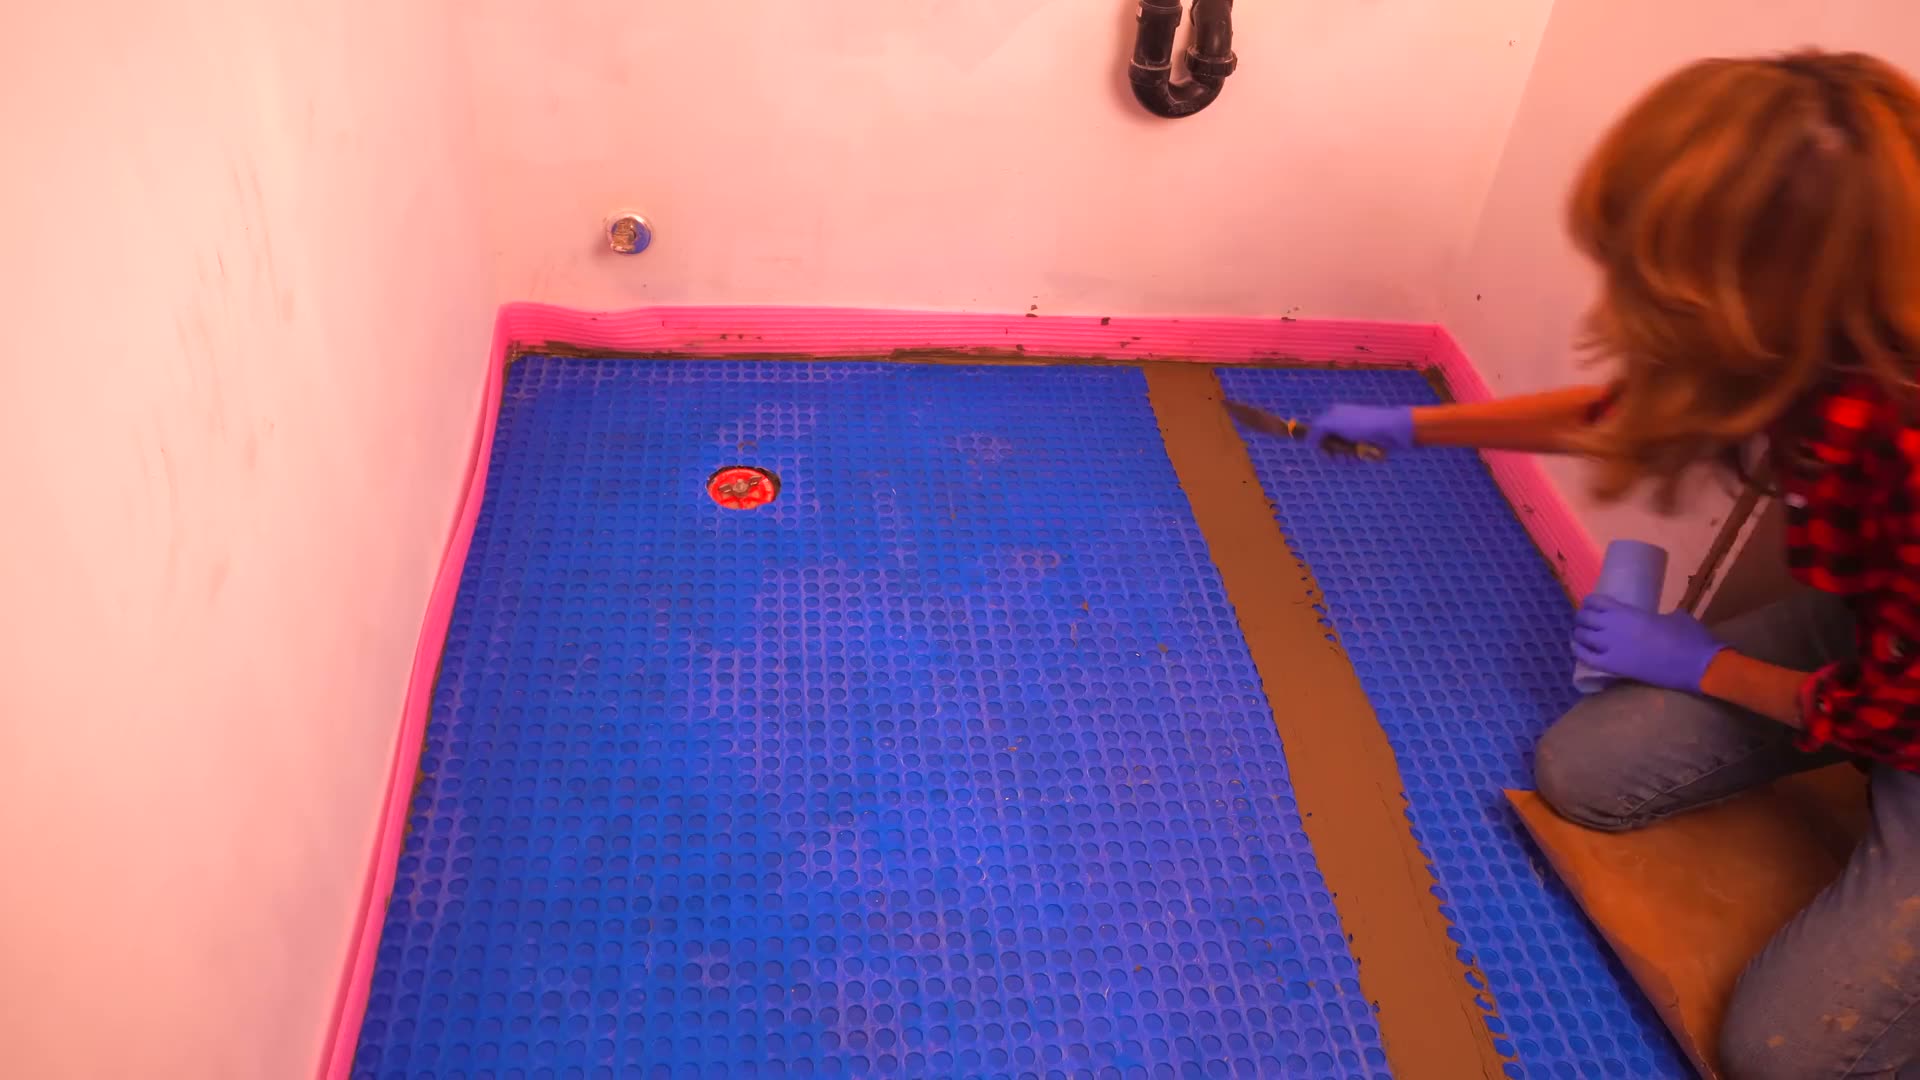
Apply the specified mortar at the membrane joints and install the compatible Mapeguard ST sealing tape according to the manufacturer’s instructions. Treating the seams properly is what creates continuity across the membrane assembly.
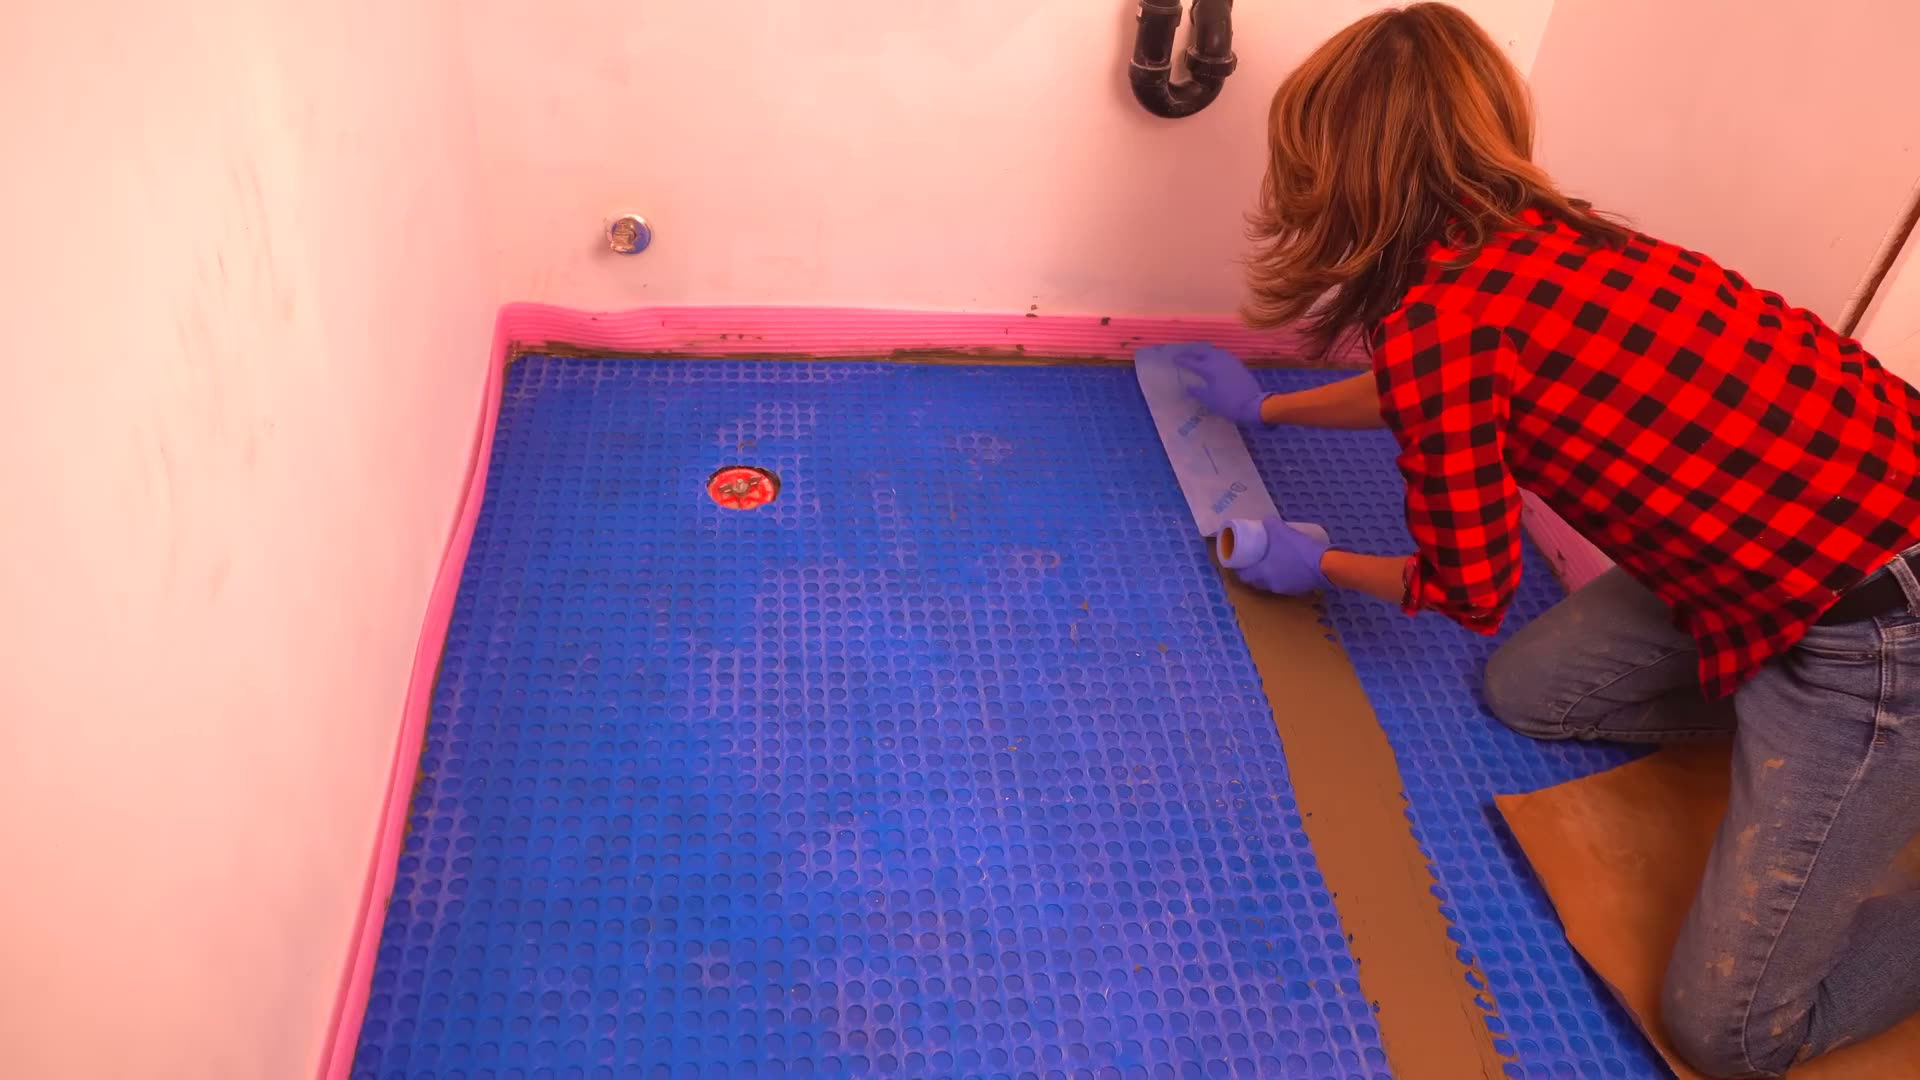
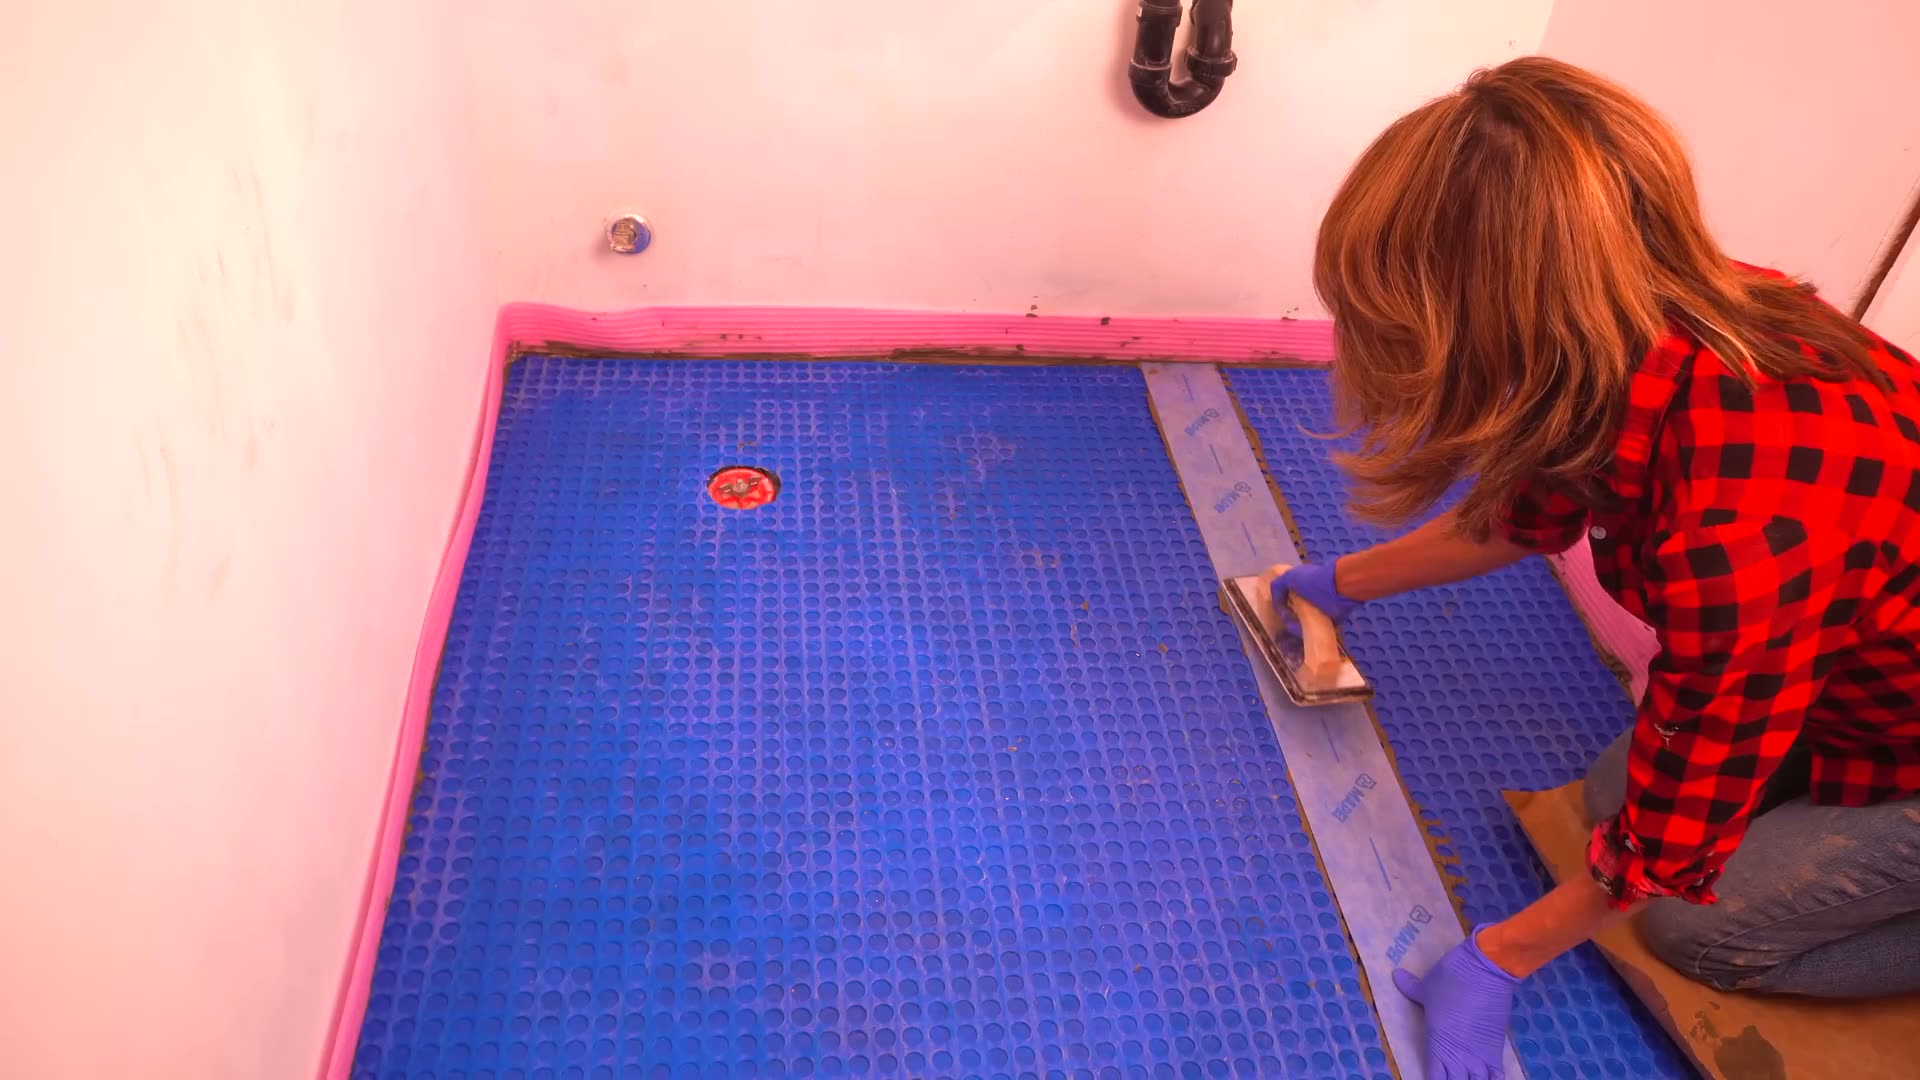
Then apply pressure along the tape to embed it into the mortar, the same way you embedded the field membrane.
Both formats deliver rated crack isolation. What changes is the installation experience.
Mapeguard UM is the more flexible membrane, with fabric reinforcement. Flexible membranes are easy to transport, cut and position, and proper embedment is critical. A steel roller not exceeding 75 lb. (34 kg) is recommended.
Mapeguard UM 35 comes in a more rigid format. I found it particularly easy to install because I could position and embed it without specialized installation tools, which makes it a forgiving choice if you’re a homeowner new to installing tile membranes.
Once mortar is applied over Mapeguard UM, its fabric-mesh top layer locks into the mortar like rebar.
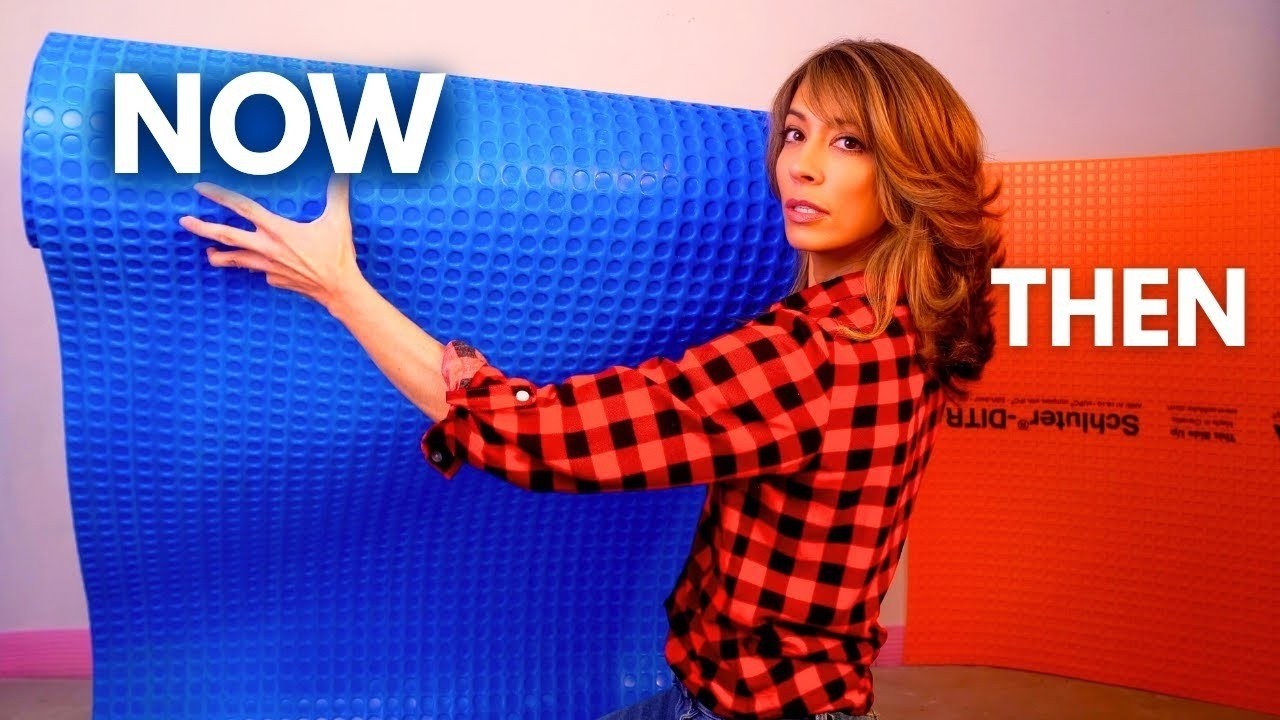
MAPEI testing shows this design provides greater shear strength than DITRA. Shear force is the primary force that will crack tile. That added resistance to shear force is one of the reasons I consider Mapeguard UM a superior membrane.
Uncoupling has no third-party performance rating. Crack isolation does.
Uncoupling describes a mechanism. Crack isolation provides measurable, tested performance, including the crack width the membrane is rated to withstand. For an industry built on standards and testing, this distinction is long overdue.
Uncoupling is not obsolete. It’s the baseline. What has changed is how much we can expect a modern tile membrane to do and how much of that performance can be proven through testing.
Products such as Mapeguard UM and Mapeguard UM 35 remove the choice between uncoupling and crack isolation. Within the appropriate tile assembly, they provide both, and the crack-isolation half is tested and rated.
For homeowners and contractors who value transparency and third-party testing, high-performance rated membranes are a superior standard. I use Mapeguard because I specify MAPEI often, but Custom Building Products and LATICRETE also make rated crack-isolation, uncoupling membranes. What matters is choosing a product that carries the rating from a brand you trust and like working with. Testing builds trust and transparency and that should matter when we specify construction materials. It does for me.
Installation Note
For educational reference. Always follow current manufacturer instructions, applicable standards and local requirements. Product ratings and performance figures are based on manufacturer-published data.
A real build by Daru Dhillon, licensed general contractor. Watch the complete installation on YouTube, or browse every Project Guide.